How to Paint Your Kitchen Cabinets
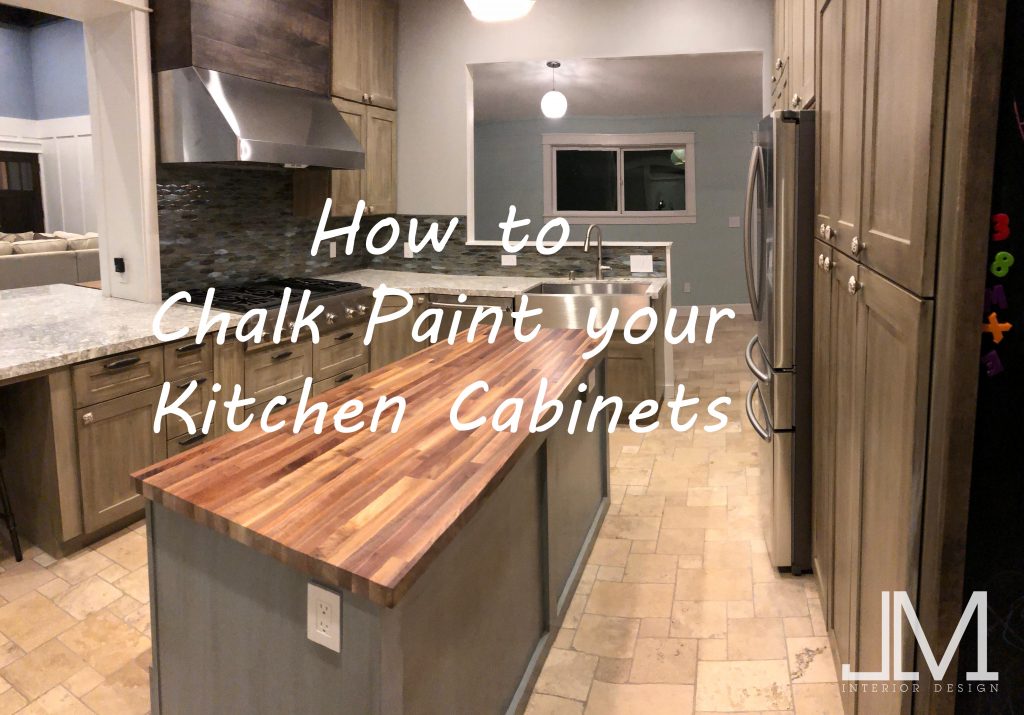
We get so many compliments on the chock paint we did for the Kitchen Facelift post, that we thought we would share the details with you.
We tried out a new product called Miss Lillian No Wax Chock Paint. We highly recommend taking a beginners class. We found one near us in No. California, at the Pretty N Chic Furniture store in Vacaville. They carry the full line of Miss Lillian products and host painting technique classes a few times a month.
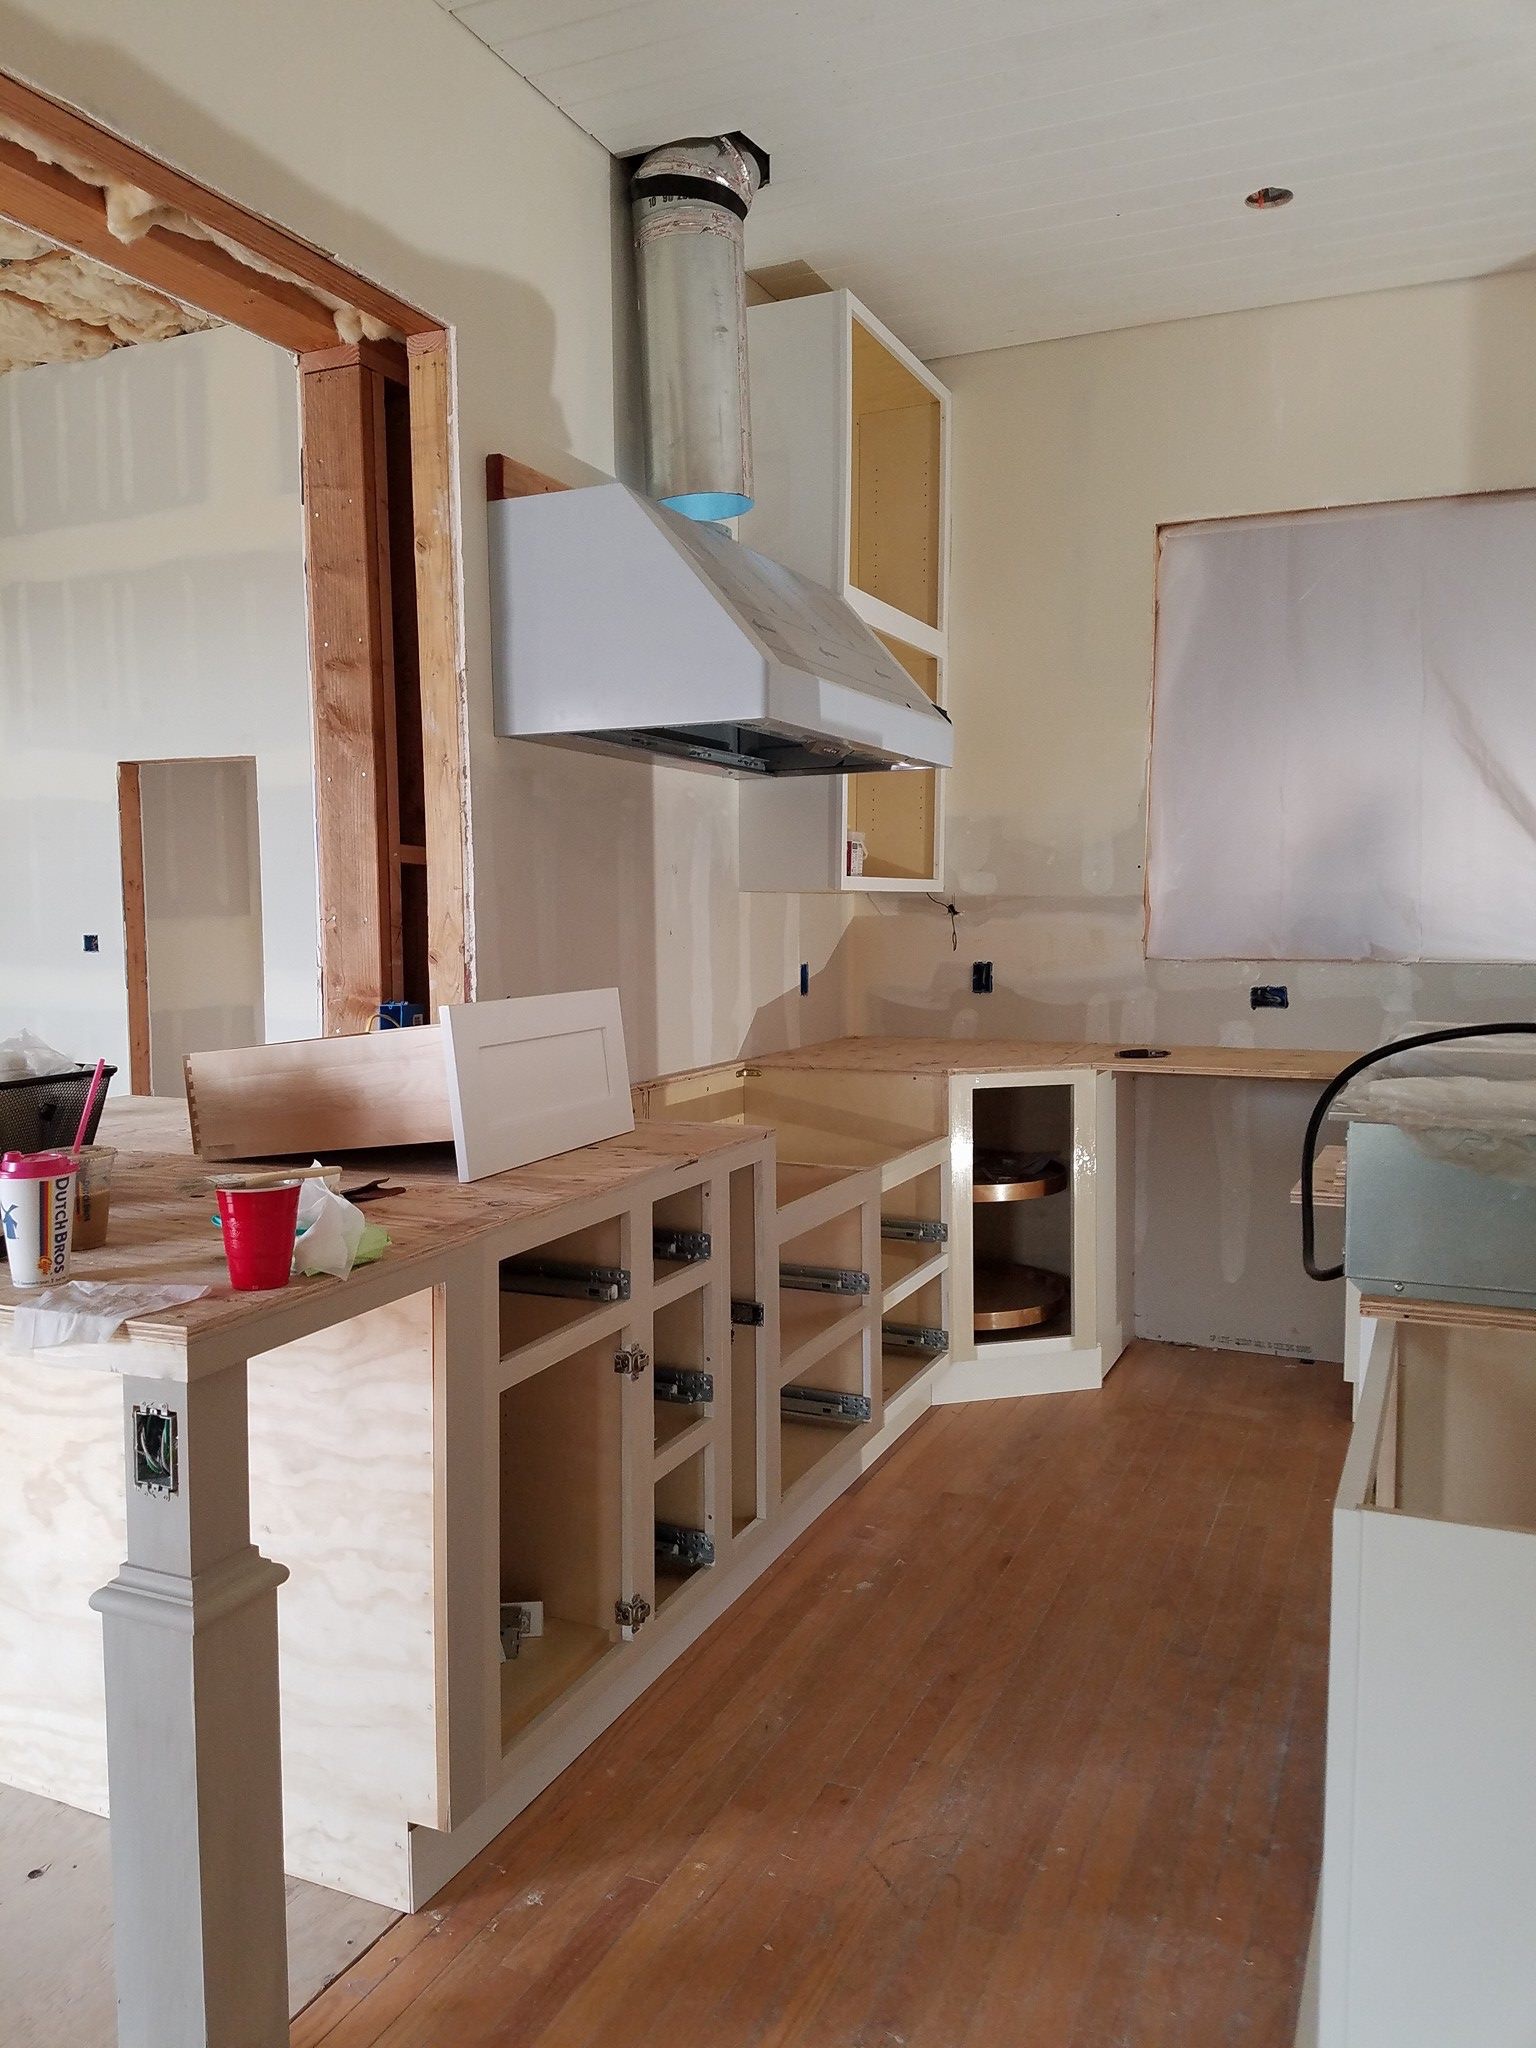
One of the first steps is to get your cabinets ready by cleaning them and scuffing them up a little. This helps the paint bond better.
Step two is to use a really good primer. Typically with Miss Lillian paint it is an all-in-one type paint that does not require a primer. We recommend with high use items like kitchen cabinets to still use a primer. One of the best primers out there right now is Sherwin Williams Extra Bond Primer. You can even have the primer tinted to be close to your cabinet paint color which will allow for fewer coats of paint.
After you are finished applying the primer you can move onto applying the No Wax Chock Paint. There are a few tips that are helpful when applying this paint. The first is this is a marathon not a sprint. What I mean is when you apply the paint try to spread the paint as far as you can to create a thin layer before dipping your brush again. This will allow the paint to dry faster and will reduce drips and extra build up of paint in some places. I have always used a brush to paint any of my cabinets or furniture, but I have heard of people using this paint in a spray gun as well (I think you dilute the paint a little with water). After you apply enough layers that the cabinet looks like a solid color let it completely dry and then lightly sand it with a super fine sand paper, 320 or 400 grit should do.
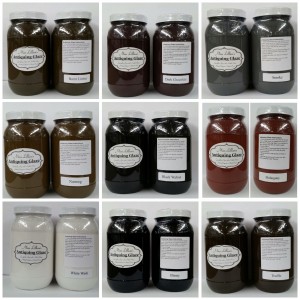
If you like cabinets that have an antiqued look to them, you will now apply a glaze. Miss Lillian has a variety of glaze colors. You can also layer the glazes to get different looks. This is really where the magic happens. I highly recommend taking a class if you like this look and want to do it on you own. I was given many tips and trick when it came to applying the glaze in the class I took. One of the biggest mistakes newbies make is applying to much at once. It is a little like applying makeup, it is easy to continue to apply a little more and a little more until you get the desired look. It is a lot harder to remove it if you go to heavy in the beginning.
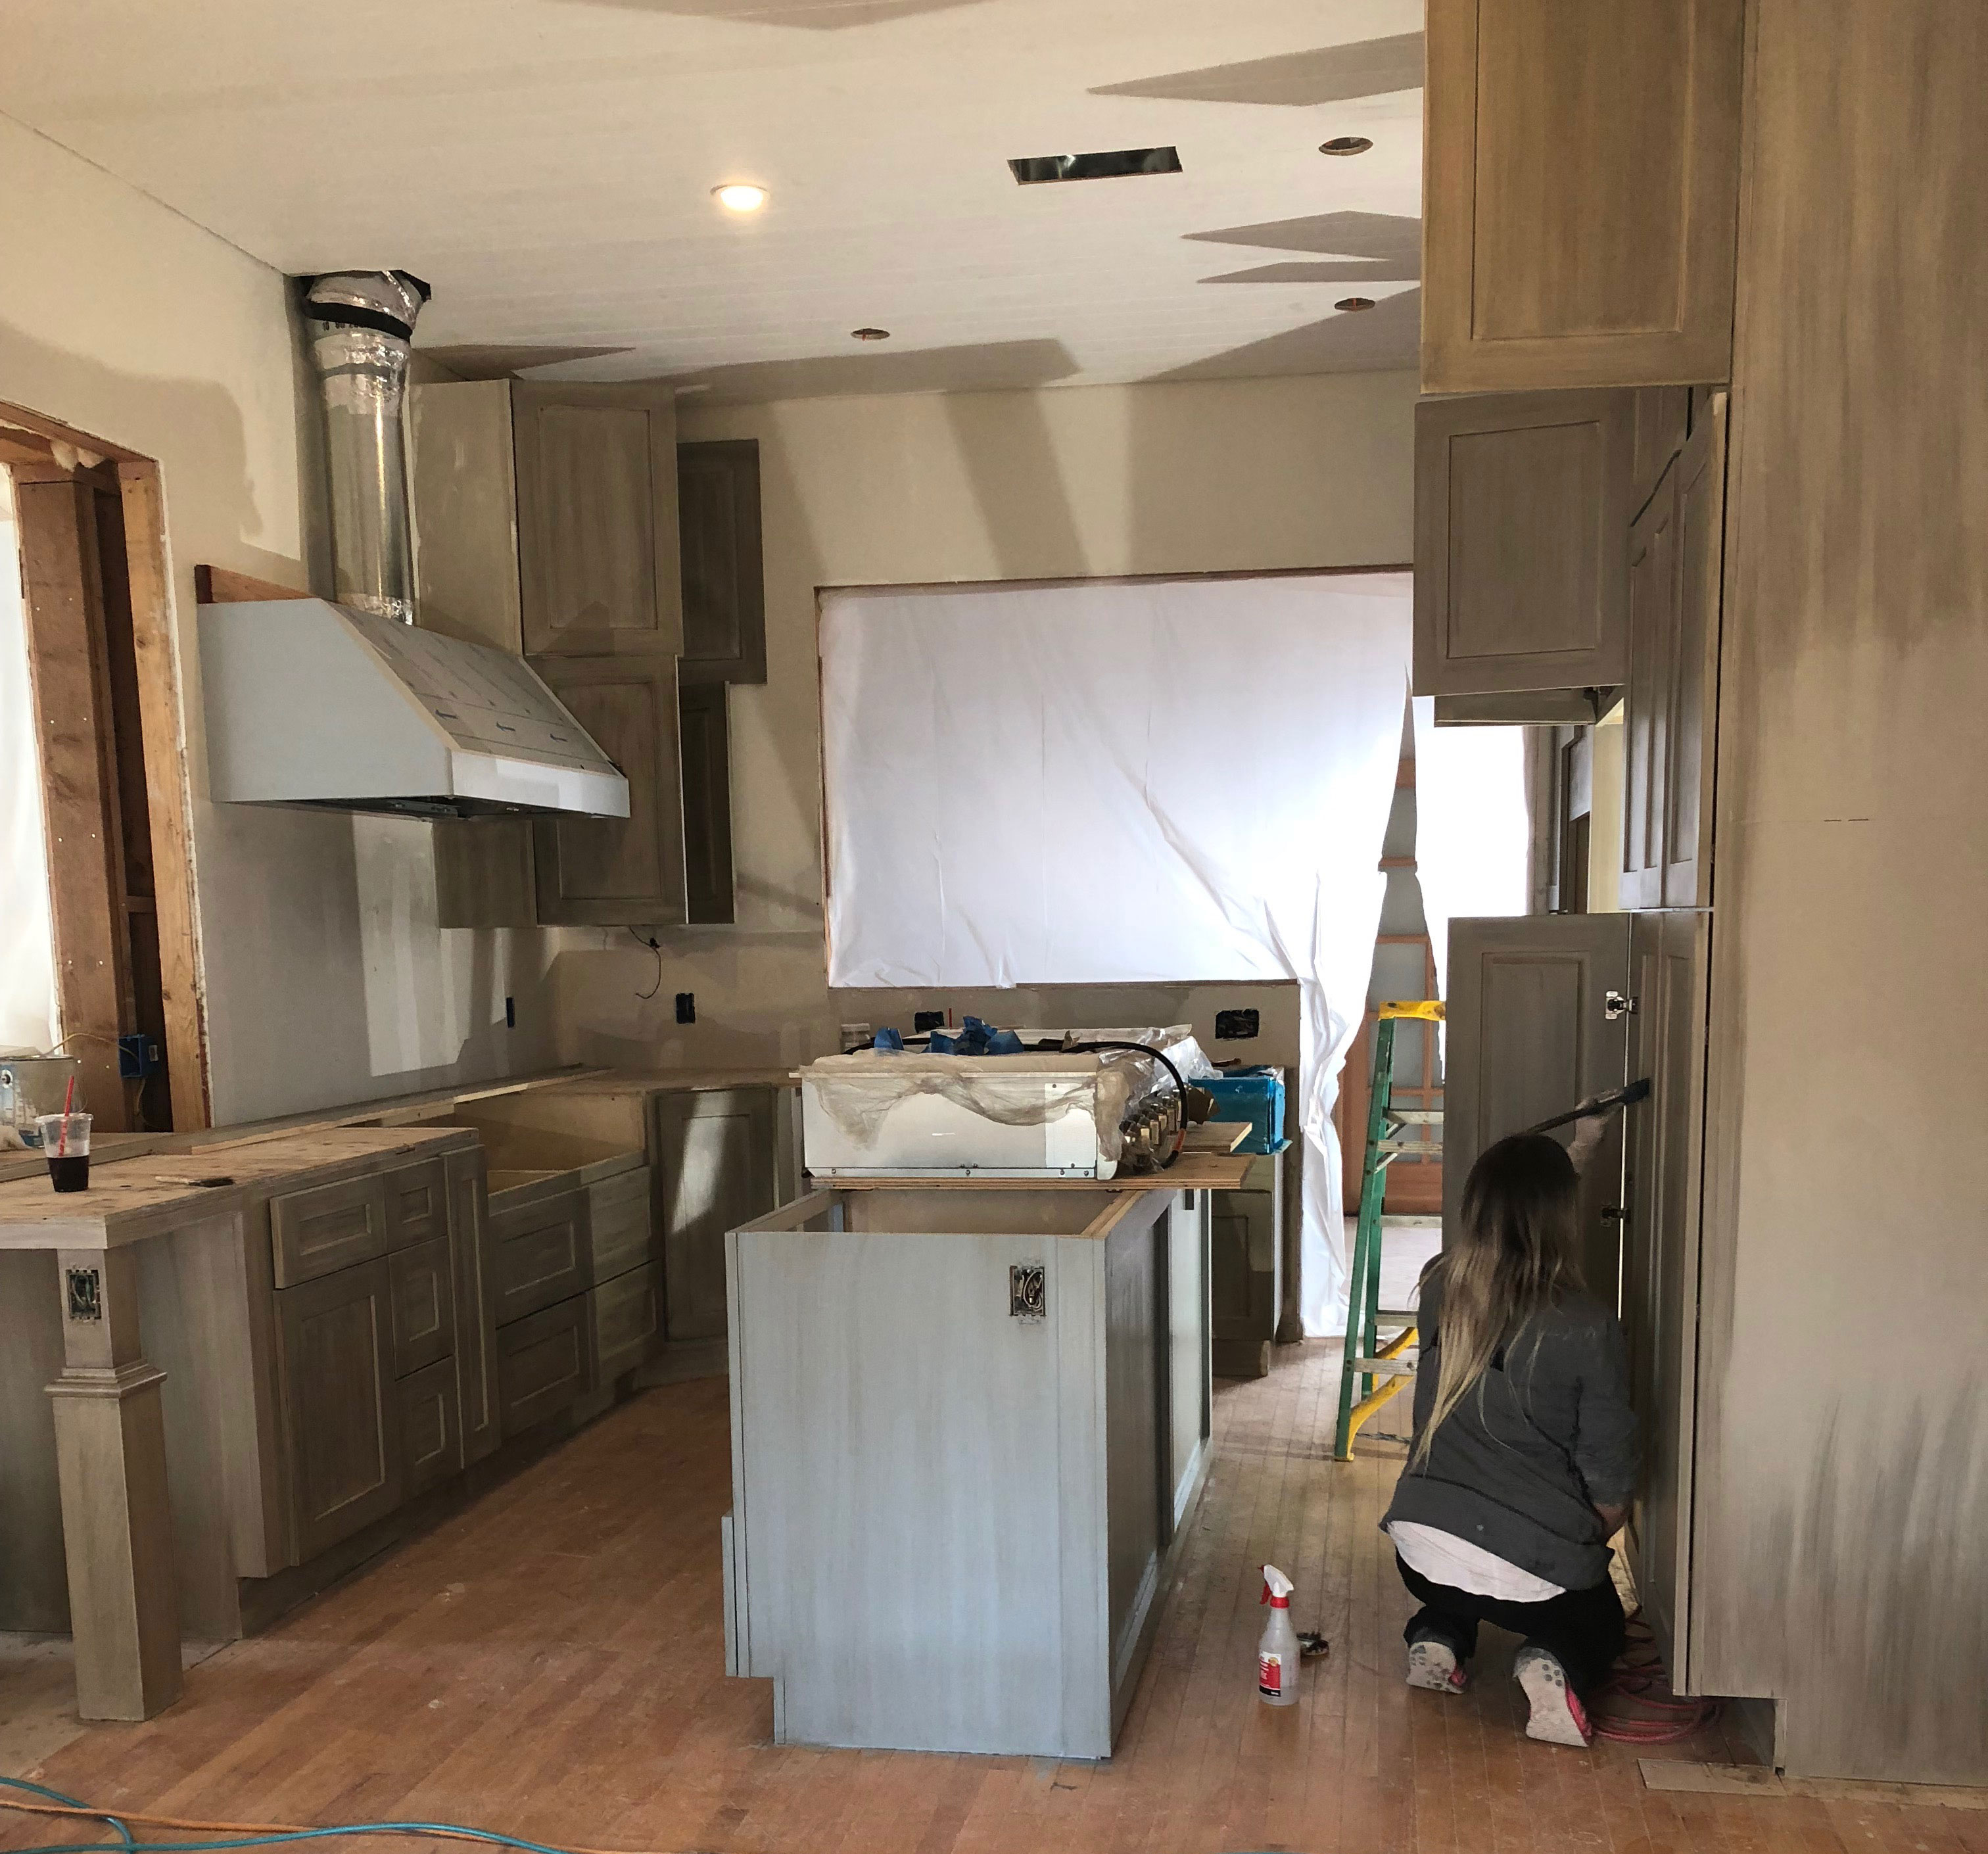
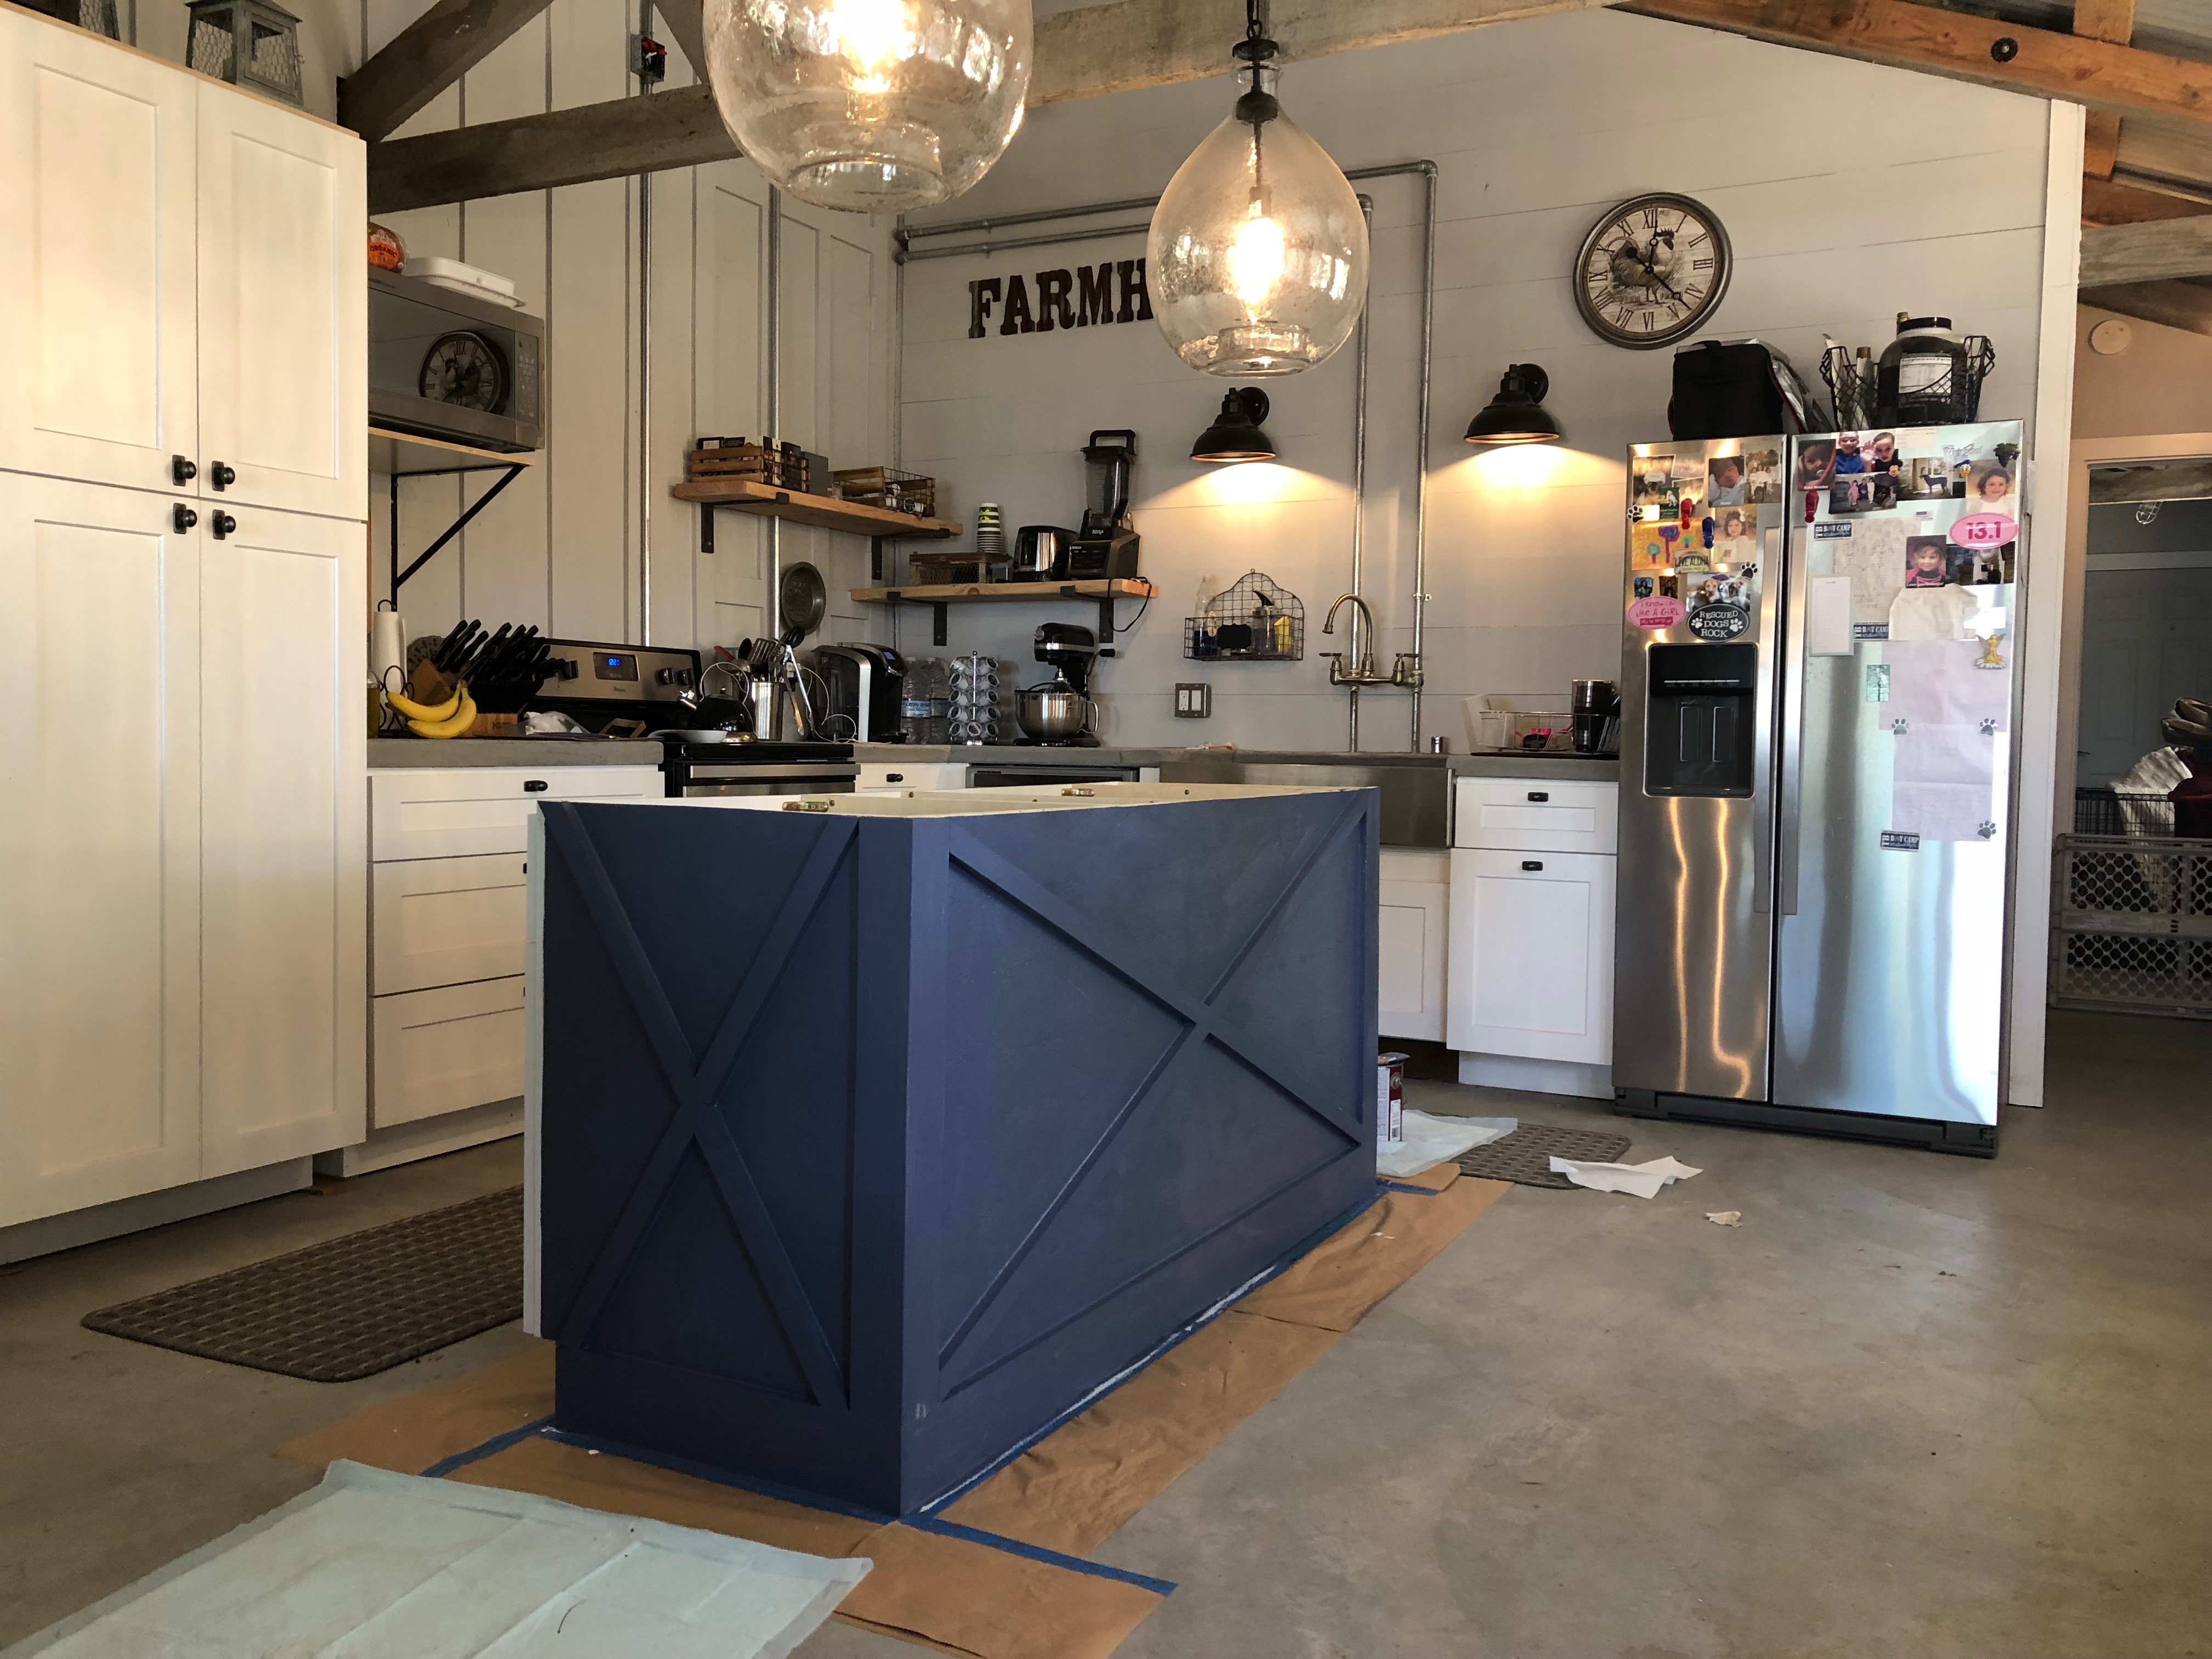
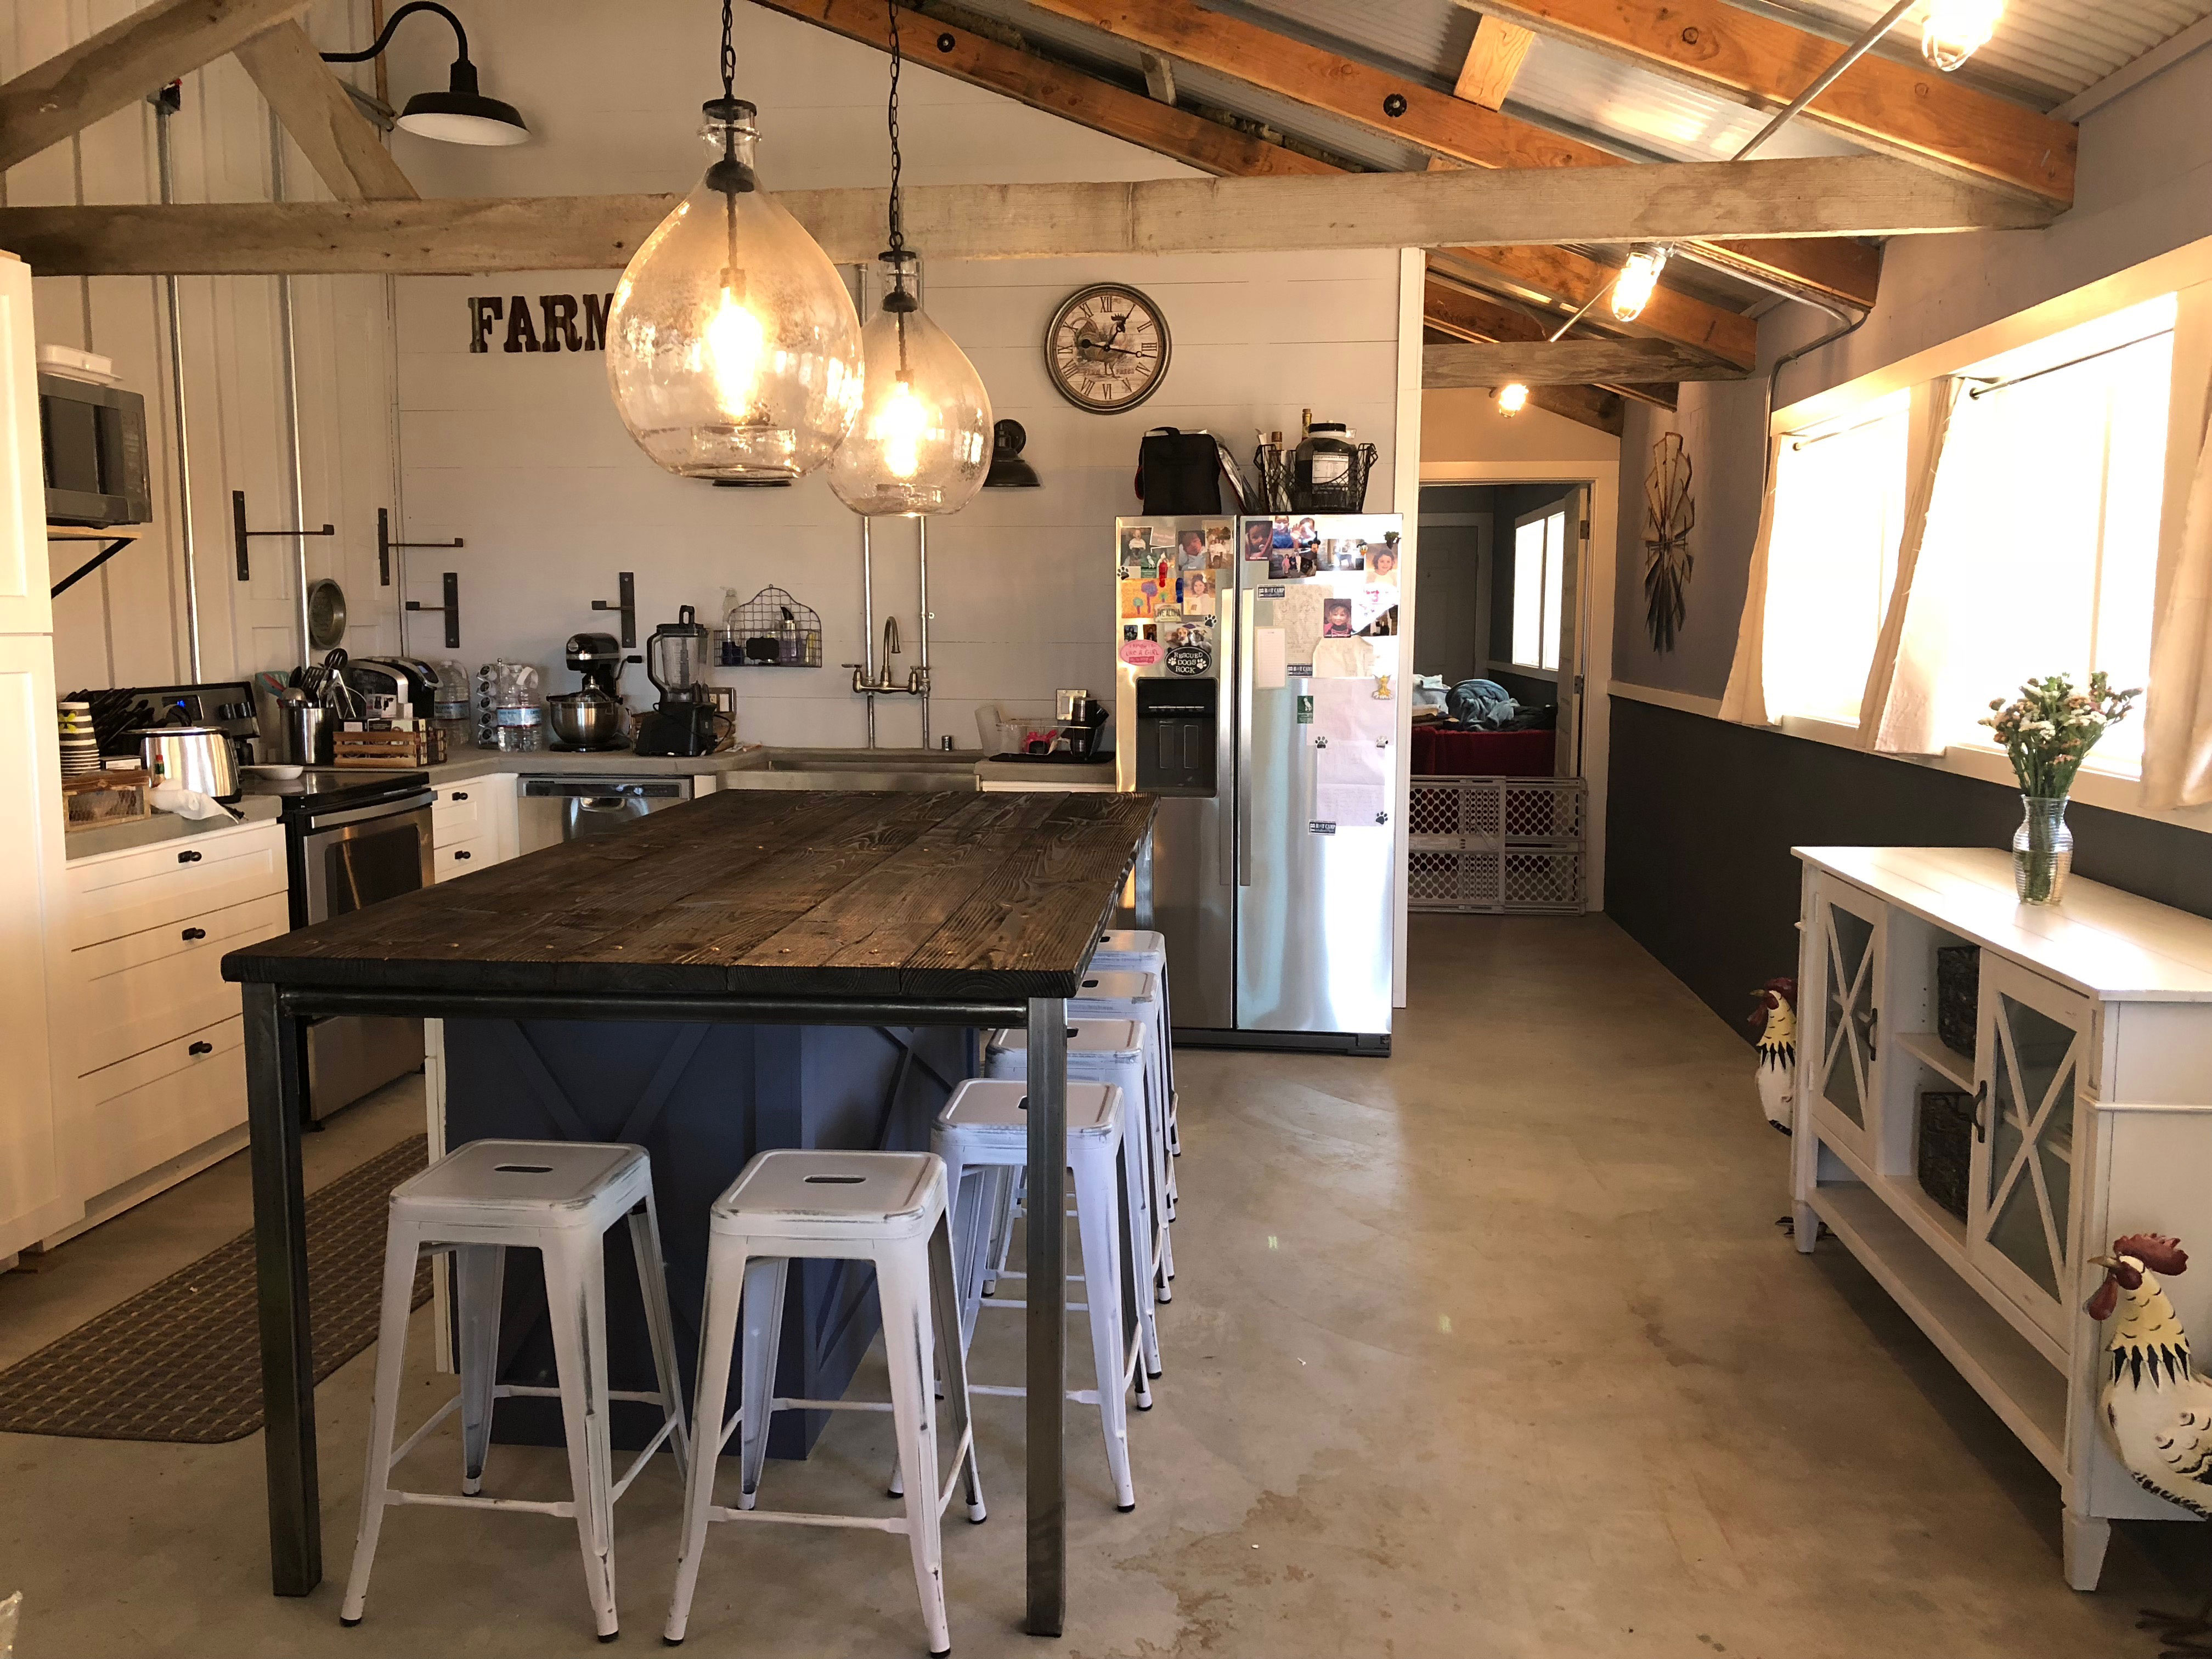
You can also skip the glazing step and go straight to sealing like one of our clients did below.
The last step is sealing the cabinets. Miss Lillian offers a matte (lack-luster) finish sealer as well as a high-gloss sealer. There is also an exterior sealer option. This is what creates the hard finish that will keep the cabinets from scratching and chipping. One stipulation is to allow the cabinets or furniture to cure for 21 days. Most of my clients still use their cabinets during this time but they are very gentle around them as if they were still wet.
This really is a easy product to use. I recommend it to anyone even with a beginners level of paint experience. One of the best things about this paint is if you mess up the glazing, just reapply the paint color to get a solid color again and start over. No sanding needed.
Good Luck 🙂
