DIY Backsplash
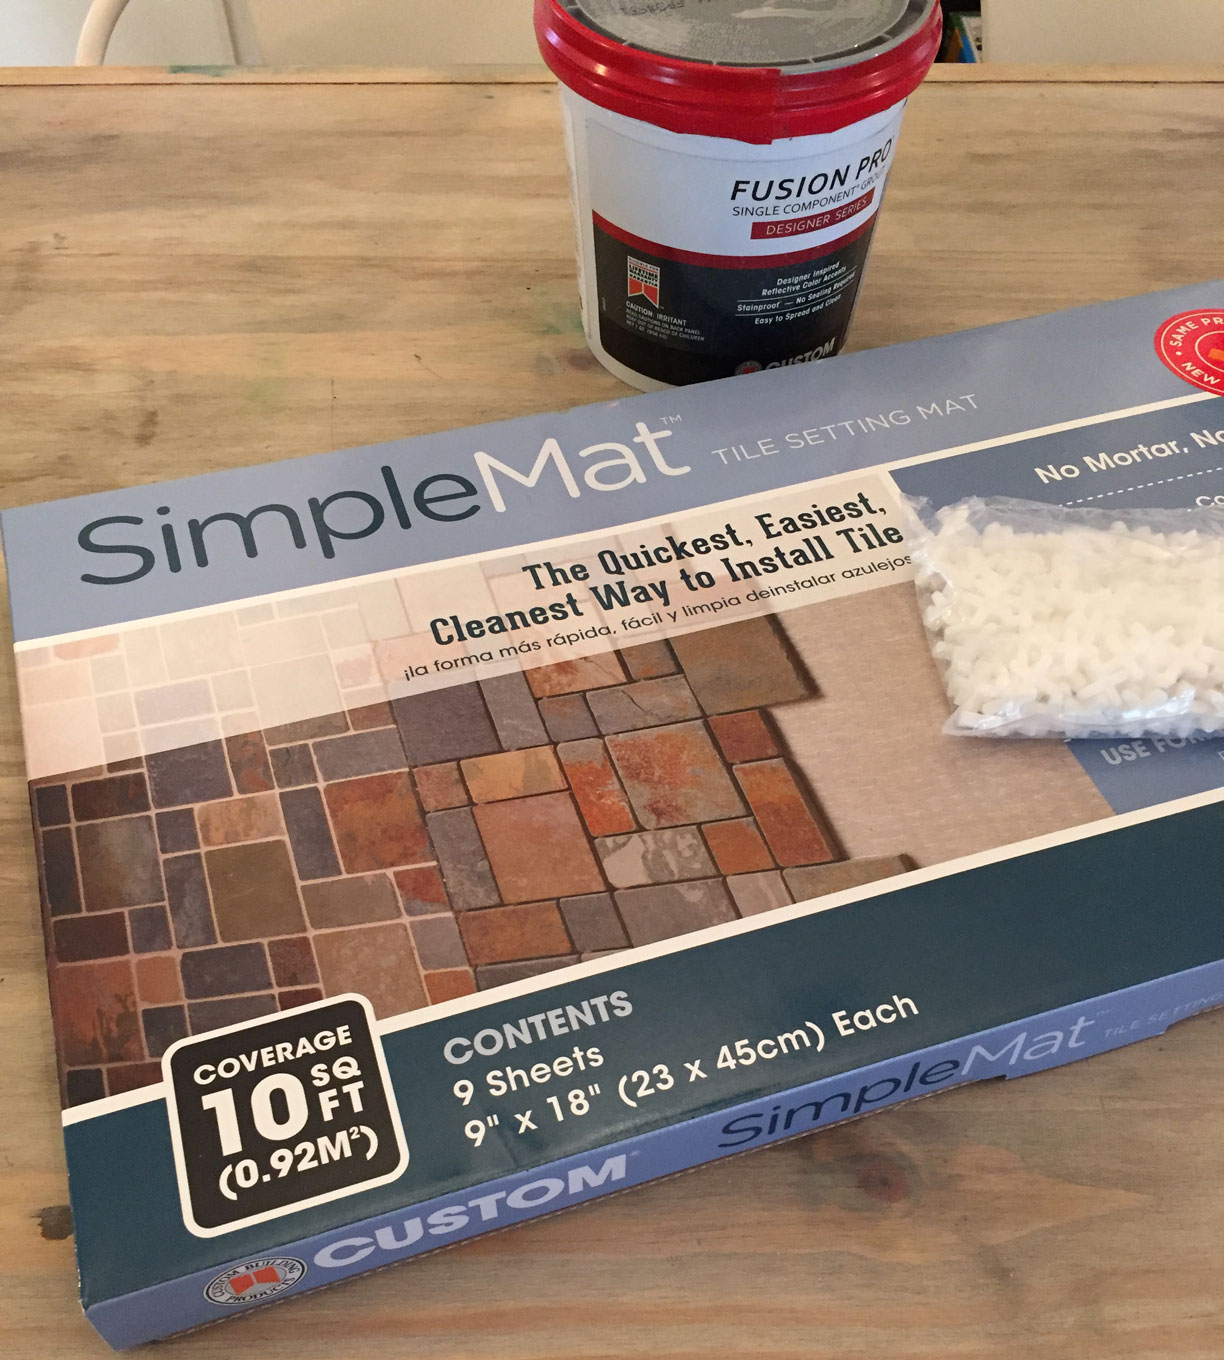
Doing your own tile work can be a daunting task. We set out to show you how to do an easy project quickly while keeping the mess at bay. After doing some research on different options for tile adhesive we decided to go with a newer product by Custom Building Products called Simple Mat. There were a few reasons we choose this method:
- Little to no mess
- Cost
- Easy to use
We contacted Custom Building Products and asked if they would like to be part of this tutorial, which they graciously excepted, sending us a few packages of Simple Mats as well as the grout component that is required with this application.
After watching the tutorial online we were excited to get started on our project.

Some tools you will need for this project are:
- Tile Cutter I purchased this one on amazon. It works pretty good for bigger pieces and for straight cuts only. For some of the smaller ones that needed to be scored and split it kept cracking them.
- Tile snippers (not shown)
- Grout float
- Level
- Scissors/blade
- Sponge for grout clean up
- Tile spacers
Make sure you don't rush the tutorial video or the Simple Mat instructions, there are a lot of helpful tips. A few things came up in our project, one was uneven surfaces, and drywall mud that wasn't painted. You really need to make sure your surface is clean (no dust like on drywall mud). Another KEY tip is the time frame. Once you apply the tile you have 24 hours to grout. The grout is the interlocking component that holds it all together.
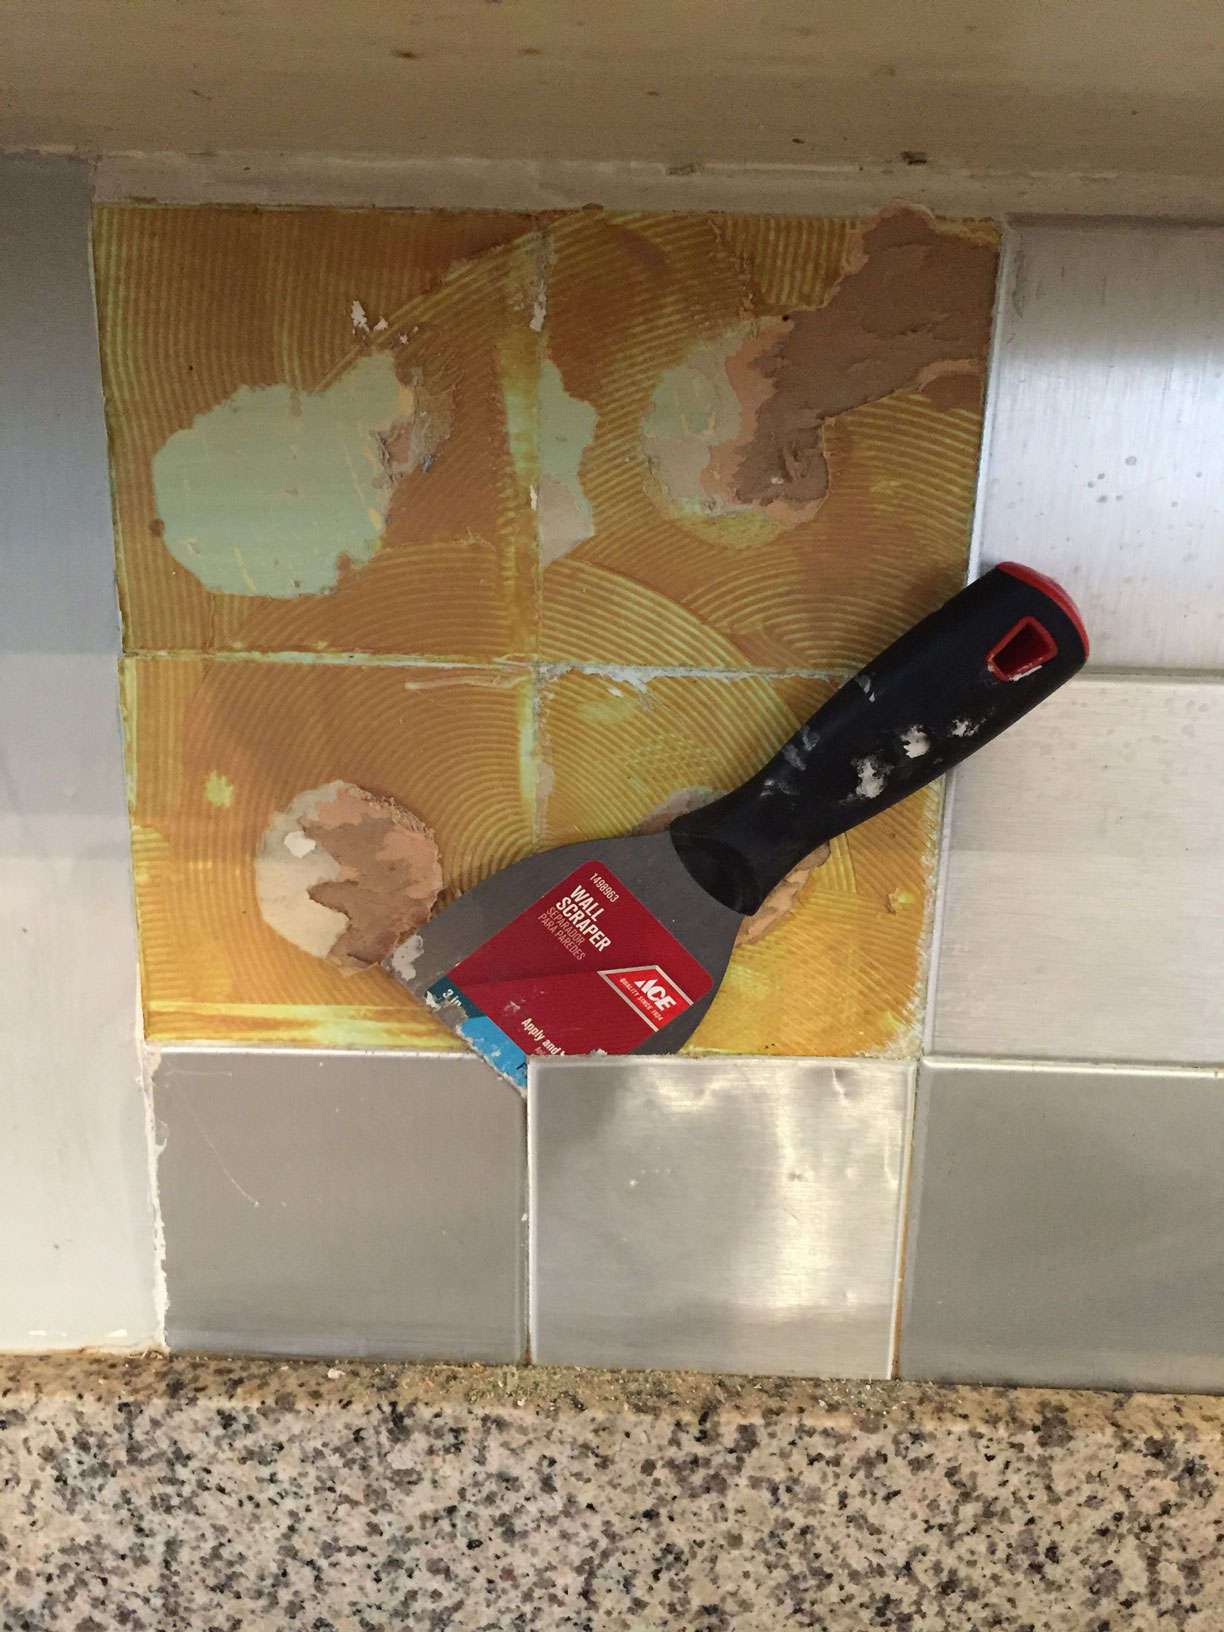
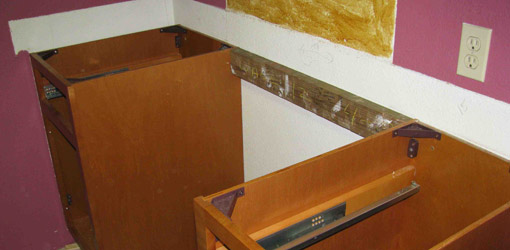
First we had to remove the old tile and prepare walls for mat.
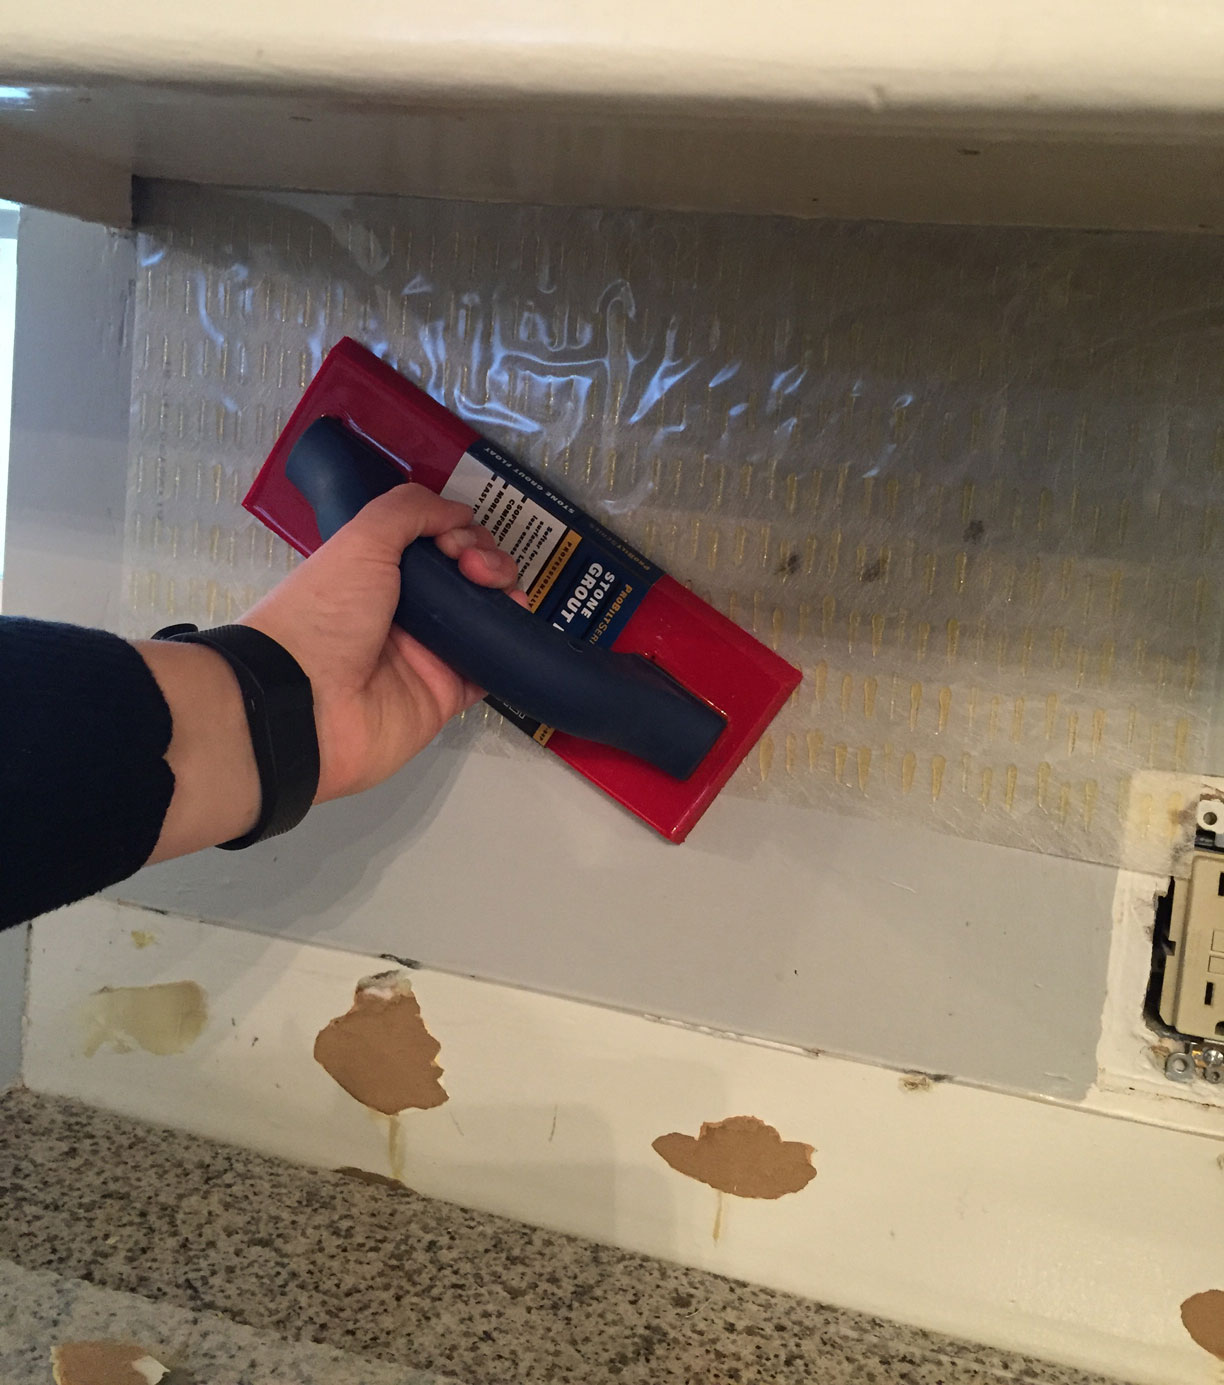
Next, apply the mat. I used the float to push the mat onto the wall and work out bubbles. Cut the mat to size before you peel any of the backing off.
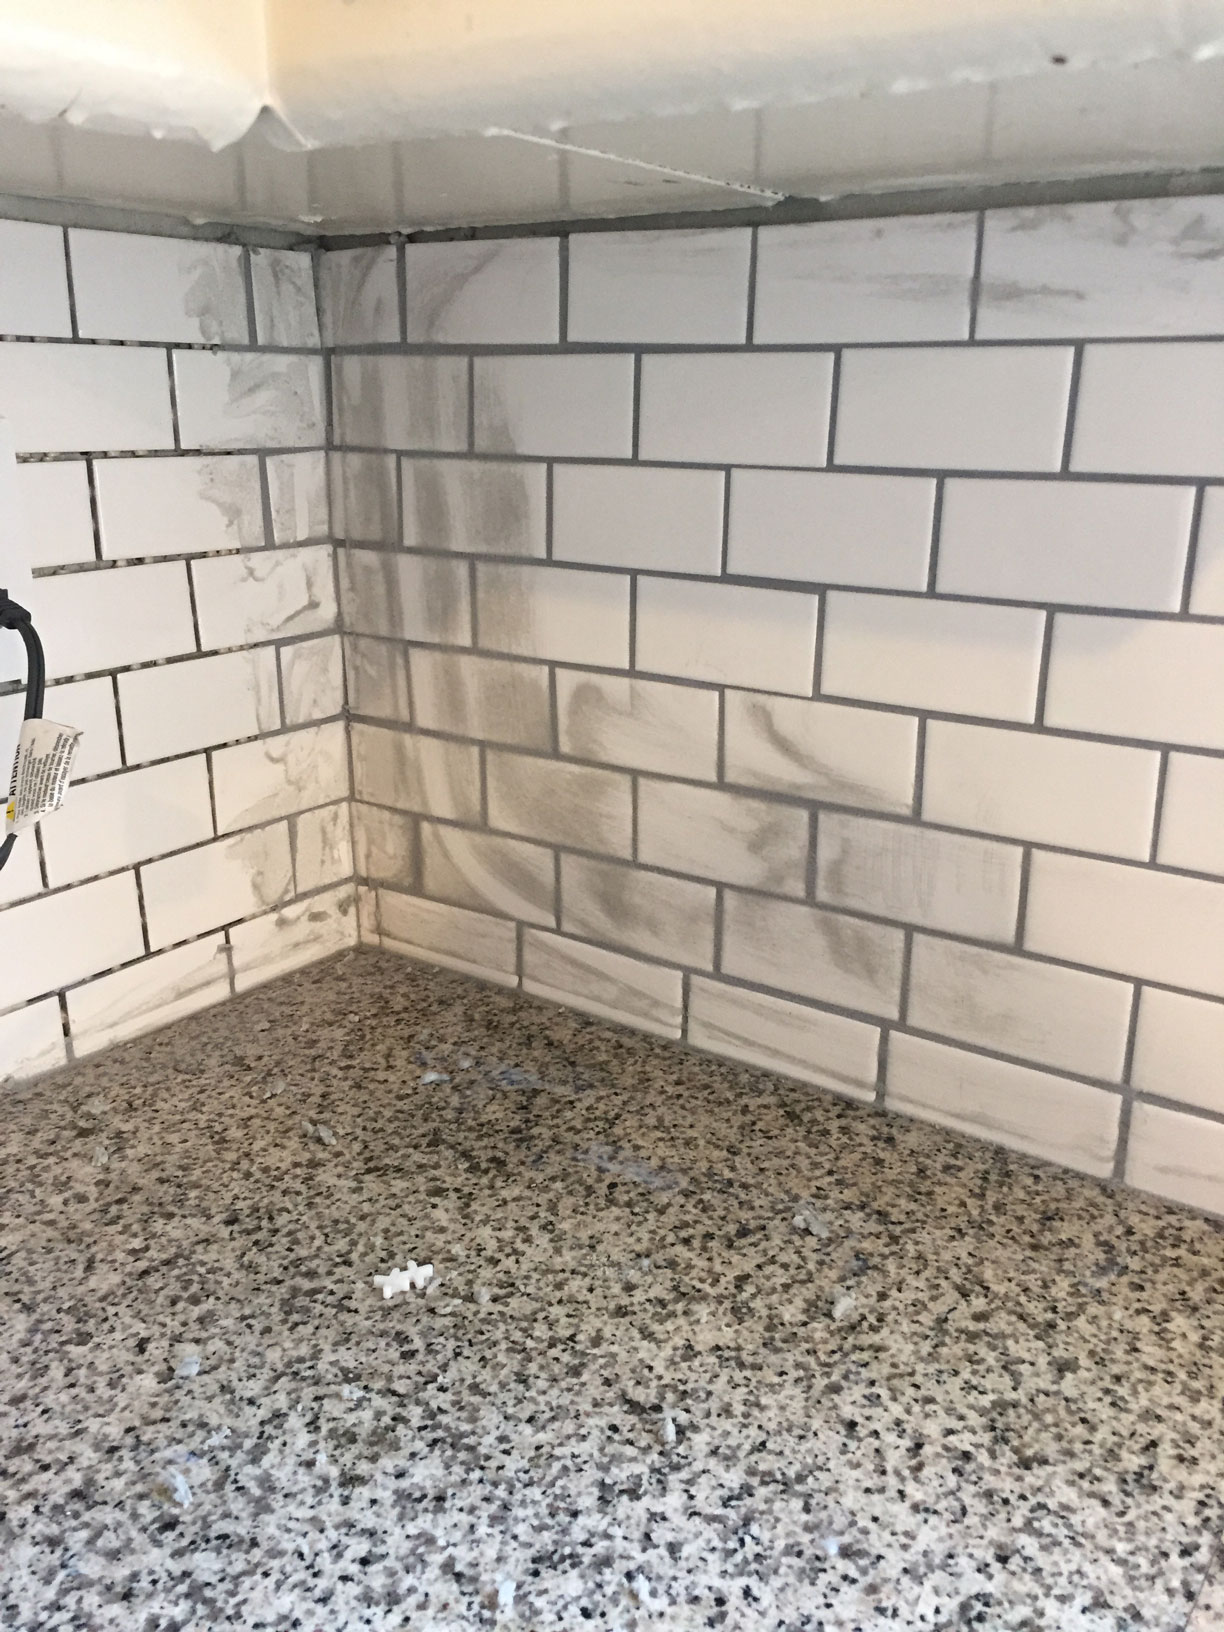
After mat is applied to wall we started in the corner. We peeled back as we applied tile knowing that we only had 24 hours to grout once the tile was up on the mat.
We choose a simple and inexpensive white subway tile. The 2x4 tile came on a sheet which made for quicker installation . As we installer each sheet we used plastic tile spacers to get the same gap as on the sheet.
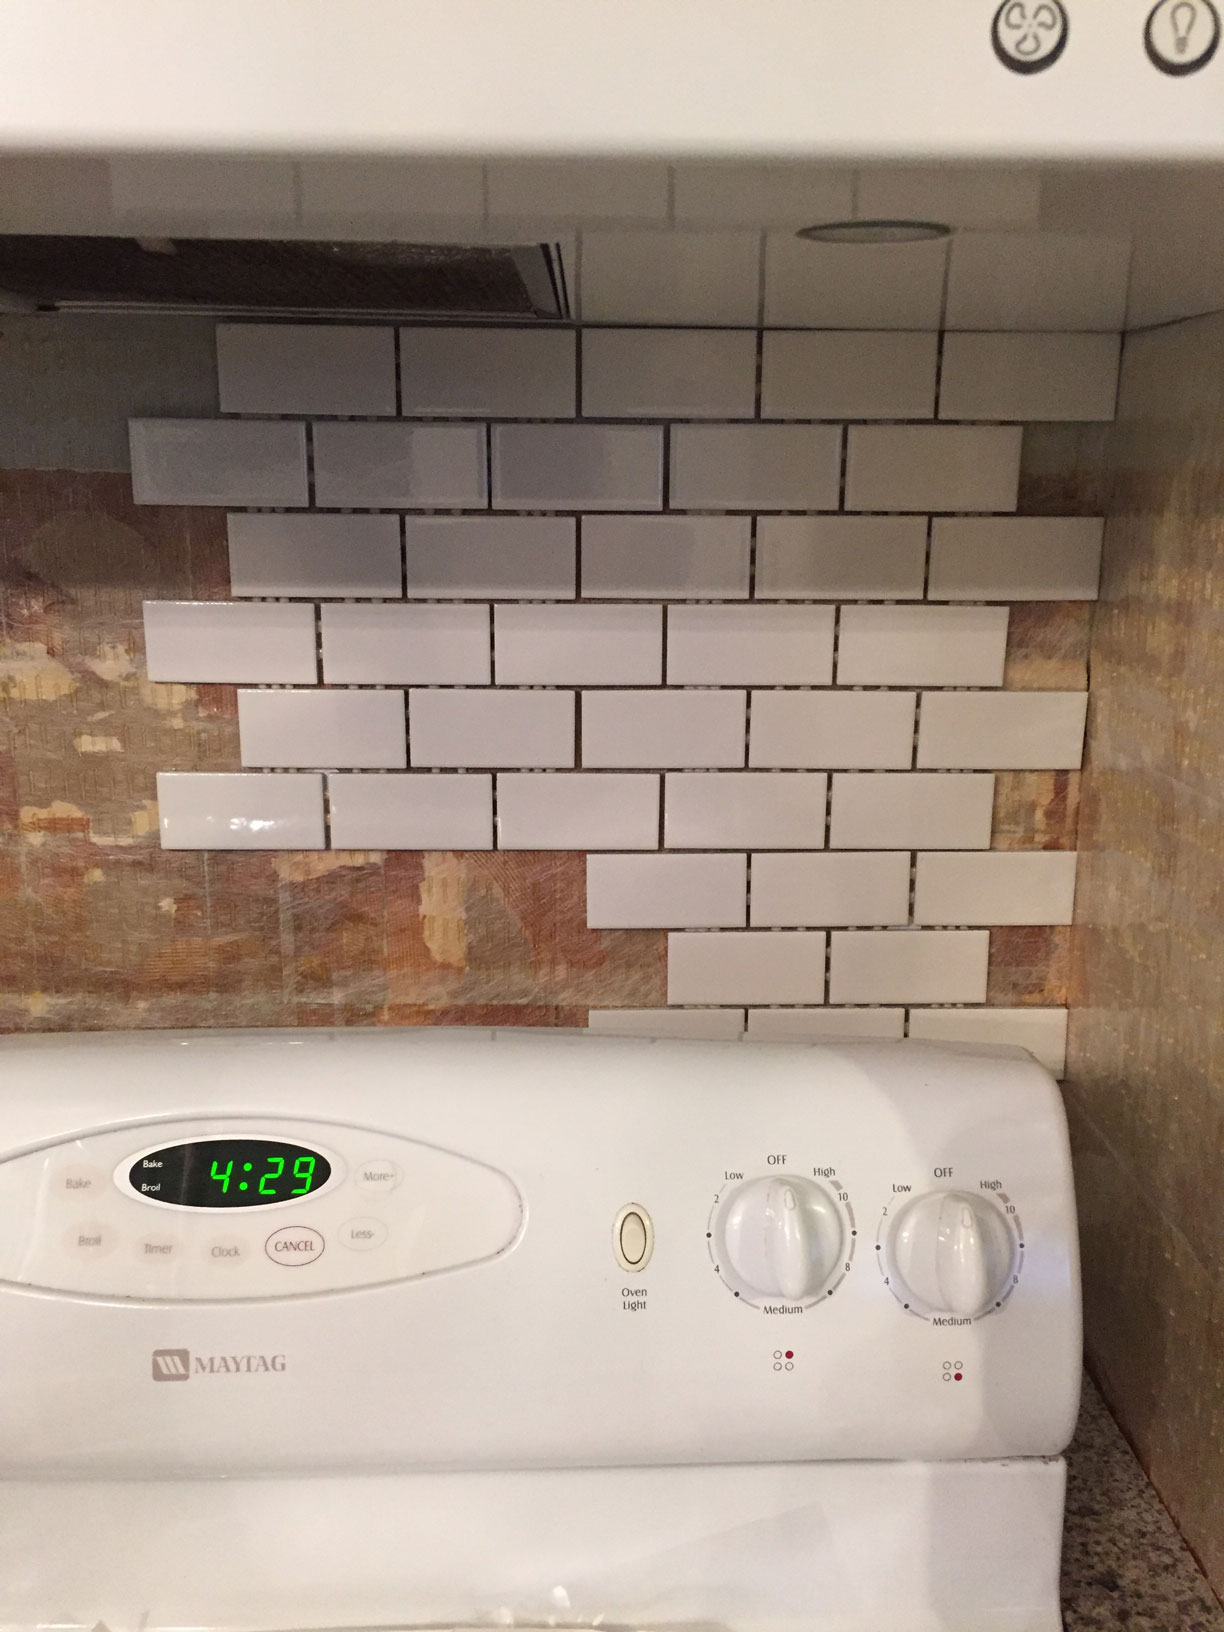
One thing we did wrong here was not creating support behind the stove for the tile. Everywhere else the tile rested on the countertop, but behind the stove there was not support. We waited to grout this section 10 hours and when we went to grout the tile had slide slightly down the wall. We were able to push it back into place but then it would sink back down. We decided to place a few support finish nails under some of the tiles and then grouted right over them. This held the tile perfectly.
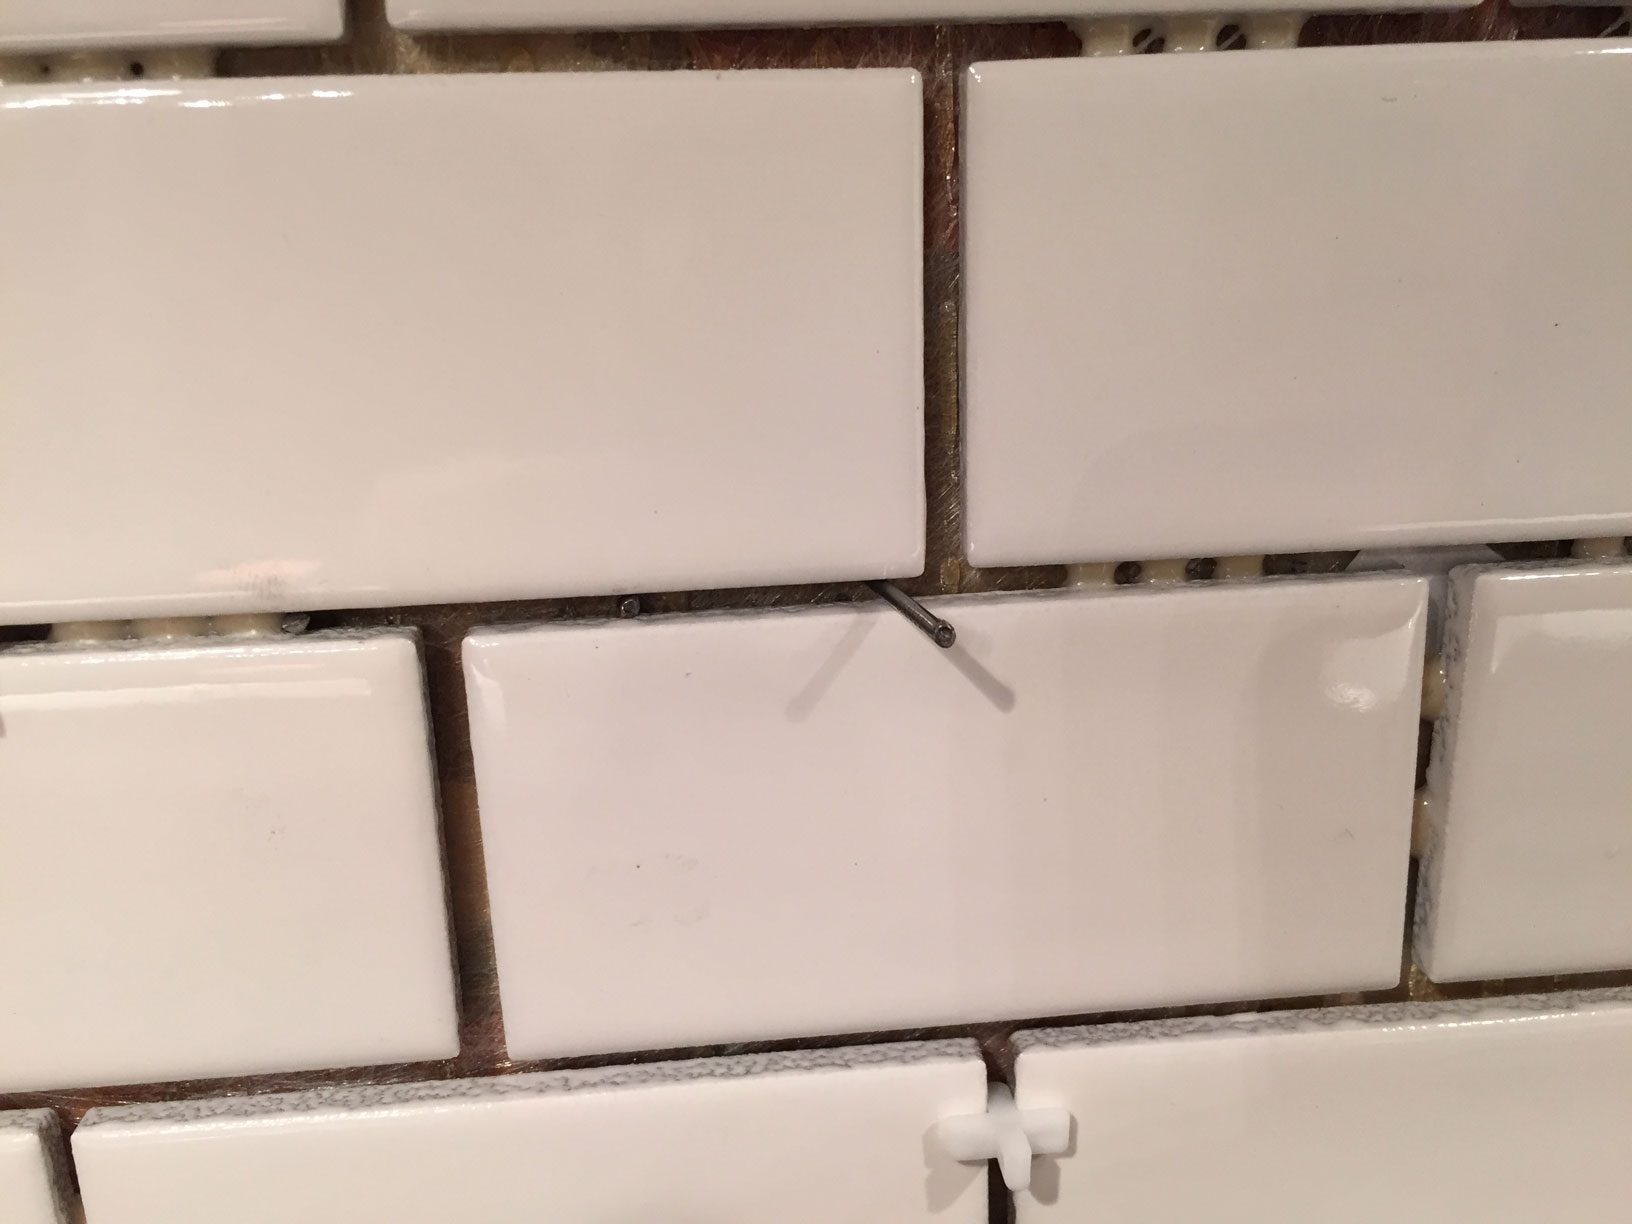
For you though, I would recommend a support cleat or 2x4 level with countertop between cabinets.
We installed all full pieces first and then came back to the sections we needed to cut, like around outlets or corners/ends.
The last step was to grout. This step is the messiest, but the clean up is really easy. To grout you just need the grout, grout float and a sponge and bucket of water. You dip the grout float into the grout, getting a glob of grout on the corner and then wipe it onto the tile. We stayed in a 2'x2' section filling in all the holes. Then used the sponge to gently wipe of the grout left over on the tile. We wiped 3-4 times, rinsing each time, until the tile was clean. Then we moved on to grouting the next 2'x2' section.
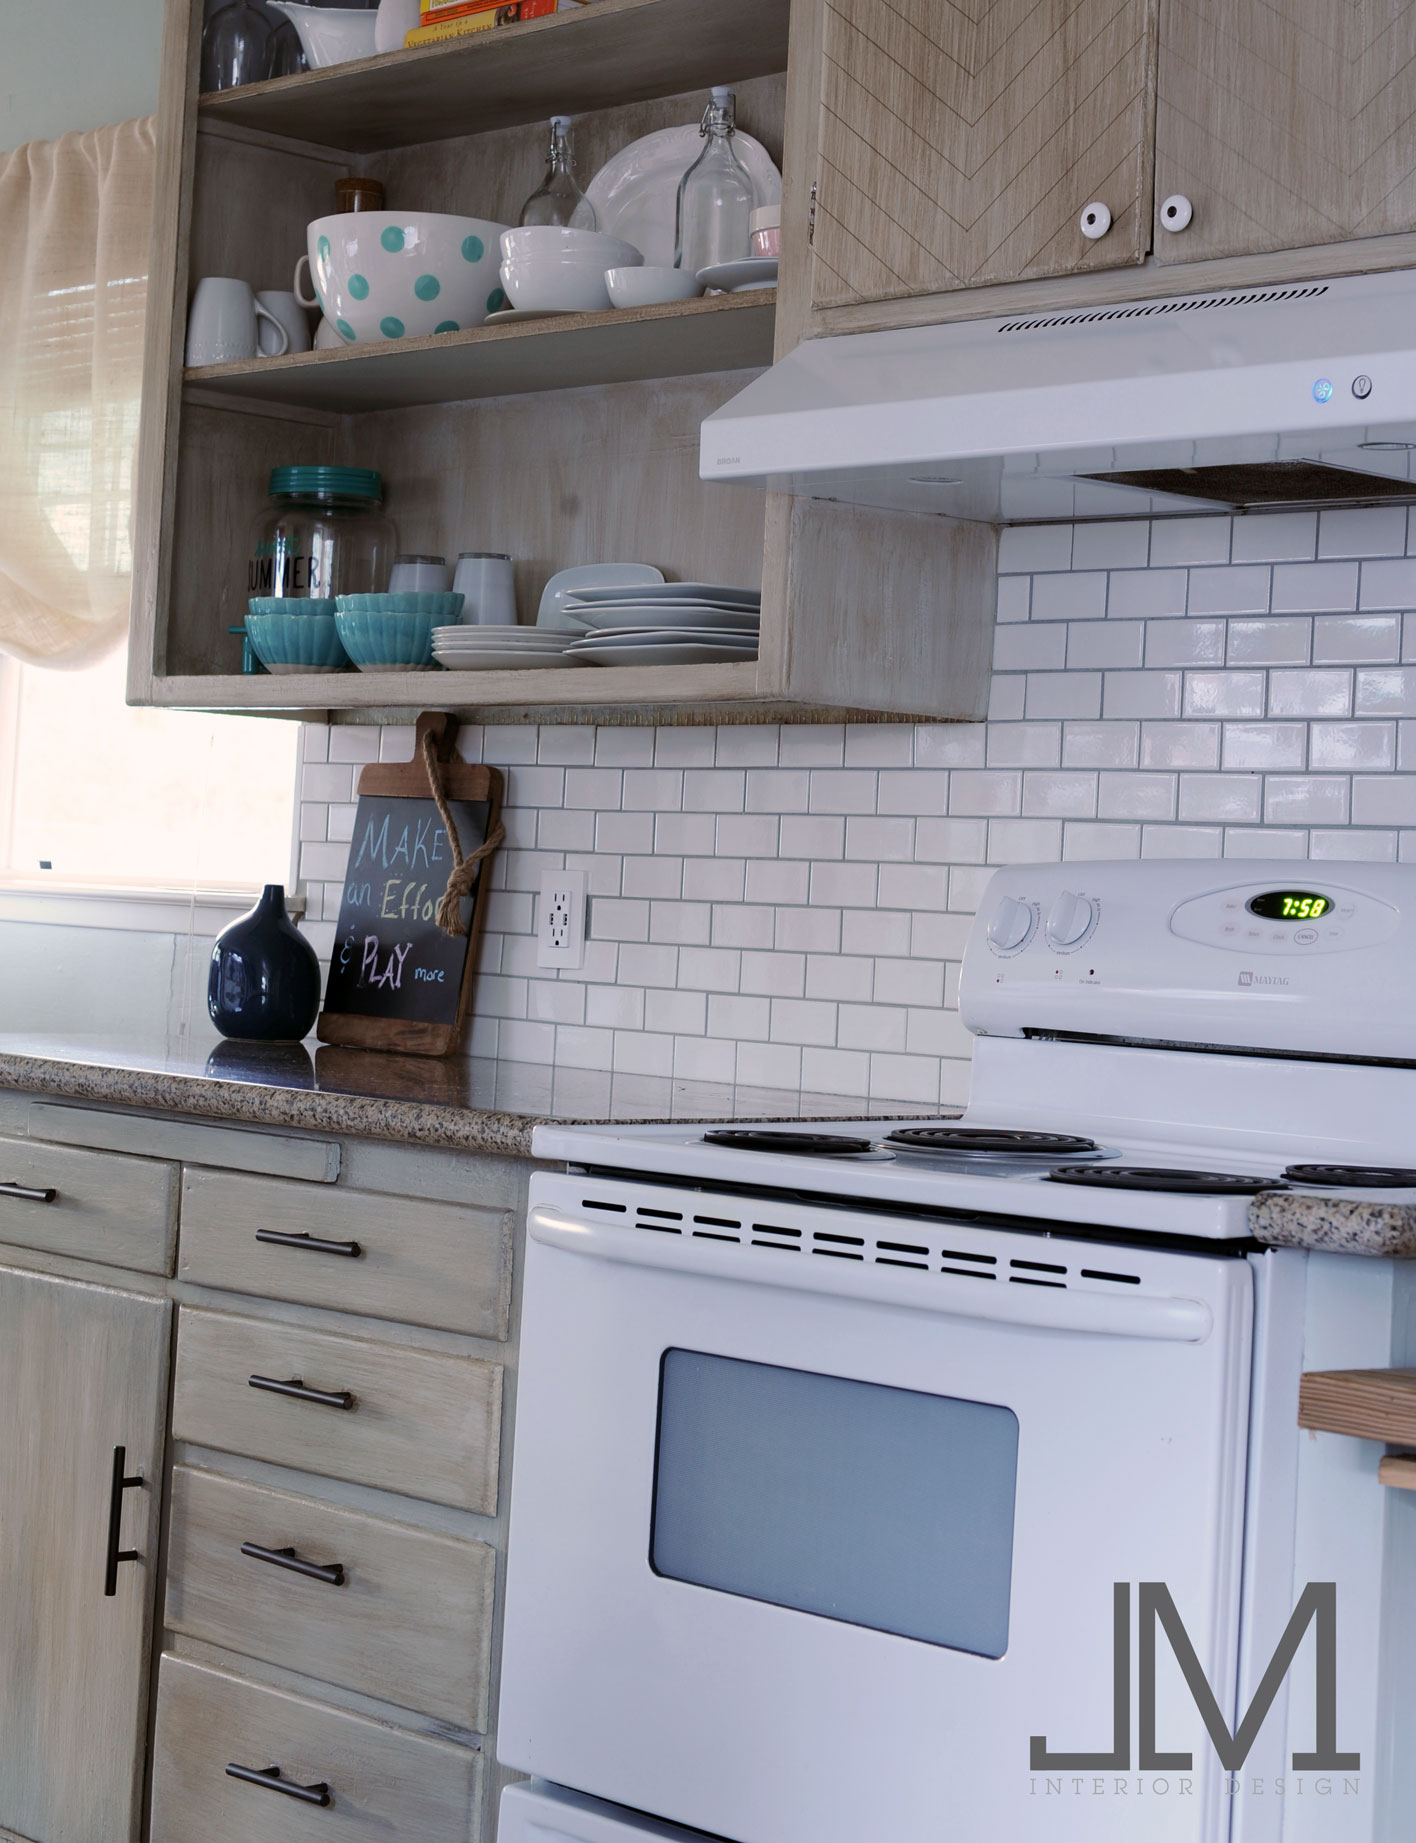
And that is it. Here are the before and after photos. Hope this tutorial was helpful. Good luck on your DIY project.


If you are interested in learning more about painting your own cabinetry, checkout our Chock Paint Tutorial here.
