Entryway Bench
Today we want to talk about how to add a little design to your entryway with a DIY bench and plank wall. If you find yourself looking for ways to store shoes by the front door, building a bench gives you storage below, as well as a cozy spot to sit and lace up. The plank wall adds a farm house design feature to your space, while providing additional storage solutions for bags, coats, or scarves. The picture gallery shelf above allows for a space to get creative or festive with some decor. For a tutorial on building the gallery shelf see our previous write up here.
We started by thinking about how high to make the bench. Most benches are between 16-18". We decided to make our bench on the shorter end so it is easier to bend down and tie your shoes. Once we had that height figured out, we knew where to start installing the plank walls. (our design started with the plank wall above the bench, since you won't really see the planking behind the bench anyway)
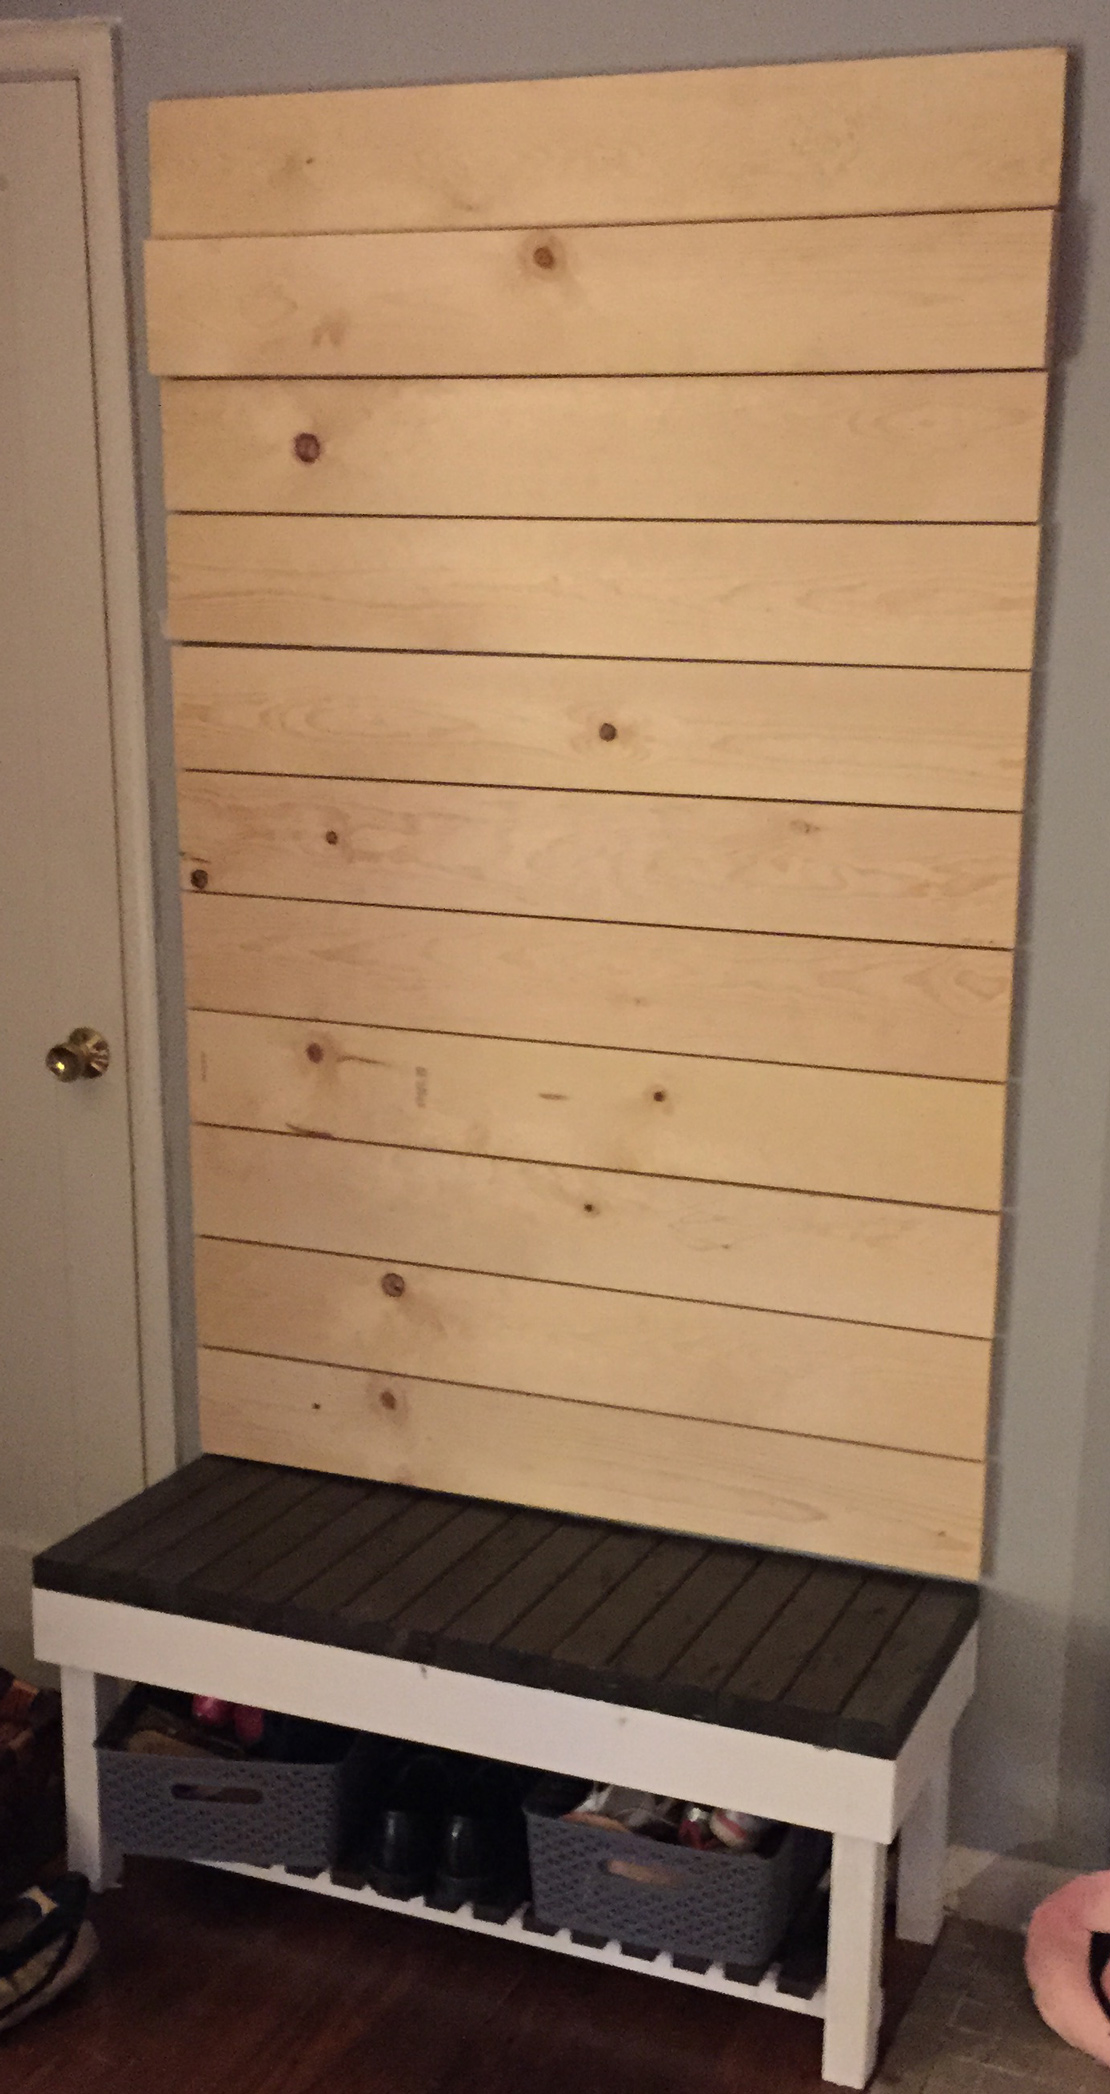
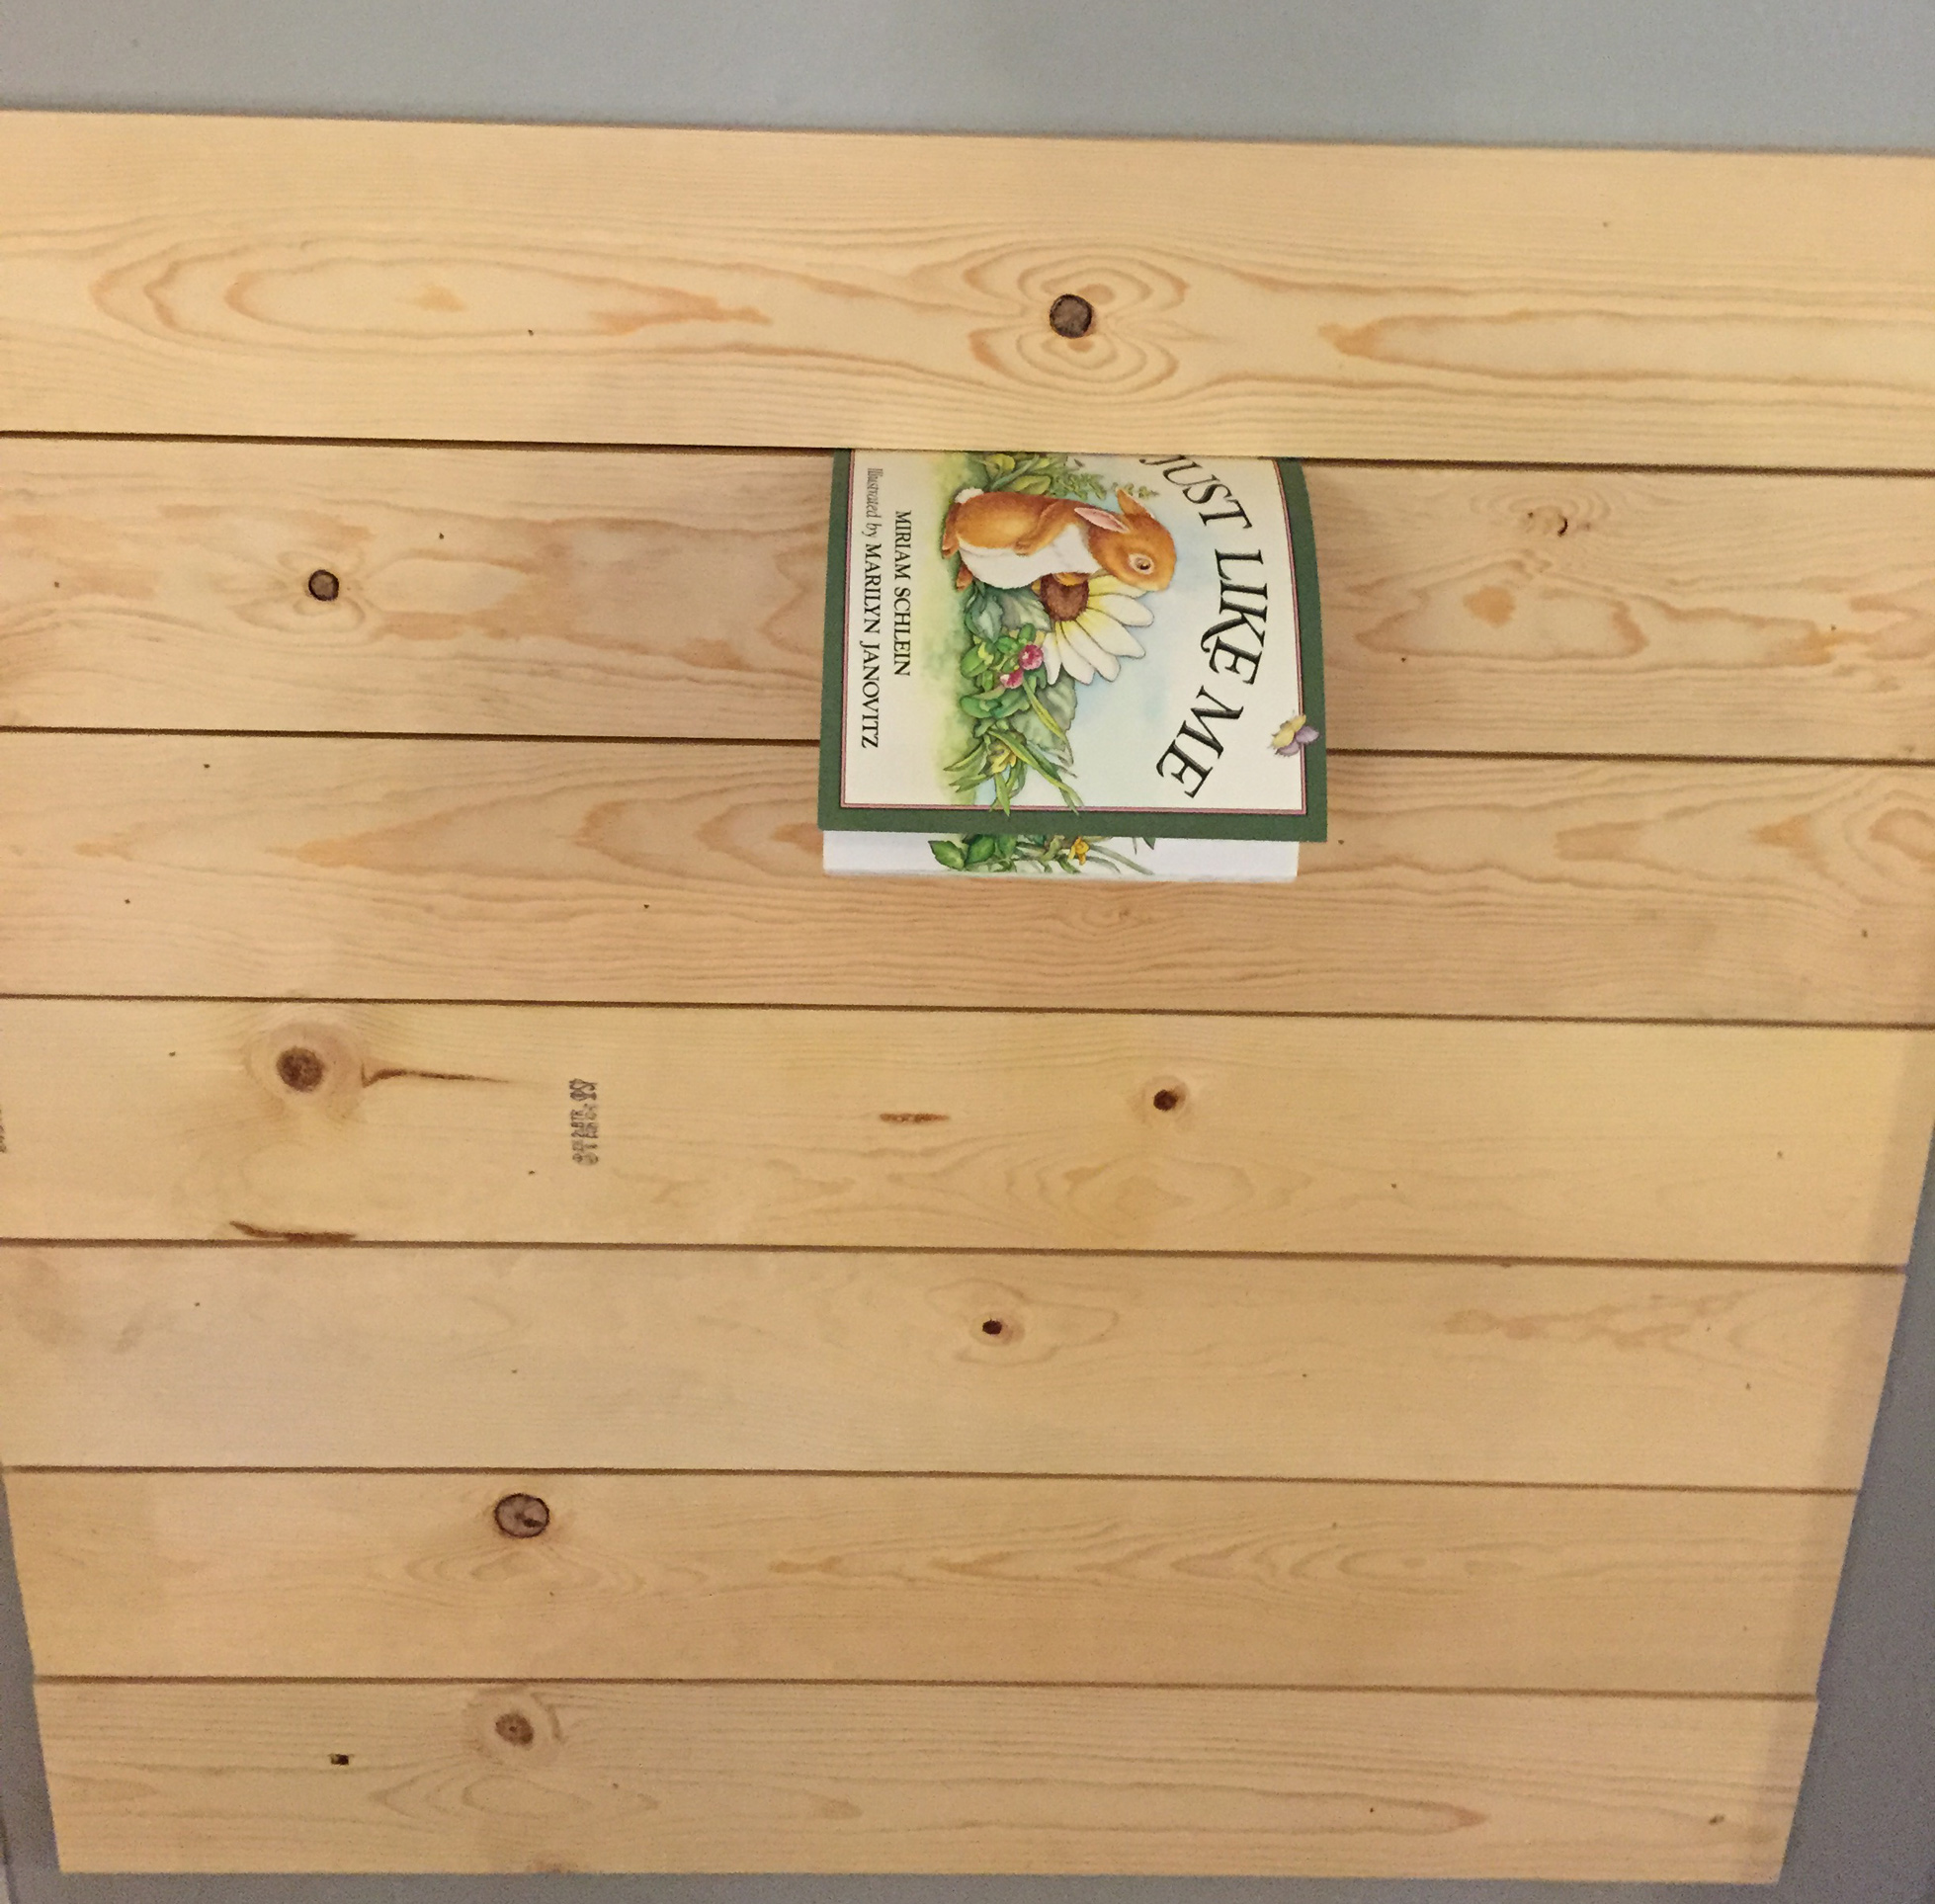
To install the planking we nailed the planks to the wall and used a thin book to create the spacing. This does two things, it gives the look of ship lap, but also allows each board to only support itself and nothing else above it. The reason this was critical was because we were using a brad nailer to nail the planks, and brad nailers are not recommended for heavy moulding.
At the top of the plank wall we wanted to create a picture gallery shelf with hooks below to hand bags, scarves and jackets. We doubled up the second to last plank, to use as the plank with hooks on it, and to create extra support for the gallery self that mounted above. We created a gallery shelf following this tutorial and screwed it to the top plank of our plank wall.
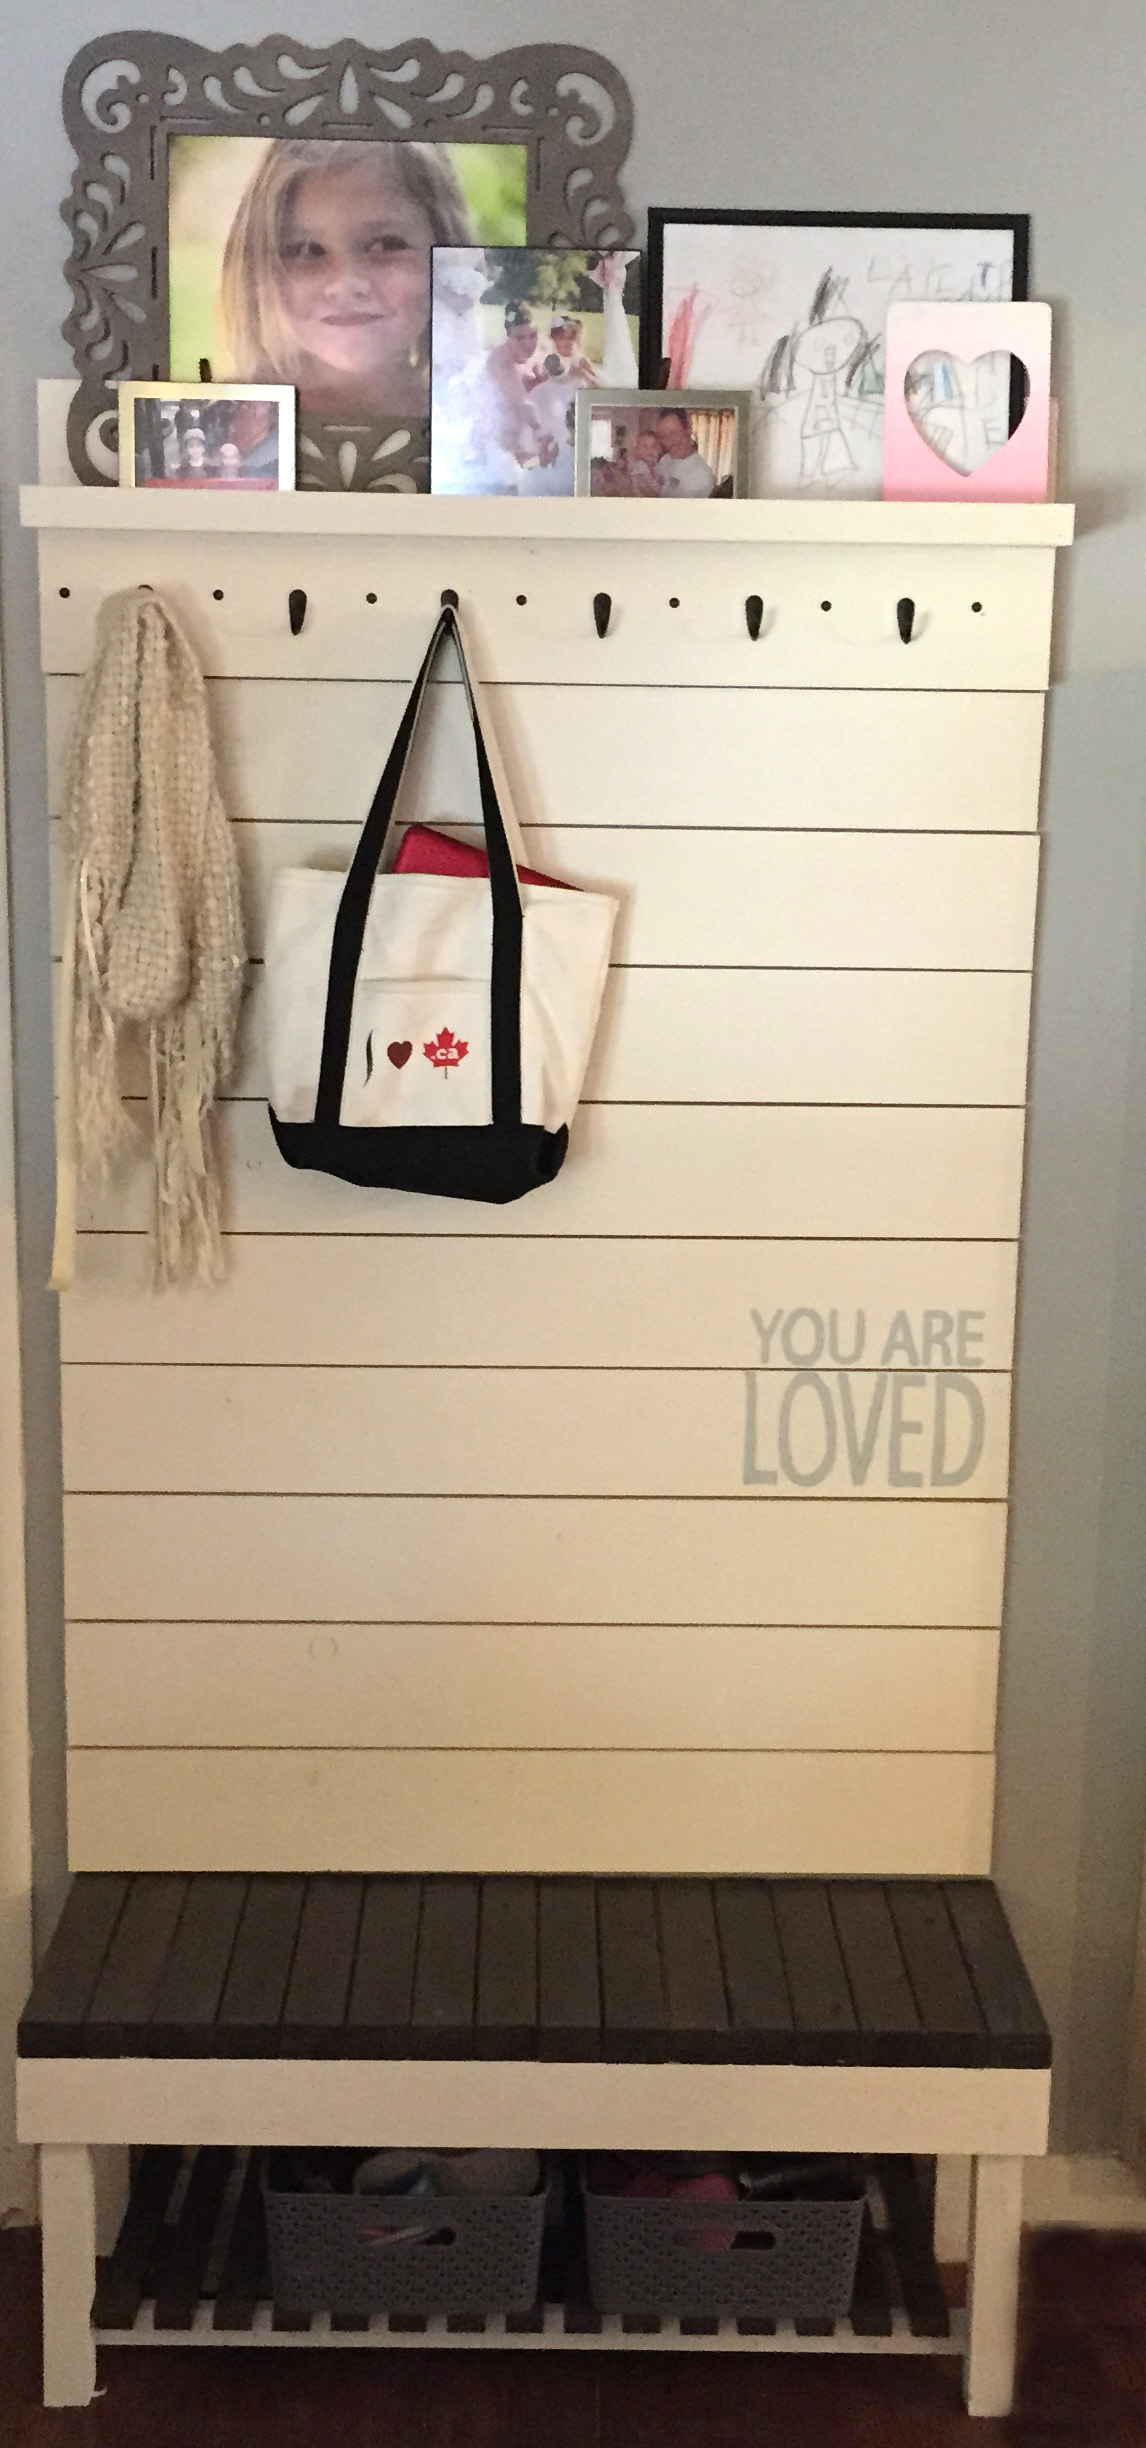
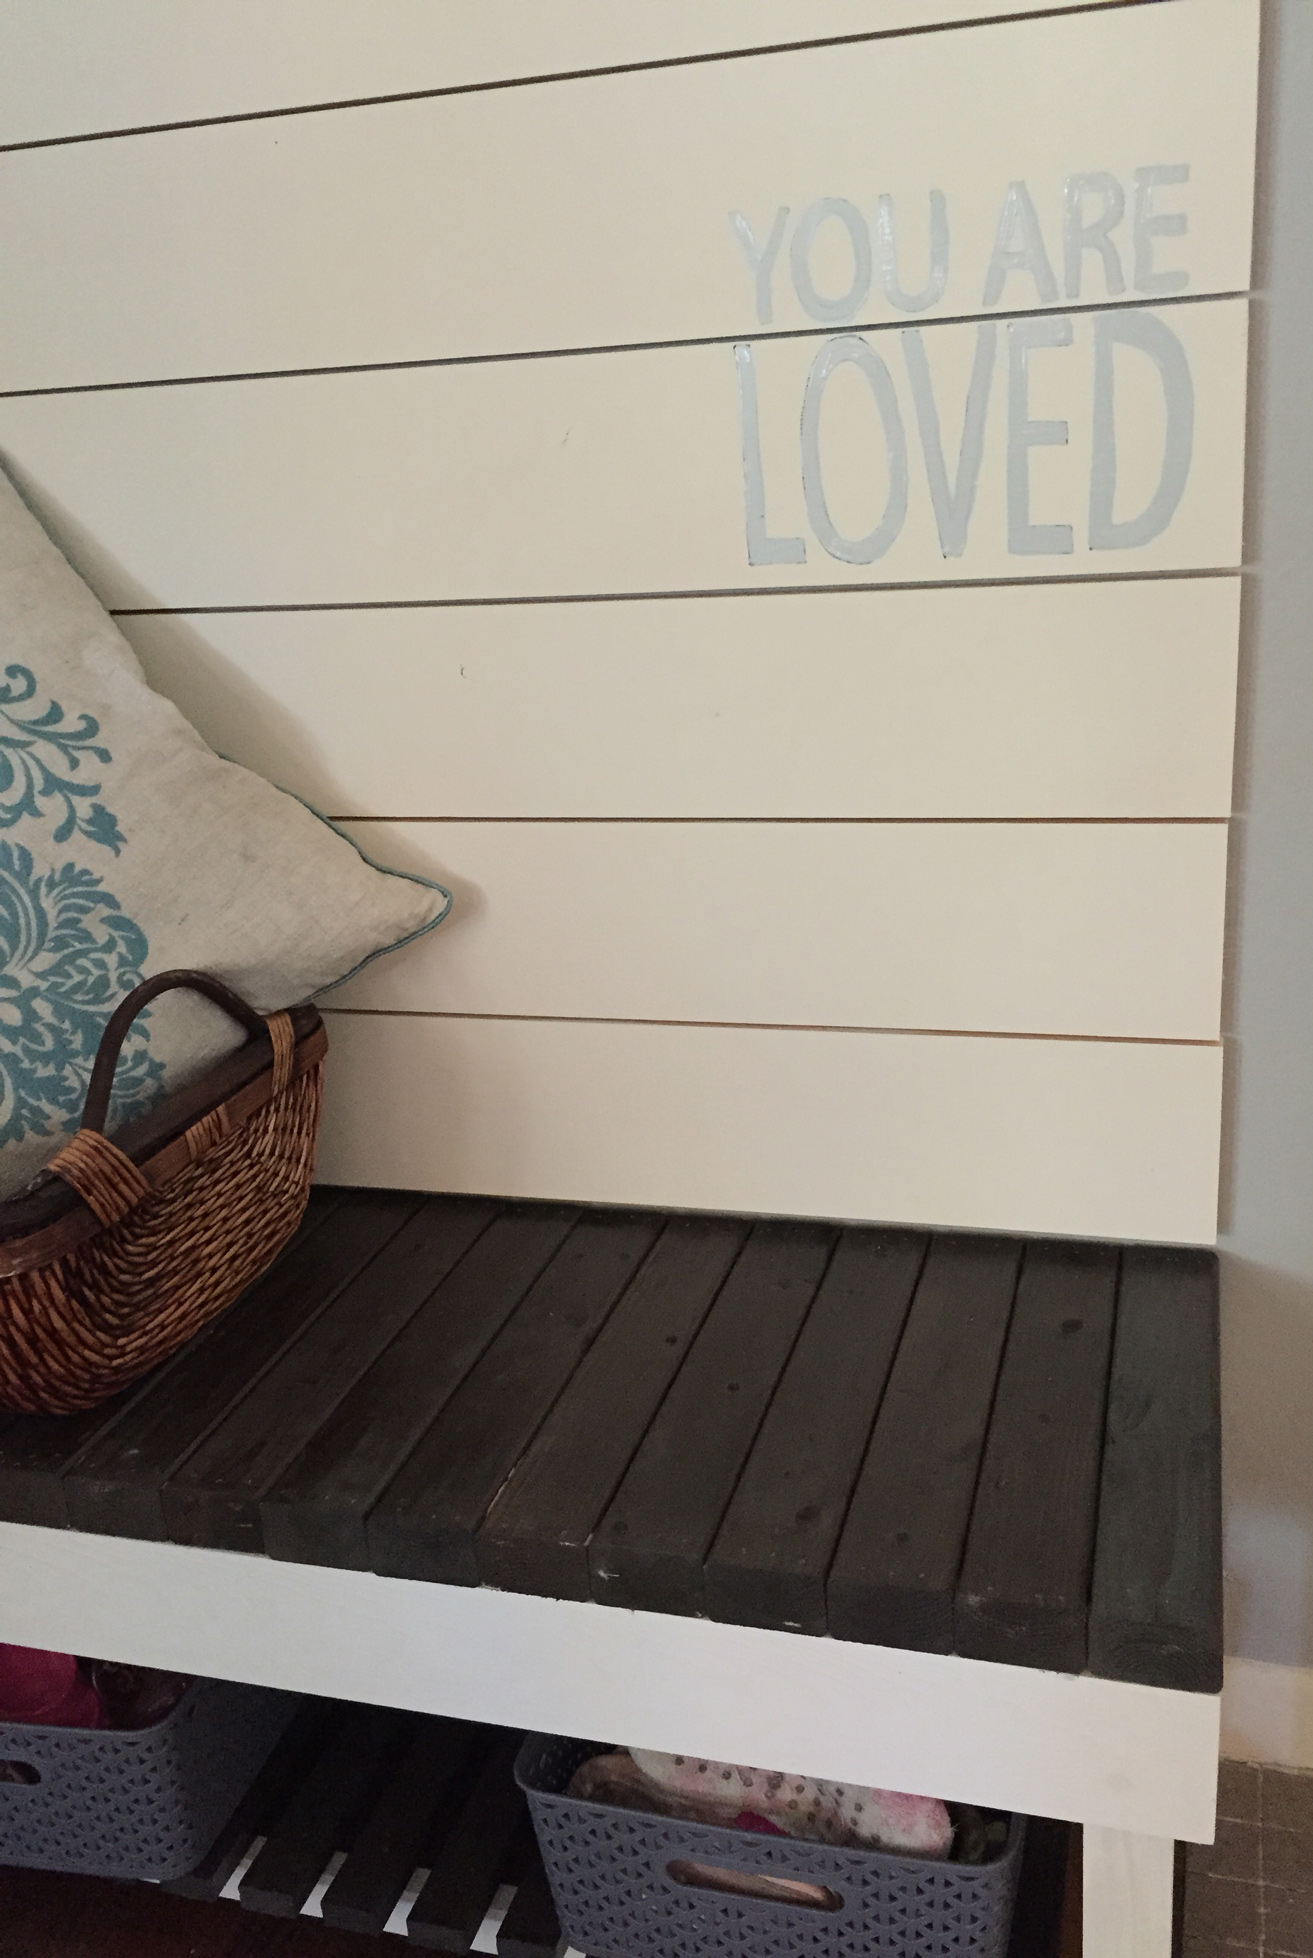
Next we white washed the wood. We used standard pine and loved the idea of the knots showing through the paint. The best way to achieve this look is with white washing. White Washing doesn't mean it needs to be white paint. I once "white washed" fir planks in a bedroom in a green color and it was so beautiful to see the light and darks coming through the wood. To "white wash" you basically need to add water to the paint. I would experiment with the ratio, to much water and you will need to do multiple coats, but to little water will not give you the effect of the wood bleeding through. We went with a half and half ratio, and did 3 coats.
For the hooks we wanted a nail head type look and decided to mix bronze nail heads with small hooks. The hooks we choose came from amazon, here is a link to the specific type we ordered. This is the link to the exact nail heads we ordered as well.
One of the last steps was to personalize the planks for the family. You can add images or text. We used a great tutorial that shows how to print anything and transfer it to a wall or even furniture. Once it was transferred we used a fine paint brush and painted of the transfer.
To see how to make the Entry Bench, see the tutorial here.
