DIY Sock Stick Pony
Today's post is a little different than the others we typically post. With Christmas coming up we are putting together a series of DIY Gift Ideas along with some tutorials on how to make them. This tutorial will focus on the DIY Sock Stick Pony.
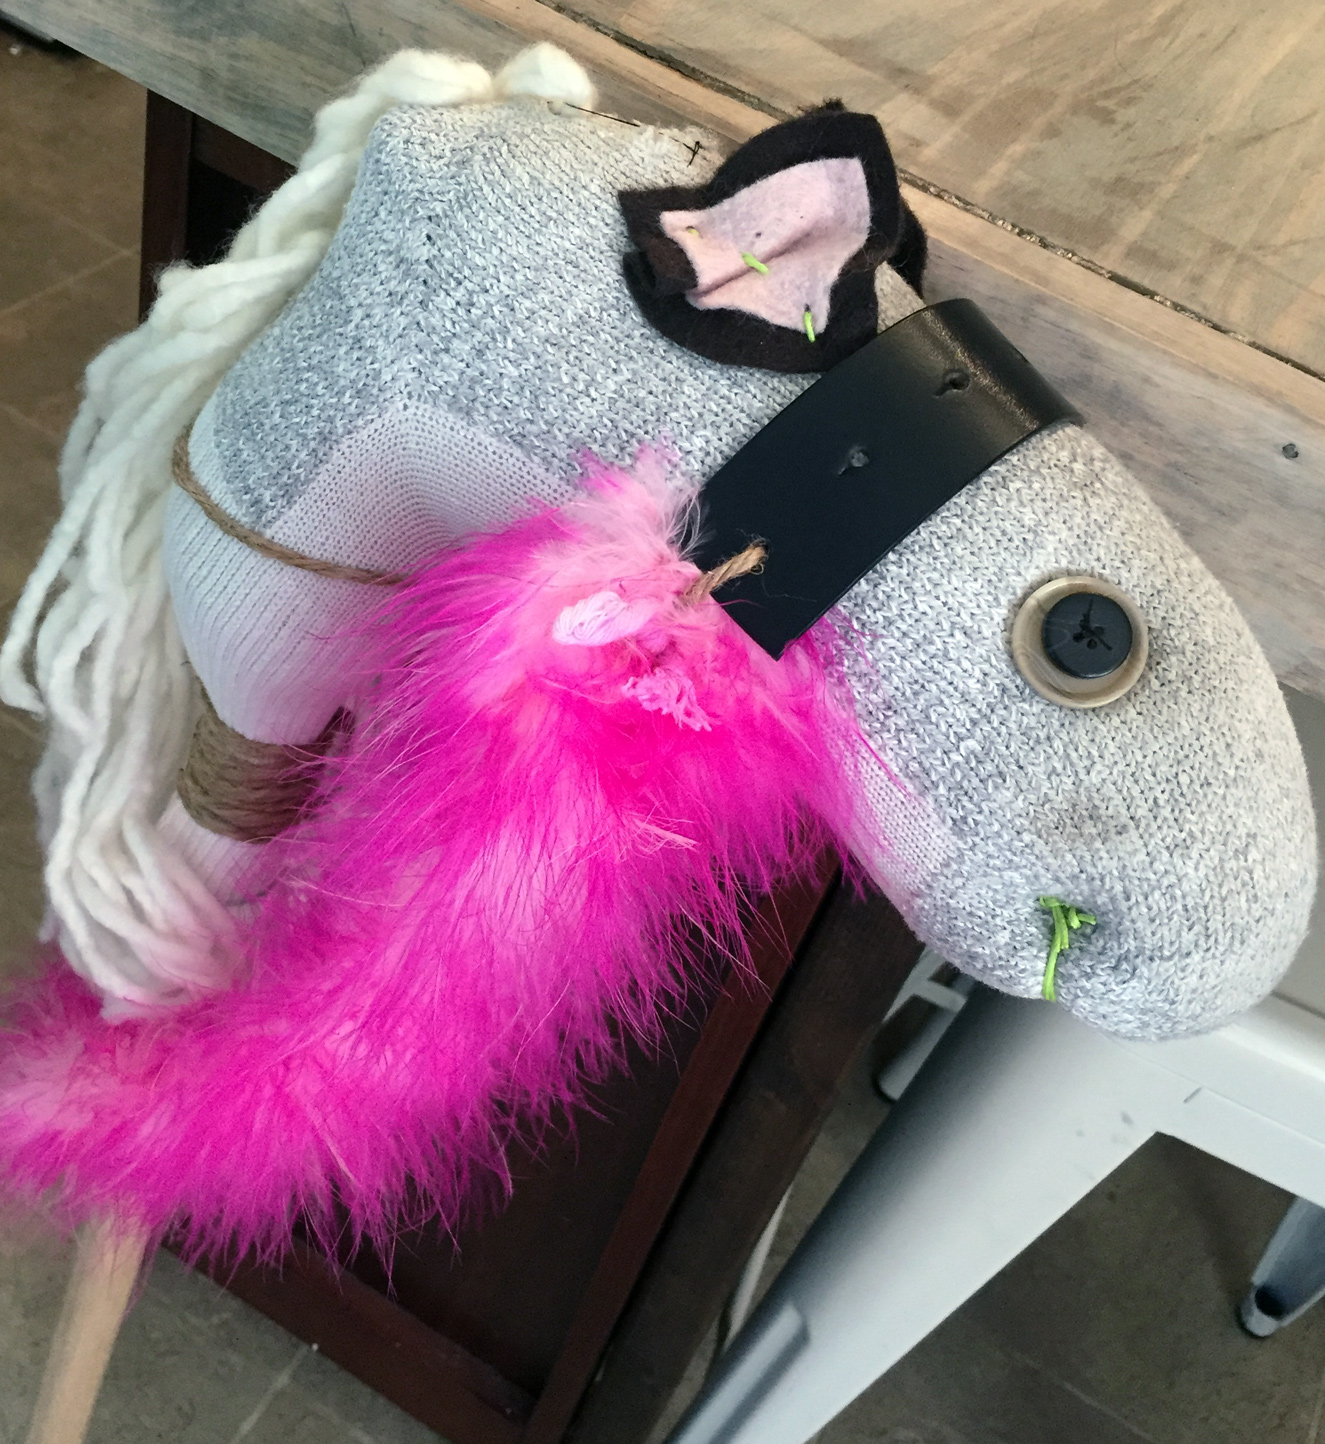
You will need to start with a large mens sock, twine, leather belt, buttons, some felt for the ears, yarn for the mane, stuffing, a broom stick cut down or a 1/2-3/4" wooden pole and sting. You will also need a long needle that can go from one side of the horse face to the other. I used a feather boa for the reins, but you can use rope or twine.
We followed a tutorial from Light Blue Grey Blogspot.
Things got a little wonky when it came to some of the details with in each step. I am a very visual person, so I need to see step by step. I tried to do this for you guys.
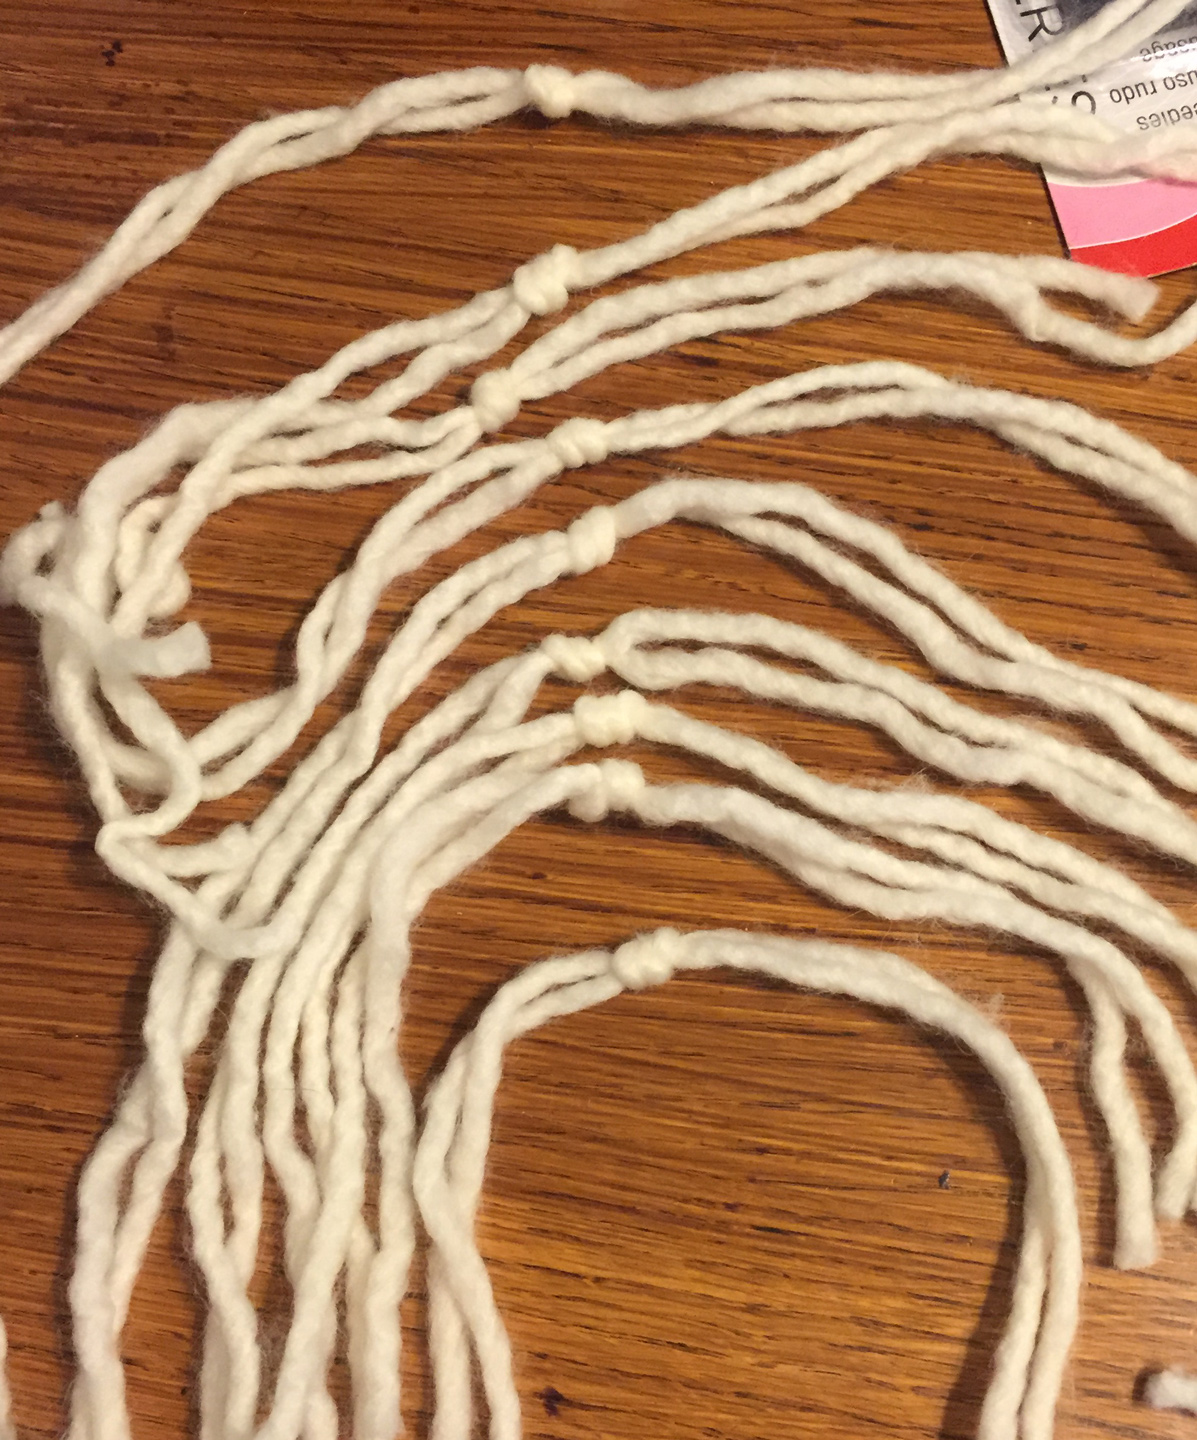
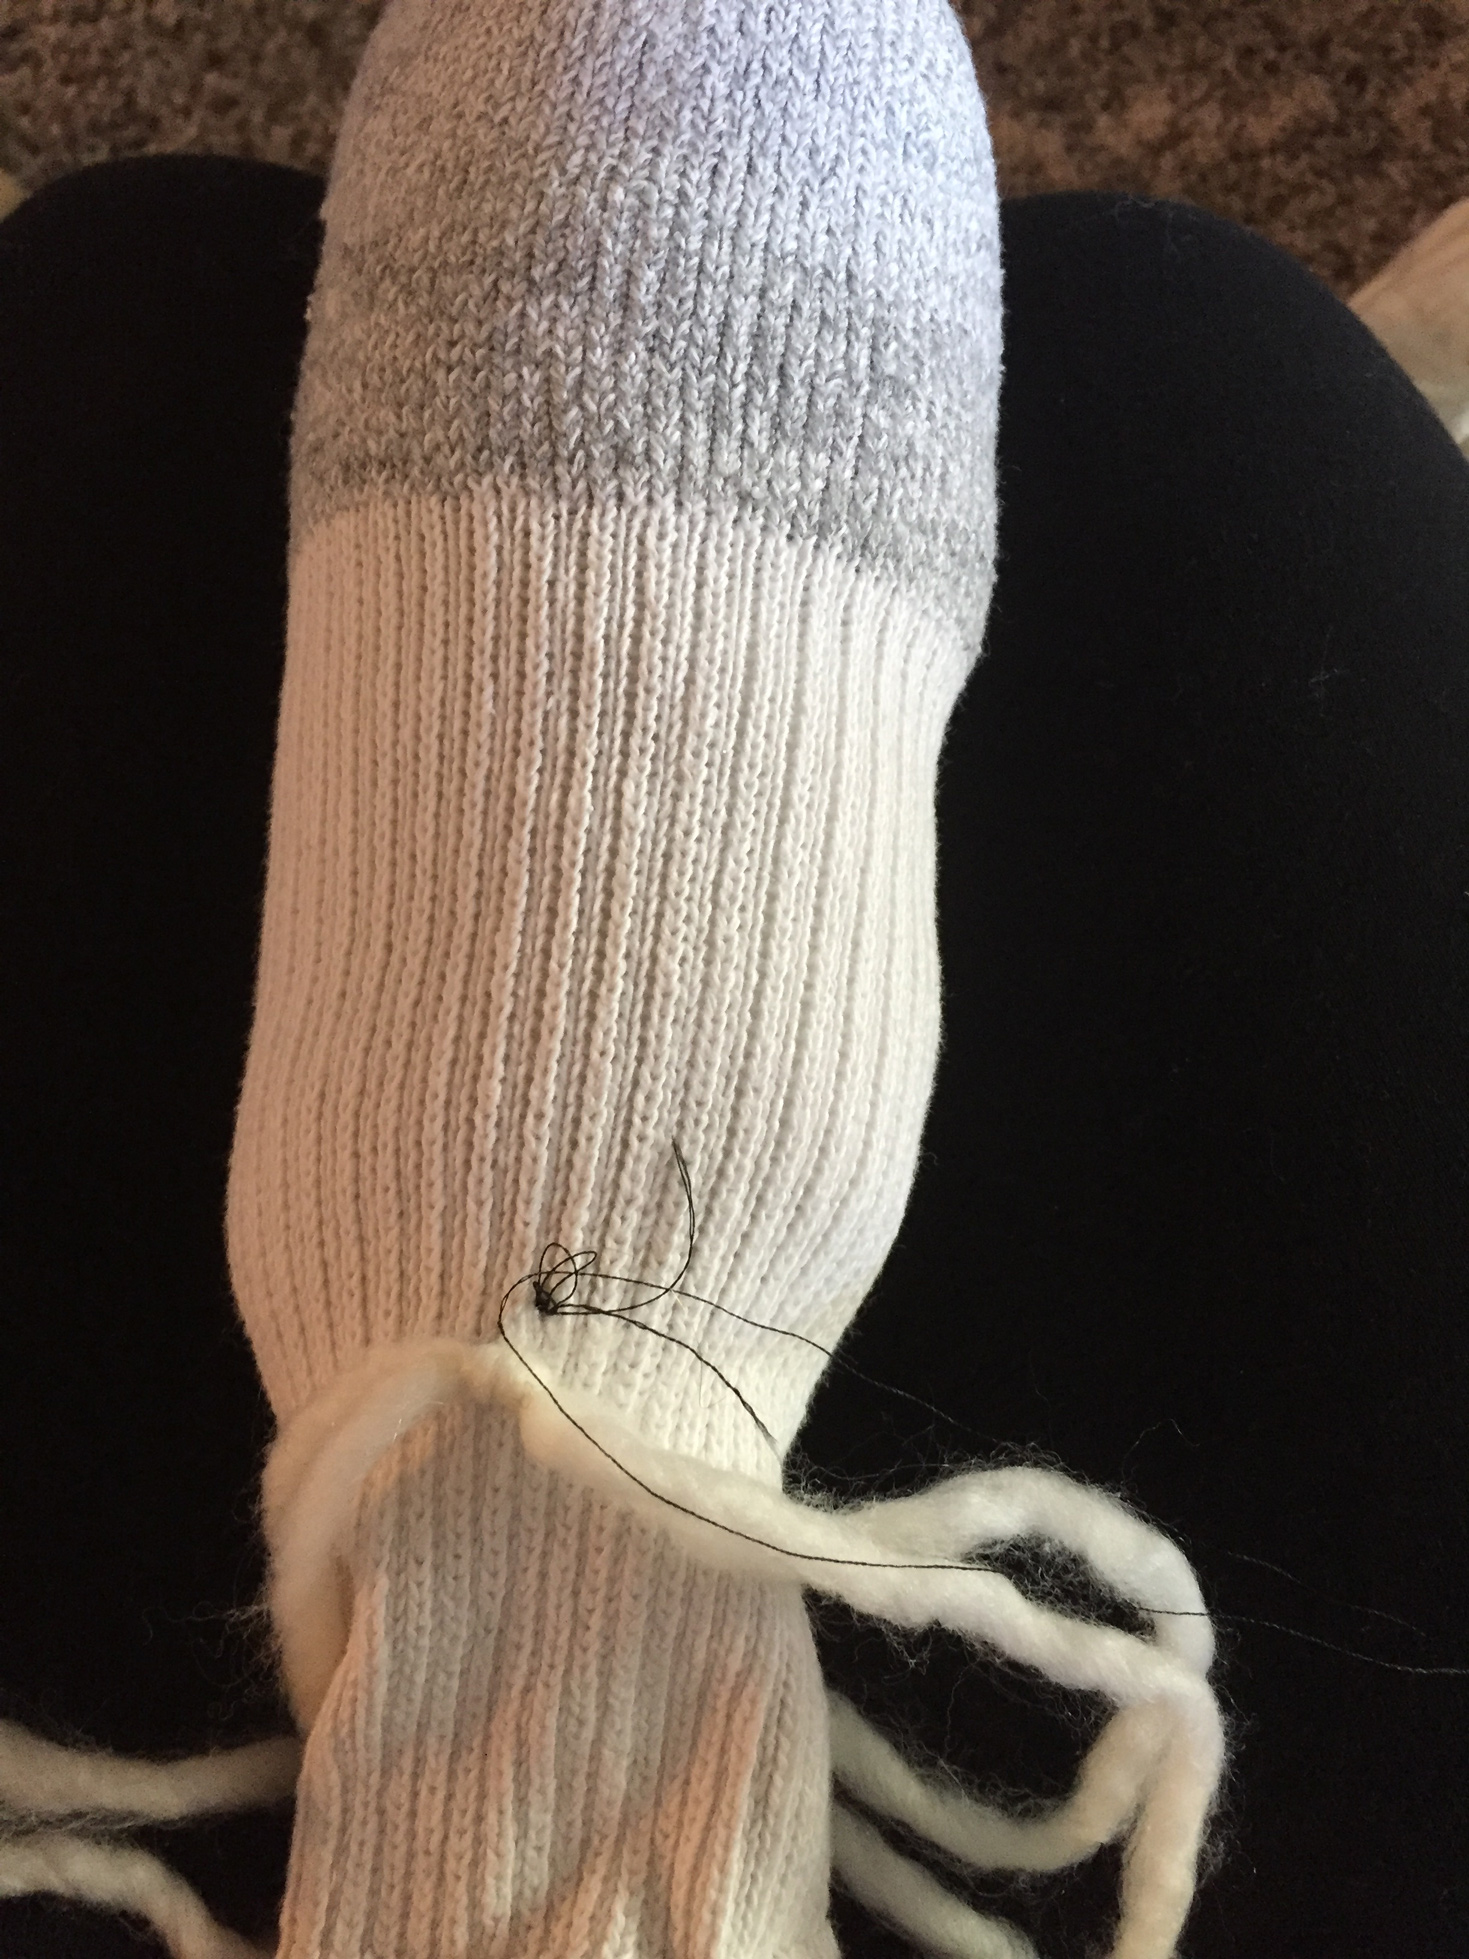
The first step that was a little hard was the mane. I knotted each piece and once I had about 15 knotted pieces I started to sew them onto the sock.
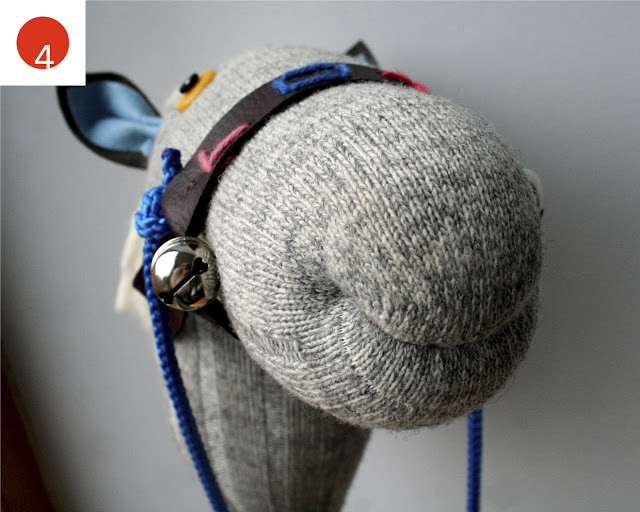
Sewing the eyes on was another tricky task. The Light Blue Grey tutorial talks about sewing one button on and pushing the needle to the opposite side to sew the second button one and then going back and forth through the horse head to secure the buttons. The hardest part of this is lining up the buttons. I recommend making a pencil mark or putting tape on the place you are thinking for the eyes, then stand back and make sure it doesn't look funny.
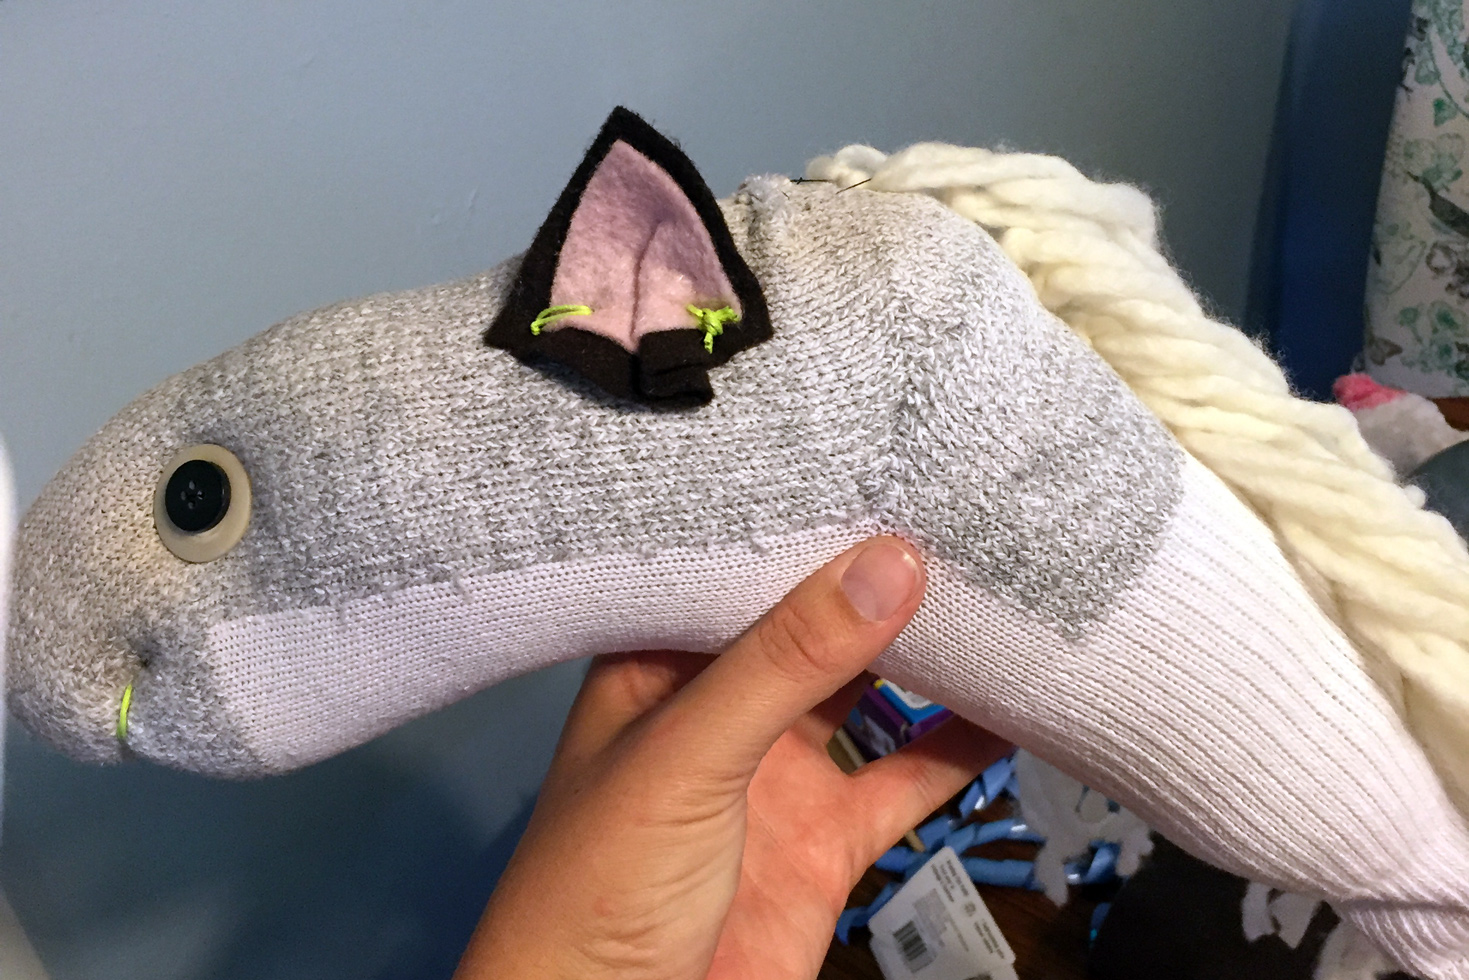
The last section that was a little tricky while following the Light Blue Grey Blog Post, was the felt ears. I wasn't sure how they folded the ears over and got them to stay the way they show in their pictures.
See below what we did.
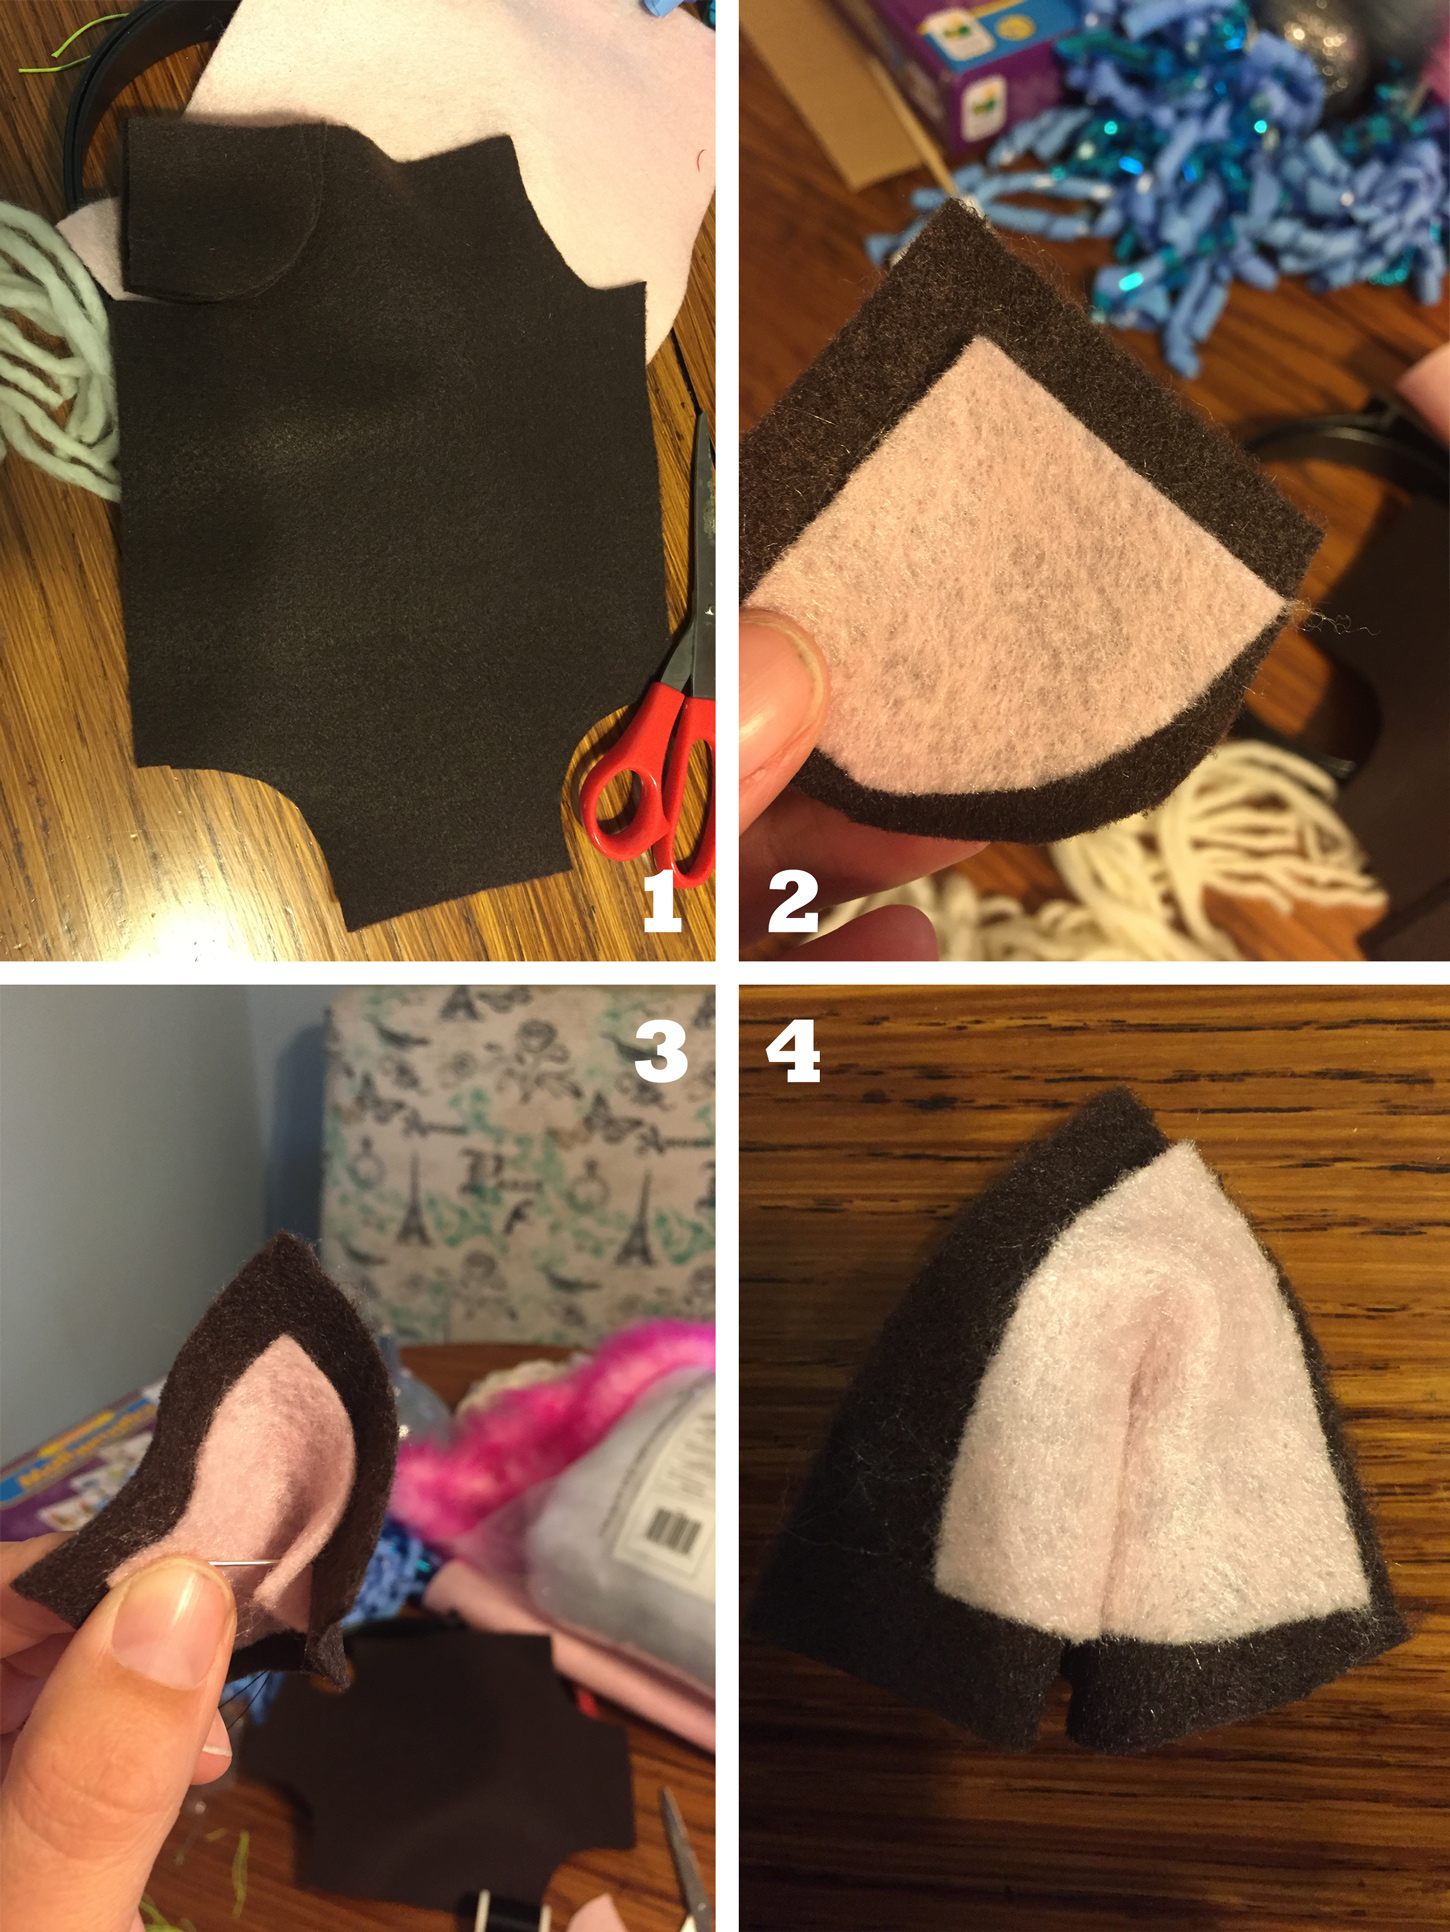
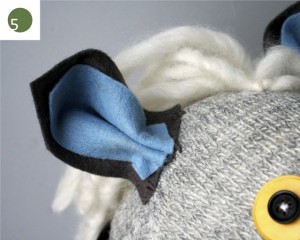
You will need two colors of felt. Fold the outer color felt in half, and cut a semi-circle from the corner. Do the same with the inner color felt, just make it slightly smaller than the outer color. Then overlap the felt like step two in the image above. At the bottom of the triangle (slightly curved edge) pinch the pieces together to create the look of a fortune cookie. From behind the front facing edge push your needle through and stitch it pinched together (step 3). Once you get to step 4, you can sew the pinched ear onto the sock.
The rest of the Light Blue Grey Blog Post is pretty easy.
Hope these few extra steps were a little helpful. Follow us on Facebook and post some of your Sock Stick Pony Pictures.
