Drop-cloth Slipcovers
Today we are going to go through a tutorial on creating a slipcover using a standard drop-cloth found at your local hardware store. This tutorial can also be applied to any other upholstery grade fabric. Let me start by telling you why we chose to use a drop-cloth as our fabric choice.
Why choose a drop-cloth as the fabric?
There are a few reasons, one is cost. I was able to use 1 large drop cloth for my entire love-seat. I bought my drop-cloth at home depot and paid about $35 for the large size. If you were going the route of using an upholstery grade fabric you would need anywhere from 9-15 yards of fabric, depending on how big your sofa or love-seat is. If you bought upholstery fabric at Joann's Fabric, you would be looking at a minimum of $30 per yard.
The second reason was durability. Drop-clothes are great because they hold up very well when used for construction or paint projects. They also come in a grey color which can help hide dirt and little stains until you are ready to wash. Once they are washed they come out very soft.
The third reason was the shabby chic look that it gives off. It is a similar look to linen, without the linen price tag.
****Note: a few things I did to prep my drop cloth: wash and dry prior to making slipcover pattern. Also when washing add bleach if you want your drop cloth to be closer to white than grey. You may have to wash multiple times, bleaching each time to get the color you want. This can be a great idea to use some bleach because at some point you may need to get some tough stains out (like hot chocolate my kids spilt, whoops) and you will want the fabric to be a little closer to white.
Slipcover Tutorial
The drop cloth I purchased unfortunately came with 2 seams in it. Once I opened it up and realized there were existing seams I had to come up with a plan to use each panel for a different spot on the love-seat. Once I figured that out I cut the drop cloth up into the 3 pieces and began piecing it on the love seat. As I was piecing it together I started pinning to form the shape of the slip-cover. After pinning I cut the excess off leaving a 2 inch strip for sewing.
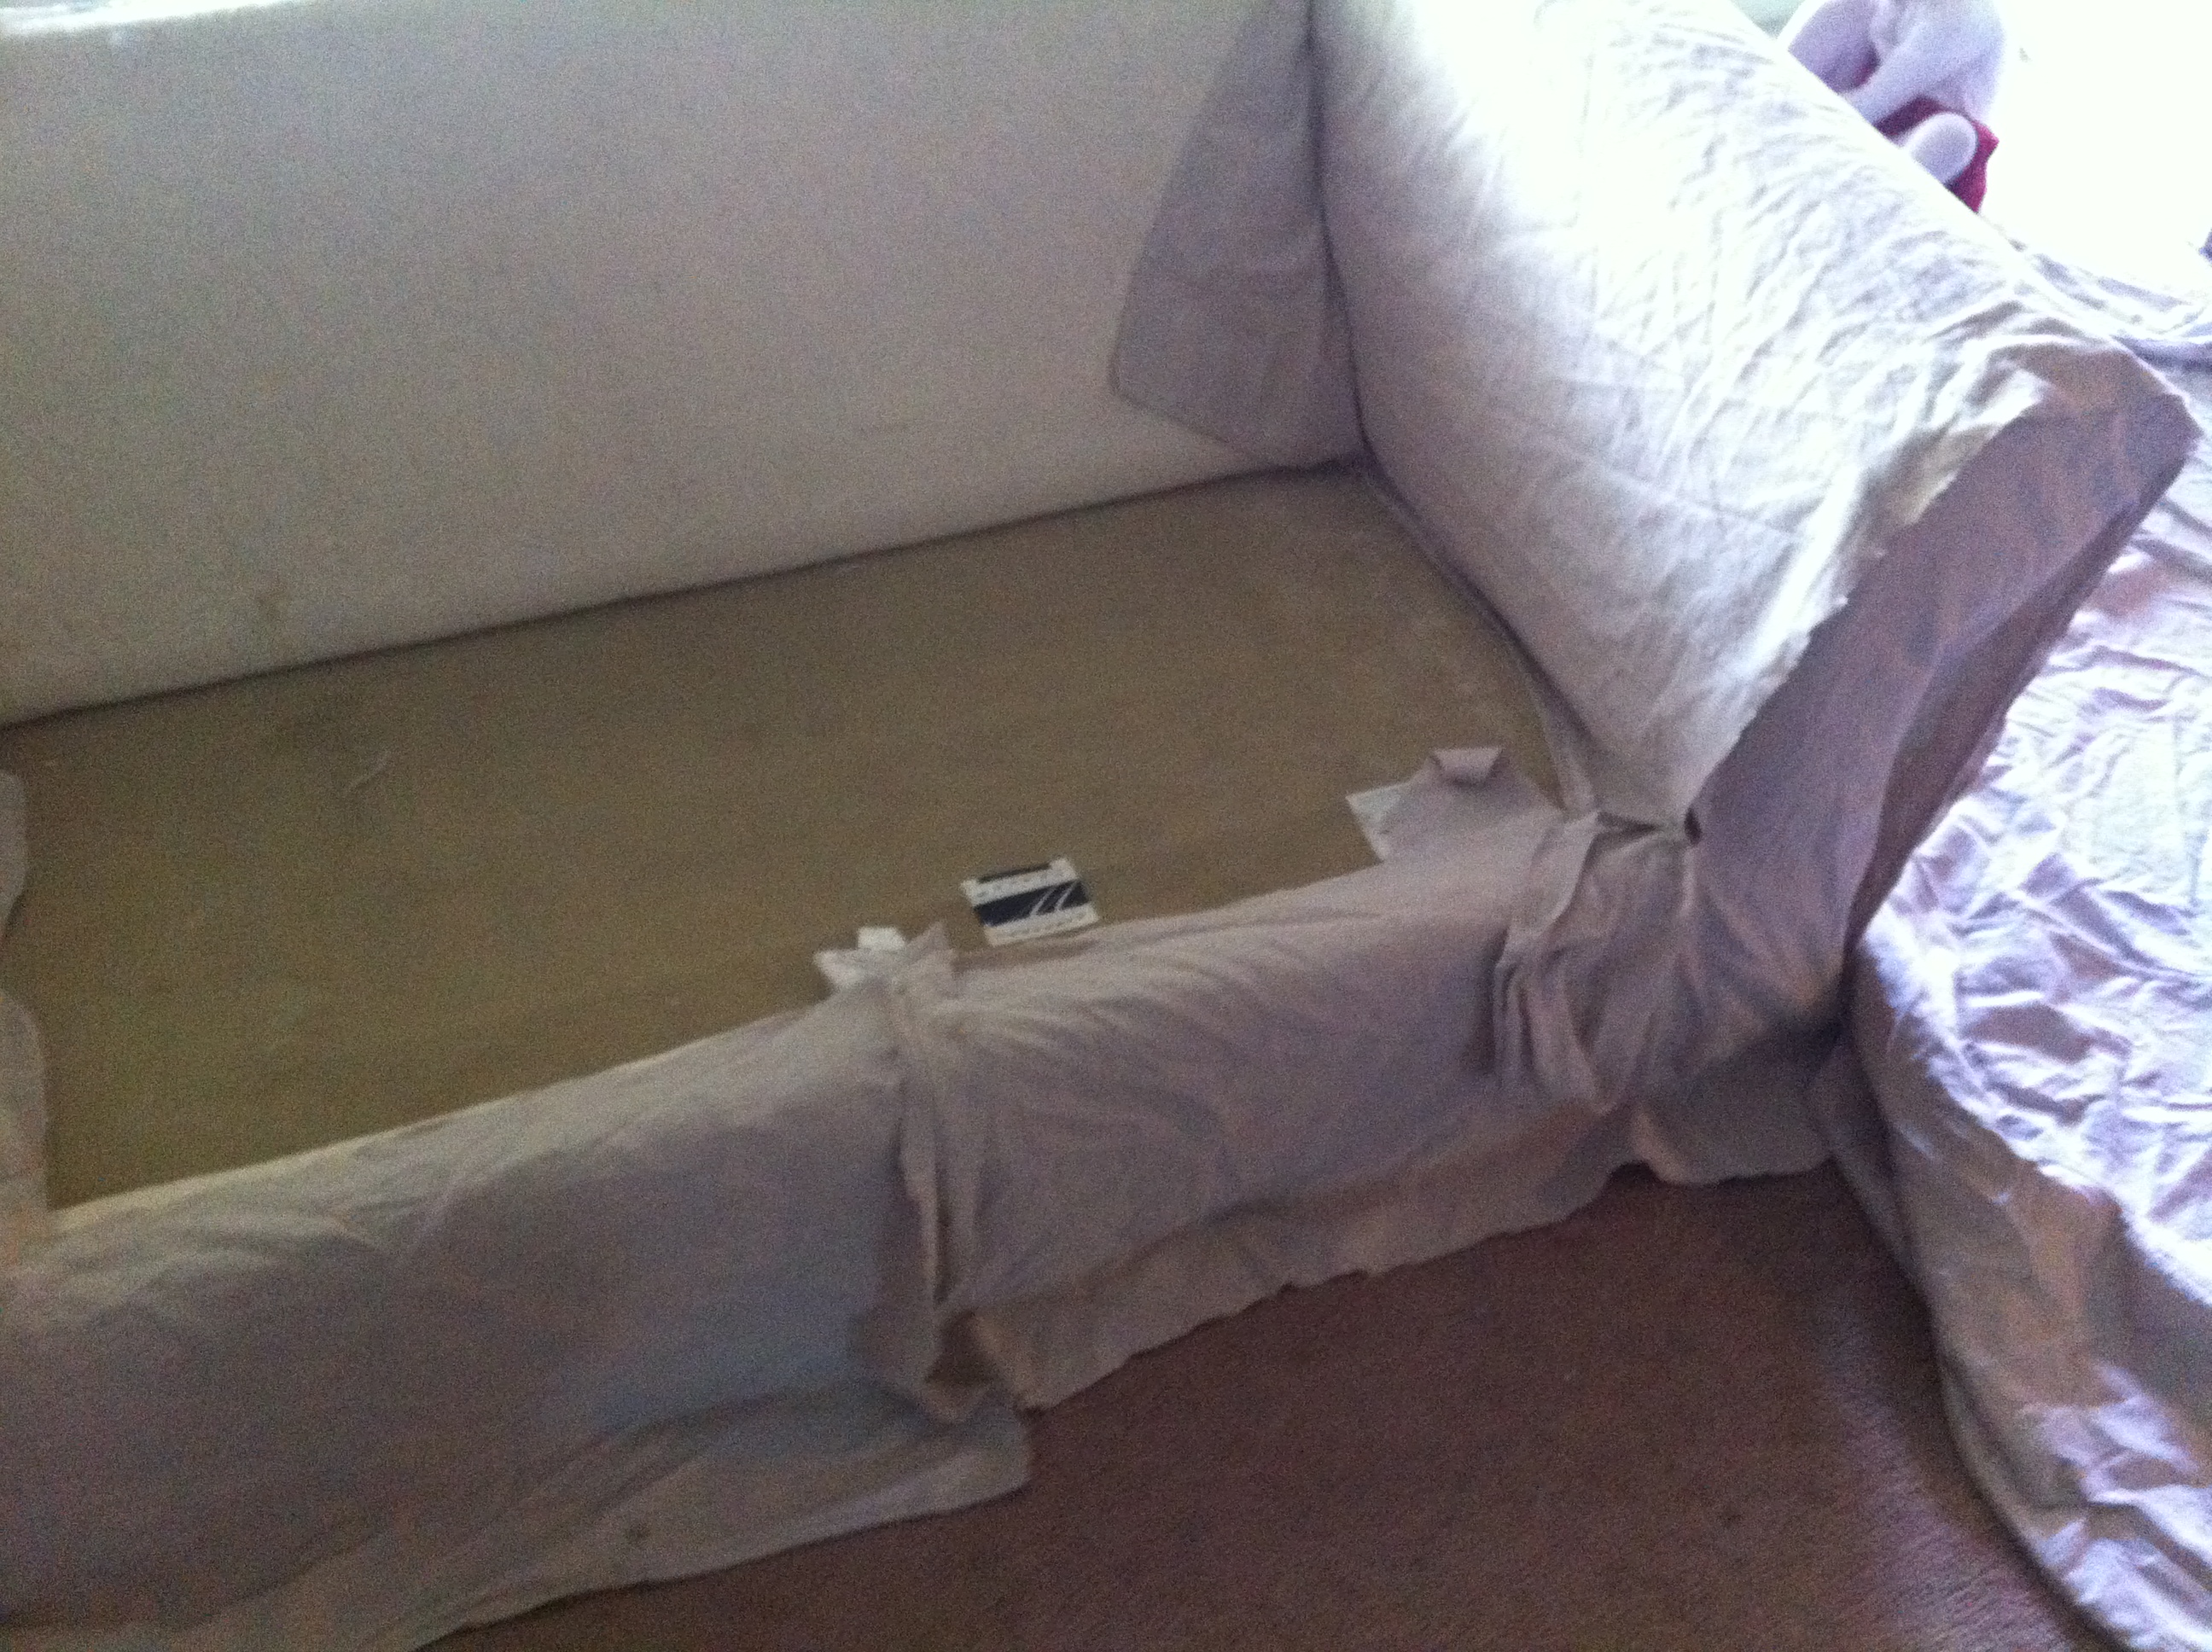
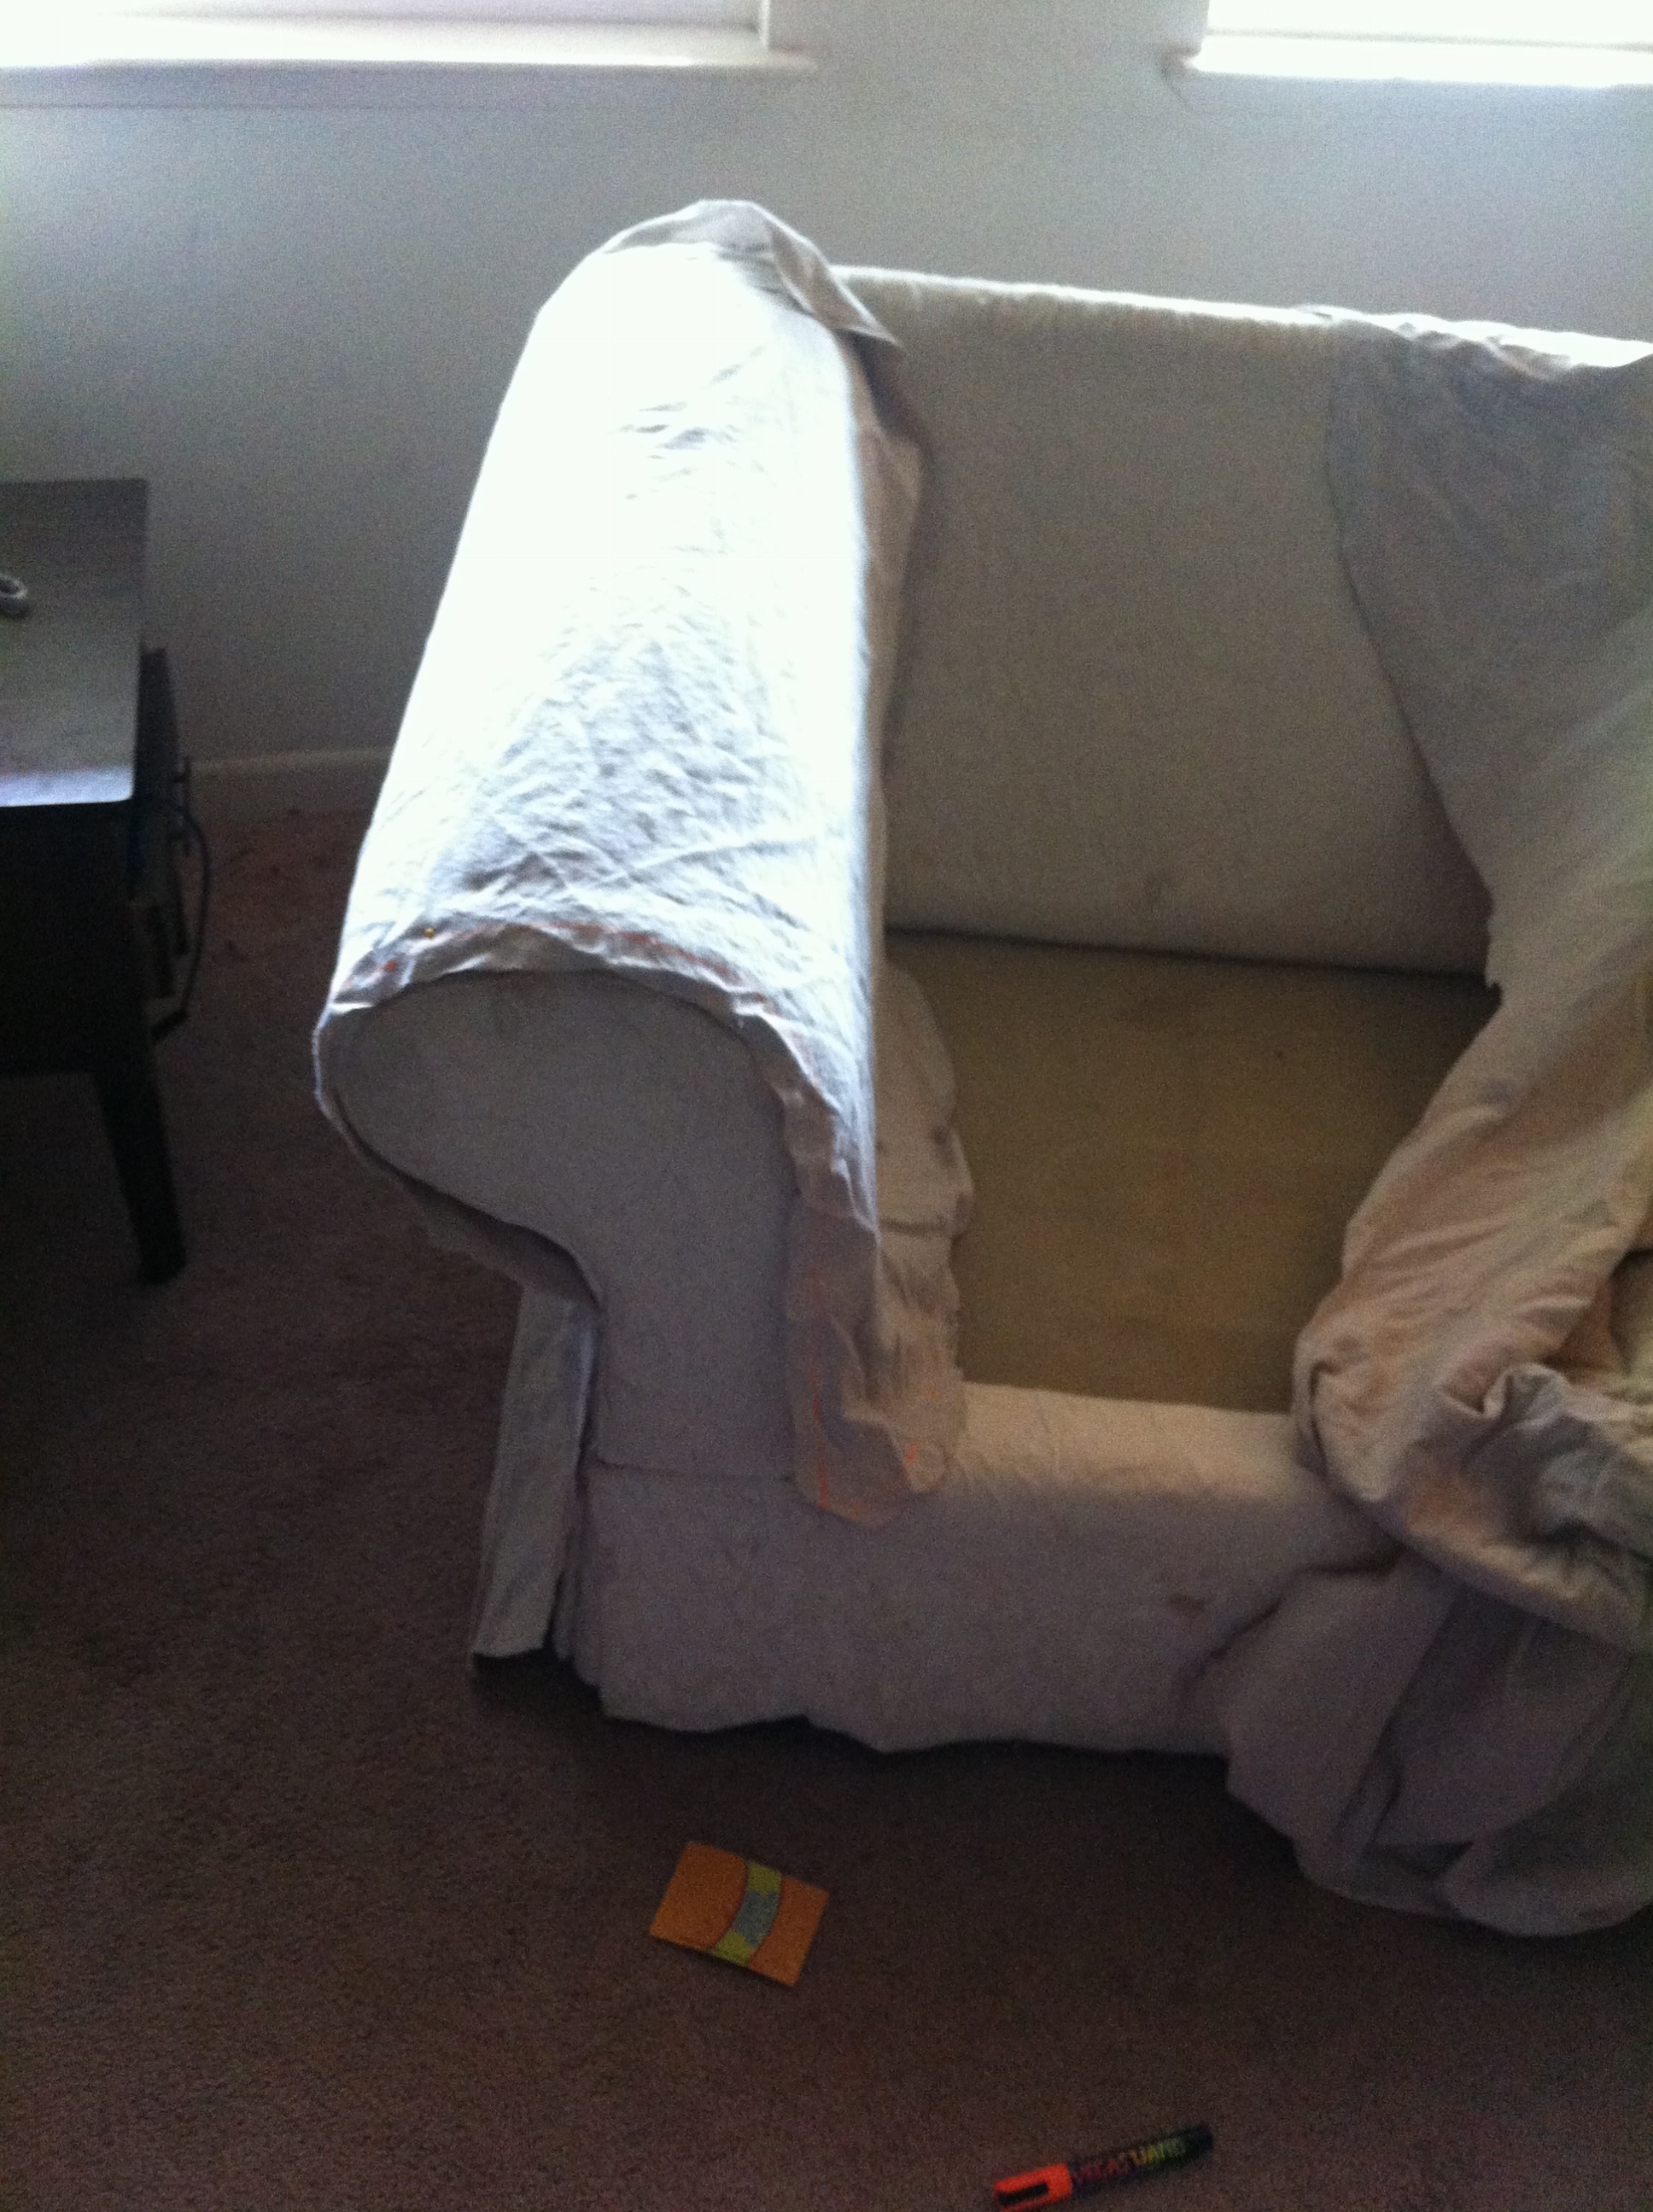

After I pinned a section together I would take it to the sewing machine and sew it together, then take it back to the love-seat and pin a new section. I did this many times until it was all sewn together. I thought this process worked well because the drop-cloth was heavy and I didn't want pins falling out as I was sewing it all together if I waited to sew it all at once. The other reason was there were so many sections to sew it can get a little confusing if you wait to sew it all at once.
I have seen other tutorials where people use large sheets of paper to make a pattern. They drape it over the sofa just like I did with the fabric and use a pencil to sketch out each cut. They great thing about this is you can save the paper and if you ever want to make another slip-cover, or a new cushion cover the hard part is already done for you.
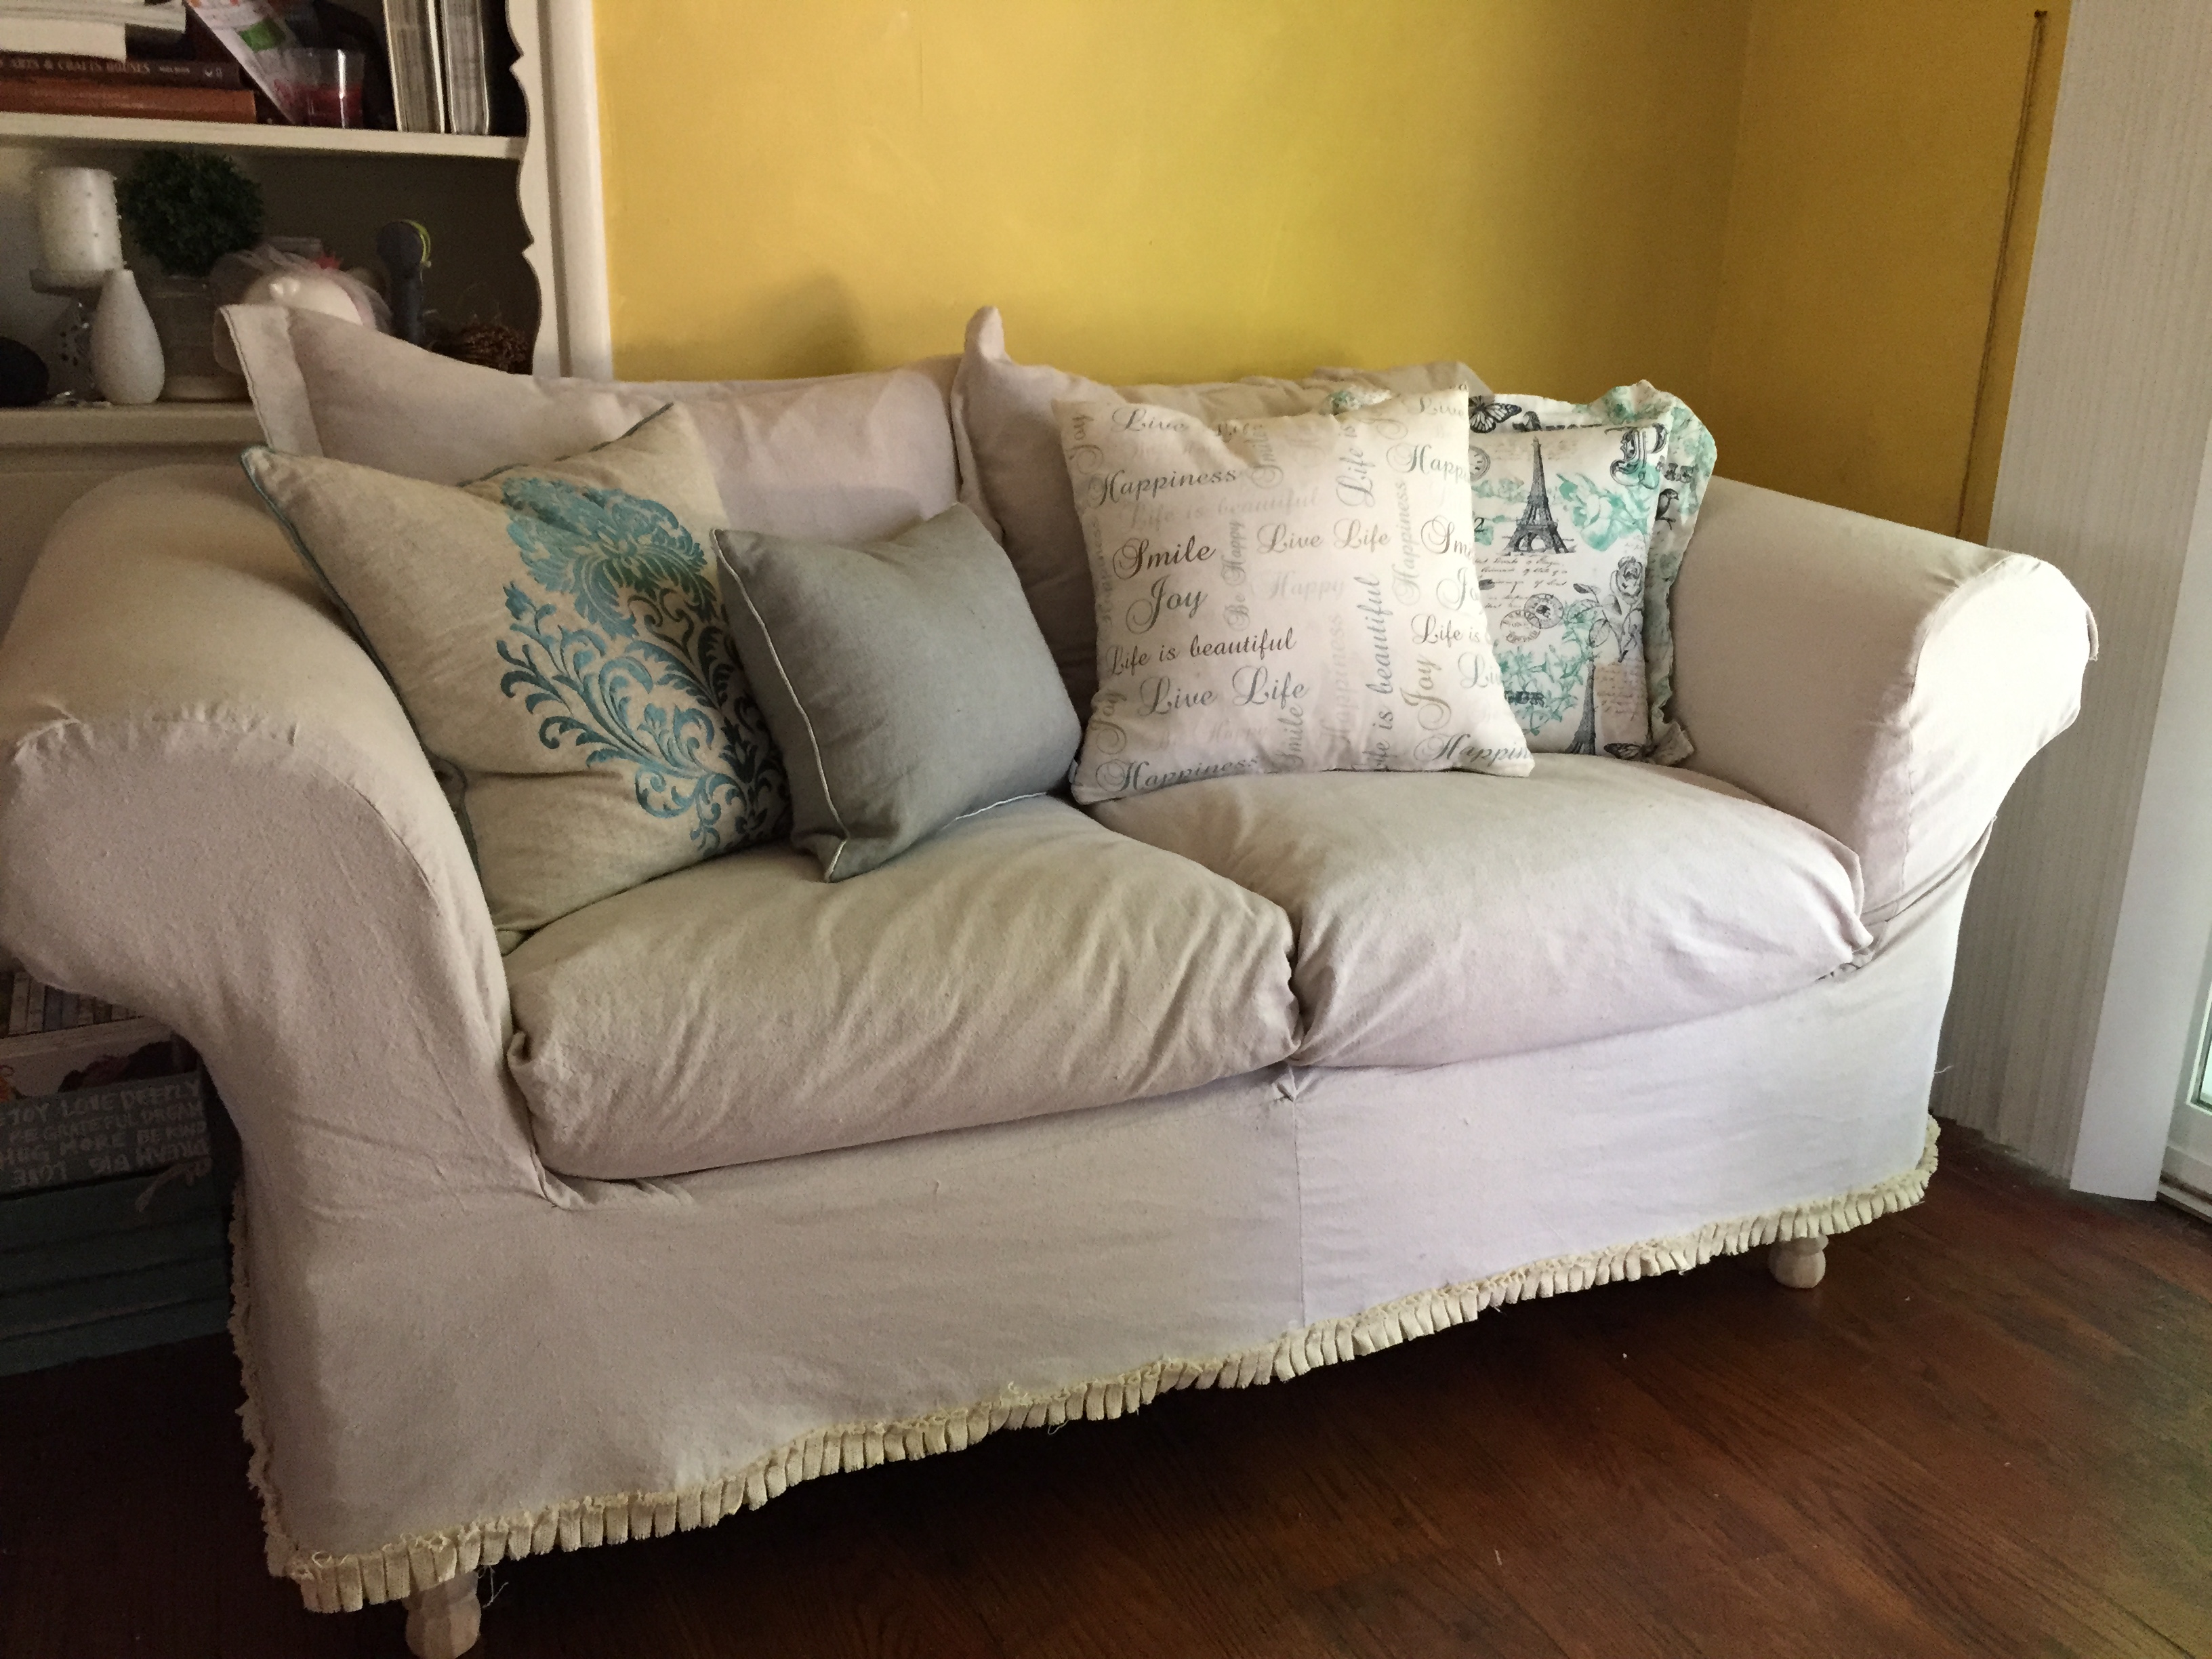
So I did not take photos of making the cushion covers, but I can tell you I did an envelope fold on both the bottom and top cushions. At this point I had never sewn a zipper before so I took the easy route. For the top cushions I tried something new, which was to create a 2" border around the cushion case. I think they call this a french seam.
The last step was to add trim to the base. I found burlap trim in an ivory color that had the gathering effect I wanted. It was already gathered and stitched in place when I bought it so all I had to do was pin it to the slipcover and sew once around. Here is the final product.