DIY Kitchen Island from Bookcases
Today we wanted to share with you a simple DIY project that anyone can do with a few tools. First start with the base, we choose two bookcases we had laying around the house. You could use an old dresser, or even cubbies like the Kallax Bookcase from Ikea. For this kitchen we wanted a linear island instead of something deeper. Once you have determined the basic size of your island it's time to start taking some measurements for the top.
Here is the list of wood we purchased for the top and to trim out the legs:
- Qty 1 EG Panel (Shelving) 5/8" x 24" x 72"
- Qty 2 Pine 1x2x8'
- Qty 1 Pine 1x4x6'
- Qty 1 Pine 1x6x6'
I asked my local home depot to cut the 24" wide panel down for me to my exact size because I do not have a saw that can cut this large of a piece. It typically is not a problem, so if you don't have any saws then ask them. I believe it is free. You will just have to have all your measurements done before you go shopping.
I have a chop saw so we cut the time pieces ourselves as we were building the top.
Assembly
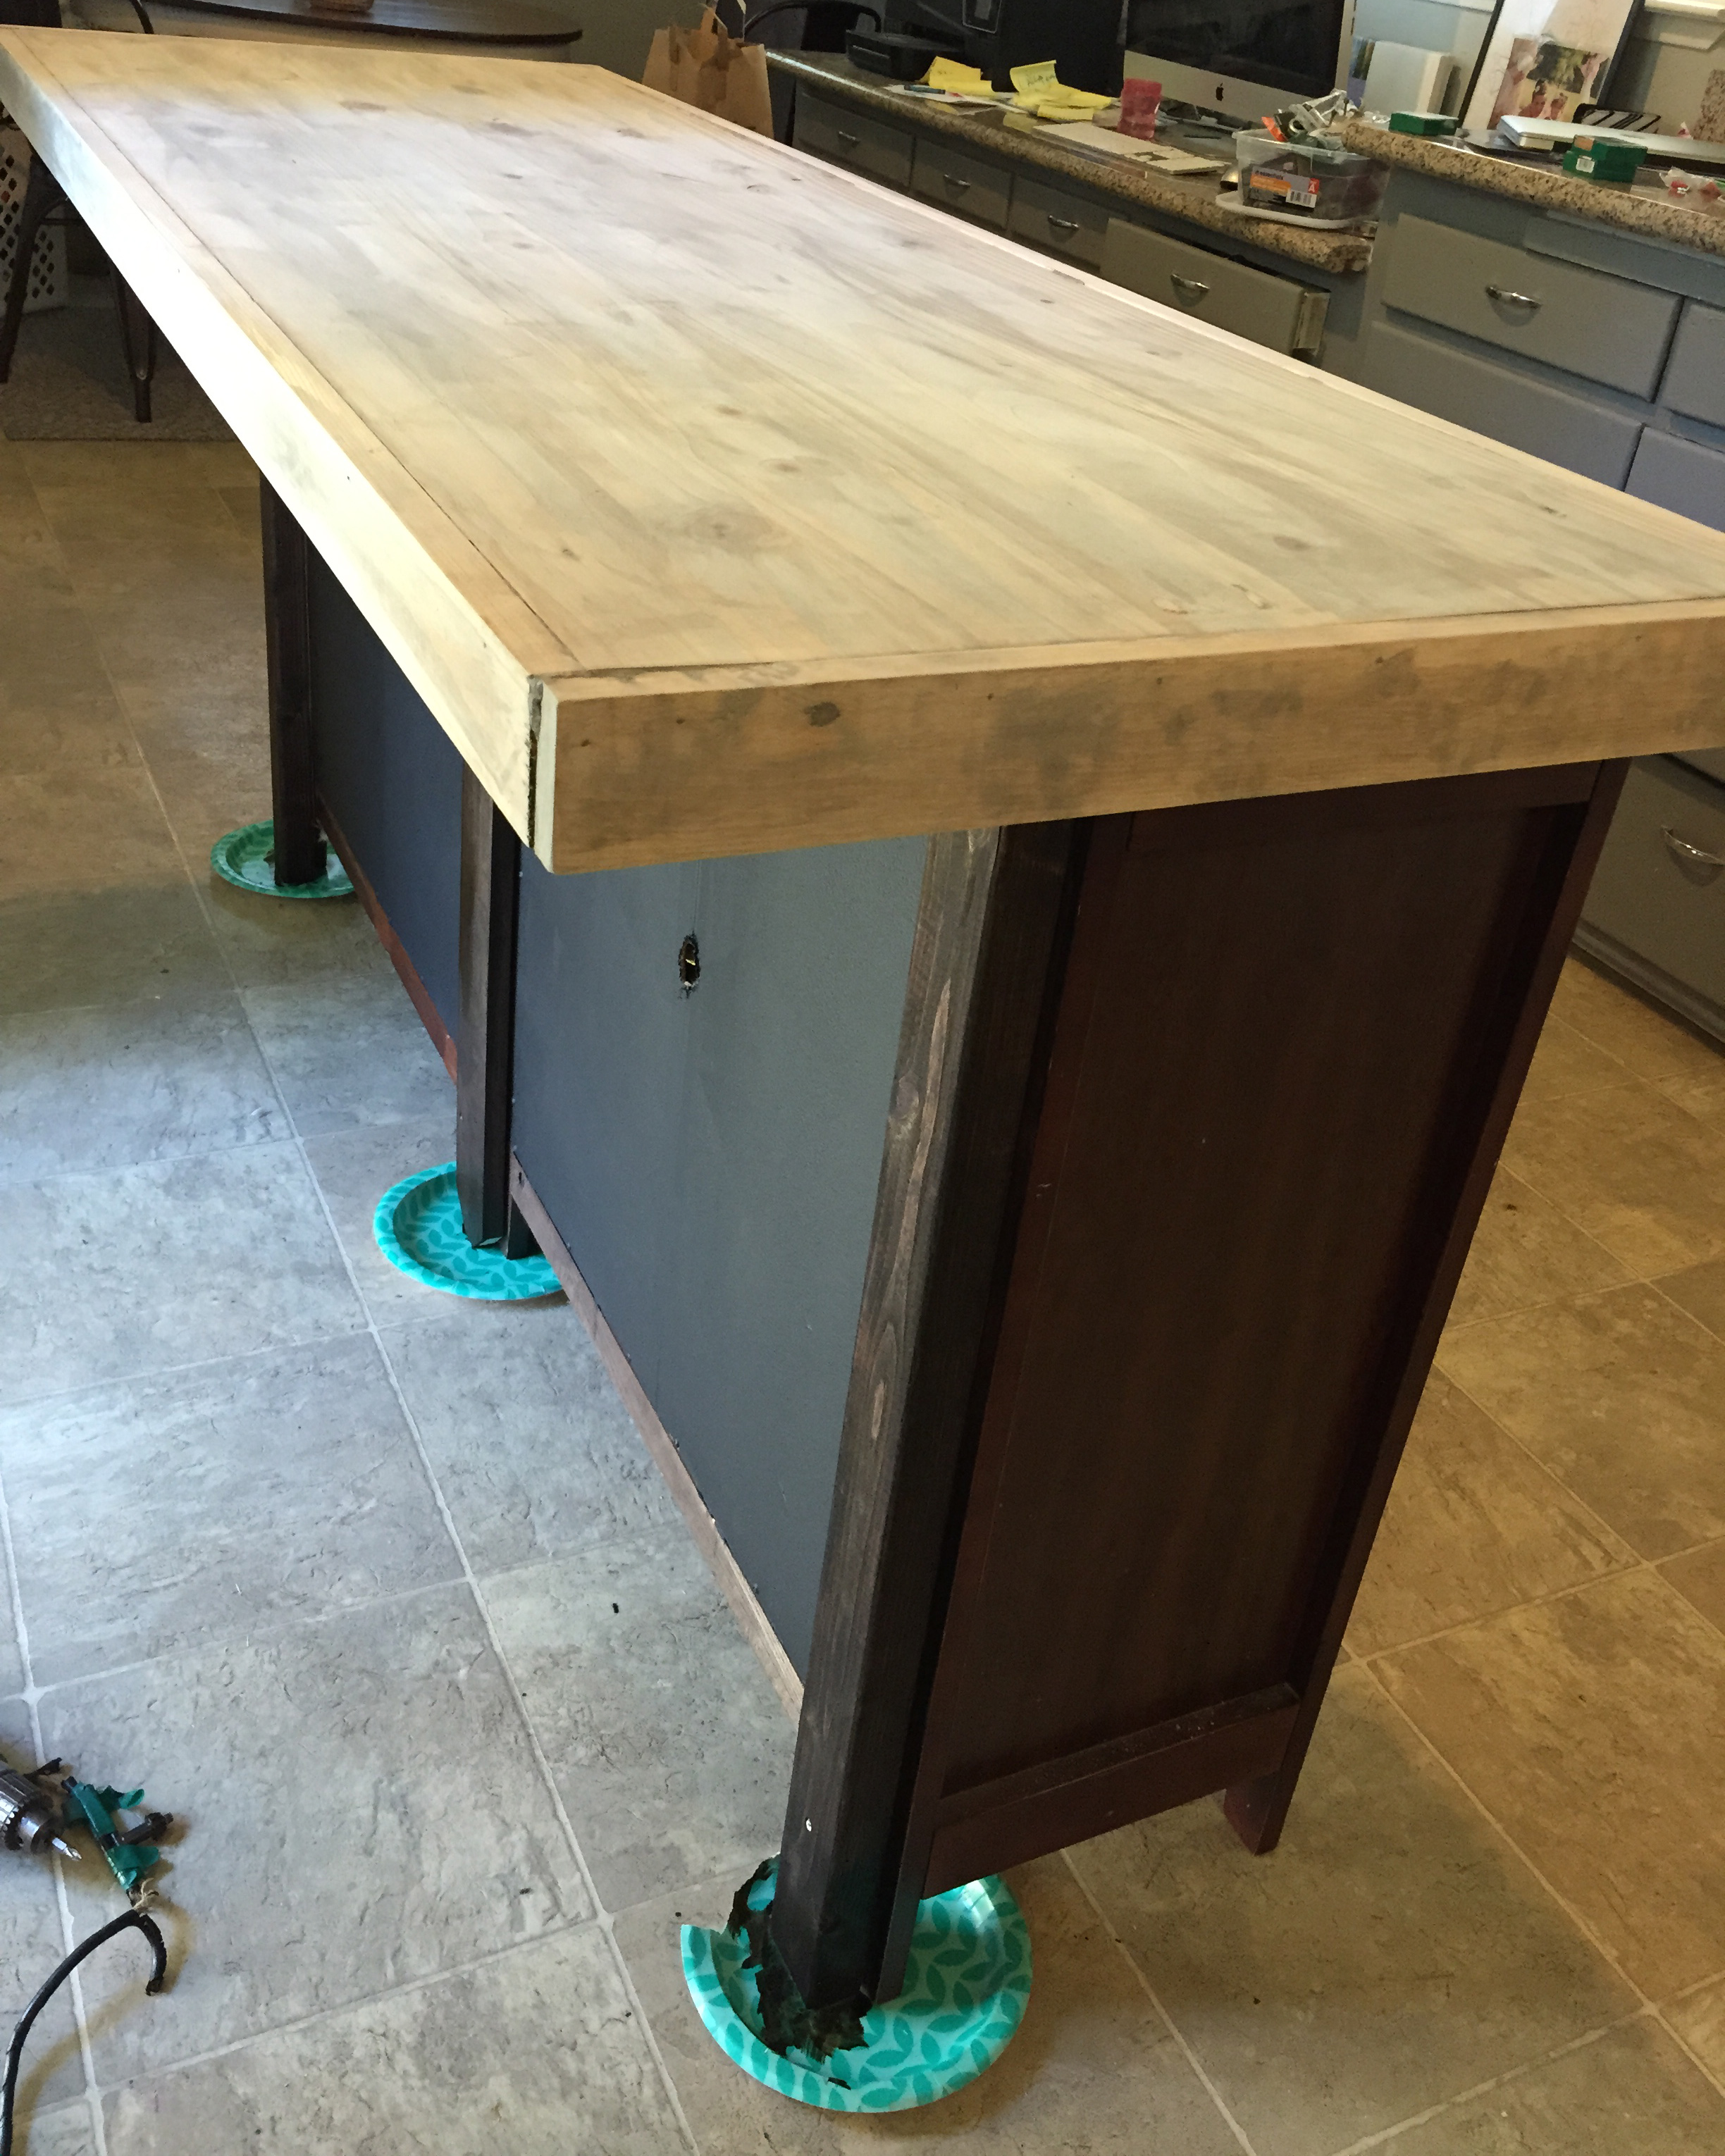
Now for assembling, we wanted our island to be countertop height, so we had to build up the top of the bookcase by 1/2". We used some scrap wood (1/2" thick) and screwed it to the top of the bookcase. We lined it up with the edges of the bookcase in a few spots so we could also use it as backing when nailing the trim edge on. I wish I had a picture for you for this part, hopefully you get the idea.
Next we layer the 24" panel on top and screwed the panel into the scrap filler pieces. The panel is made of a soft wood so the screws countersunk easily (fill with wood puddy and you will never know how it was attached). We then cut our edge trim pieces to size and nailed them into the panel and the scrap filler pieces using a 2" finish nail and finish nailer.
Finishes
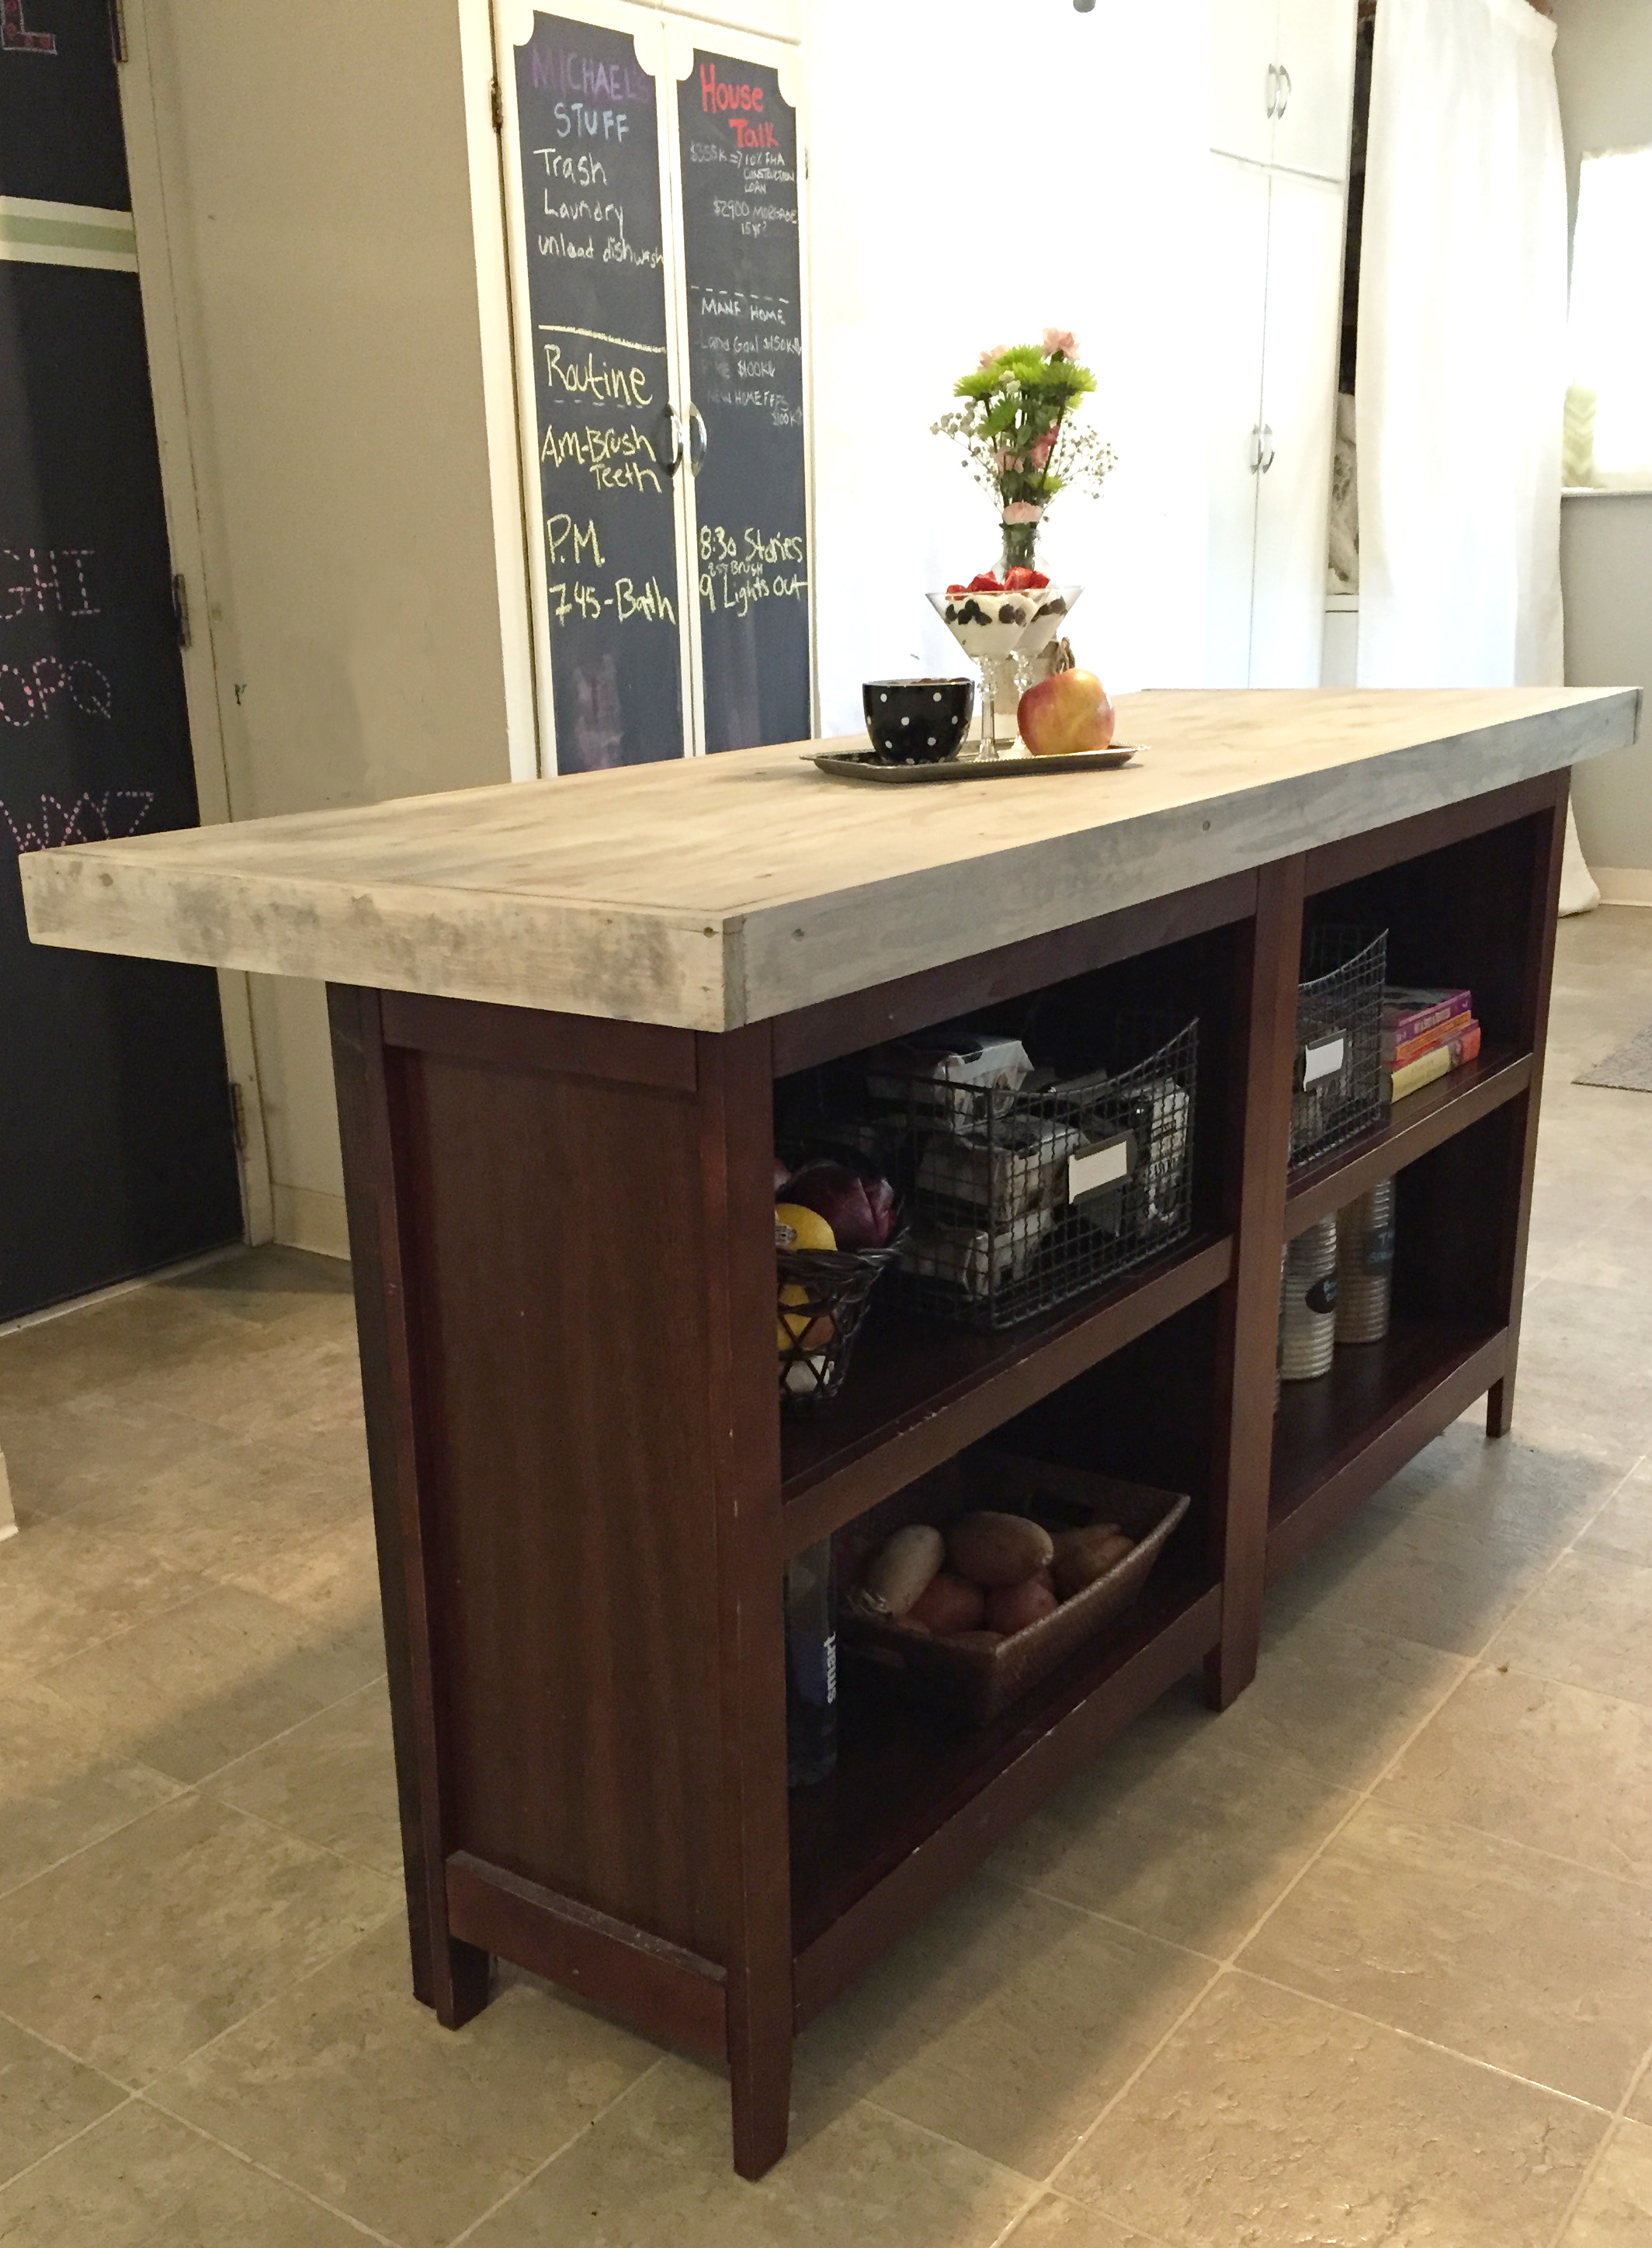
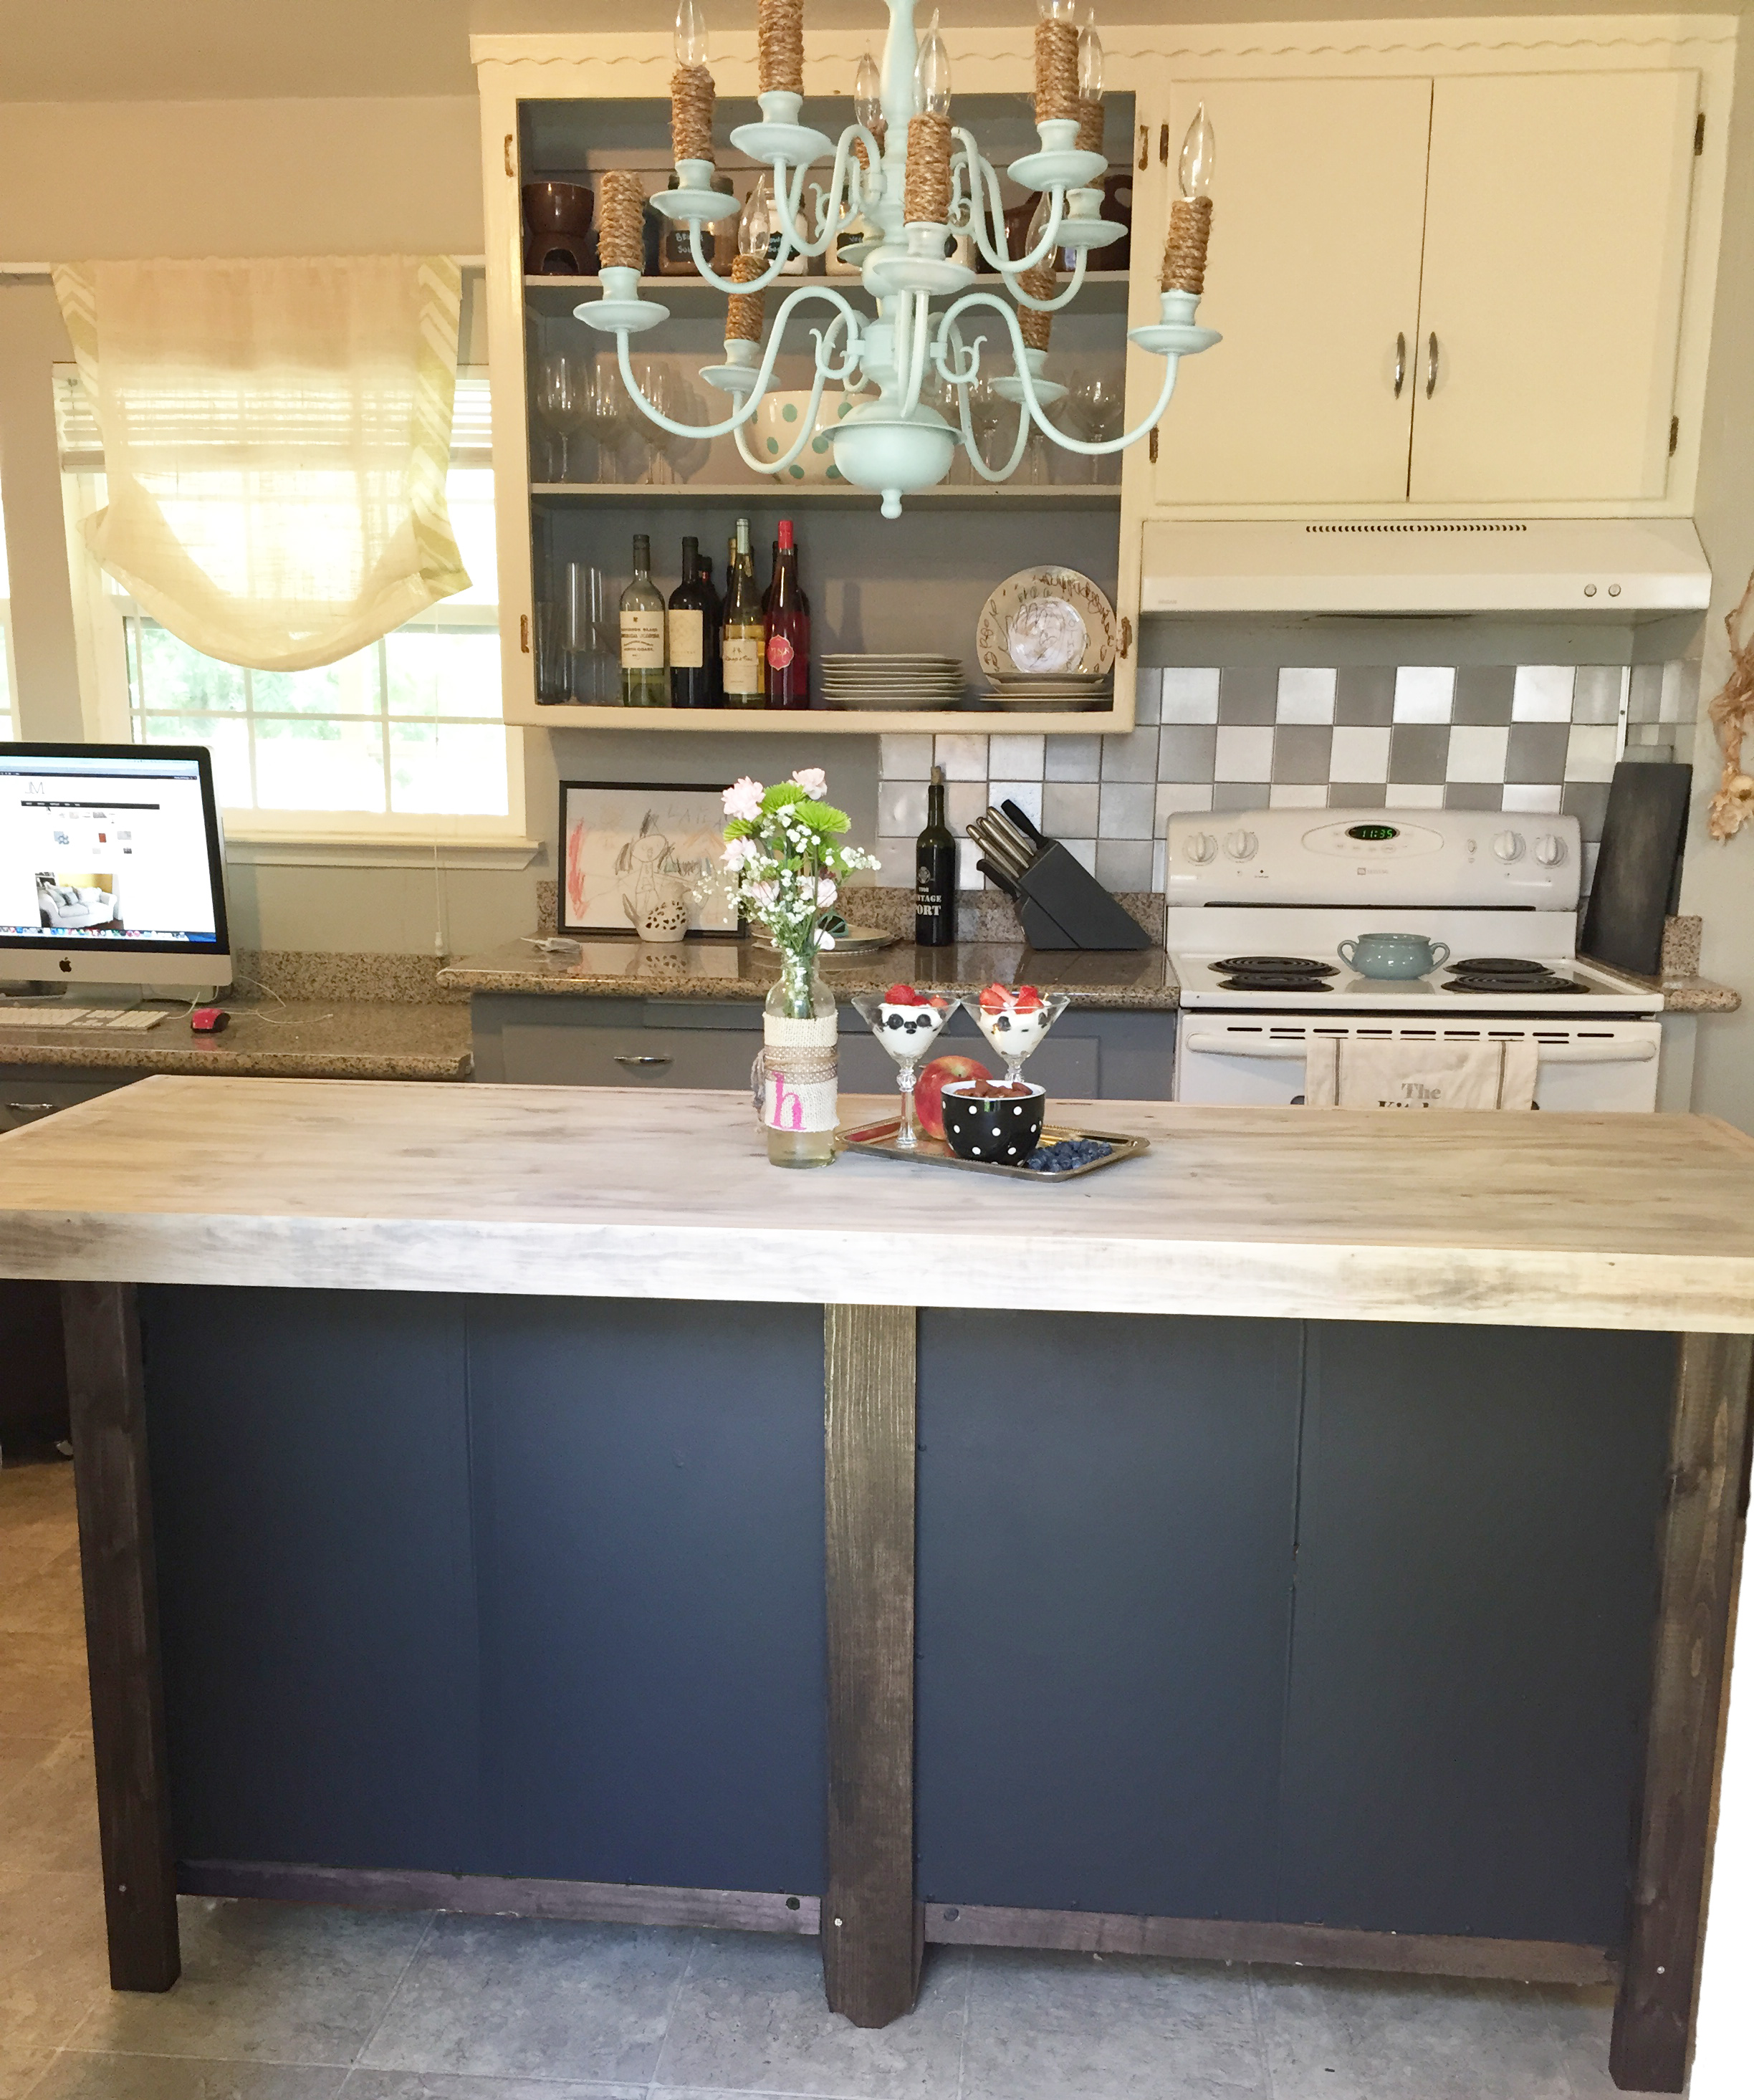
This last part is about the details. Because the backside of the bookcase is not finished or pretty we wanted to add a quick detail to allow it to be exposed. Some people recommend adding a breadboard panel to cover the backside, be we opted for a quicker and cheaper route. We added 1x4 and 1x6 pine trim to the sides and middle of the bookcase back panel, then we painted the plywood backing with black chalk board paint. The last step was to stain the pine trim to match the bookcase.
Now for the finish on the countertop we used a grey weathered stain, then a few strokes of the walnut stain, and topped off with a watered down white paint. In hind sight, the dark walnut just makes the top look dirty, so we will probably sand it all down and try a new finish. The last step was to seal it with wax. We used Annie Sloan Chalk Paint Wax.
Here are a few images of our finished product. Hope we inspired you. Post on our Facebook page your kitchen island DIY 🙂