Monogramed Wall Mounted Bottle Opener
DIY Wall Mounted Bottle Opener
One of the last minute home made gifts we are working on for this year is a Monogramed Wall Mounted Bottle Opener. This can be easily converted to a key sign for those family members that don't have a need for a bottle opener. We will go over both ideas in our step by step tutorial.
Material List
1x6 Pine (1' sections for each sign)
1x2 Pine
Stain (we used Minwax Special Walnut first then Jacobean on top of that)
Paint
Bottle Opener Hardware (here is the one I ordered)
Small cup hooks (only for Key Sign)
Stencil Set (3" letters and 3/4" letters)
1 piece of sandpaper (medium grit)
Palm Sander (optional)
How To:
The first step is to cut all the pieces.
Cut the 1x6 to a 1 foot length piece
Cut the 1x2 to 5 1/2", 3 7/8", 1 5/8", 1 5/8"
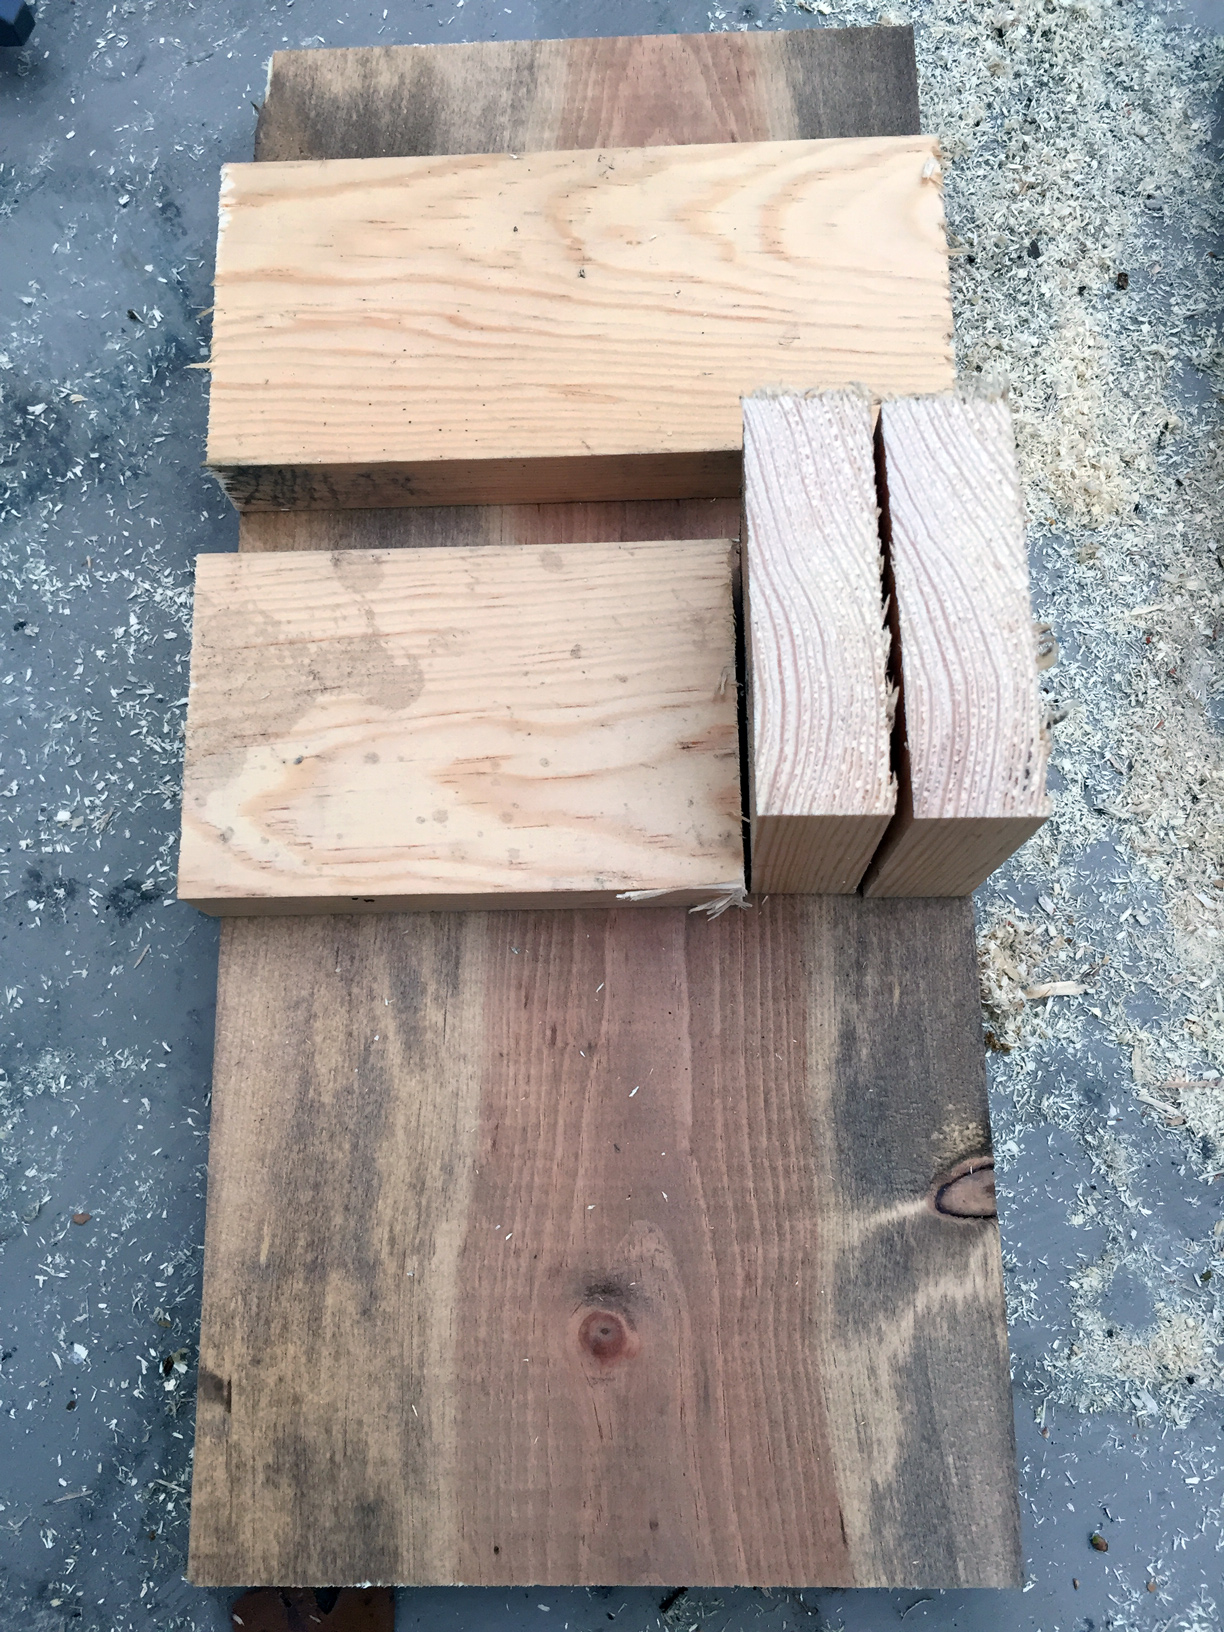
We are making multiple gifts so we did all our cutting at once.
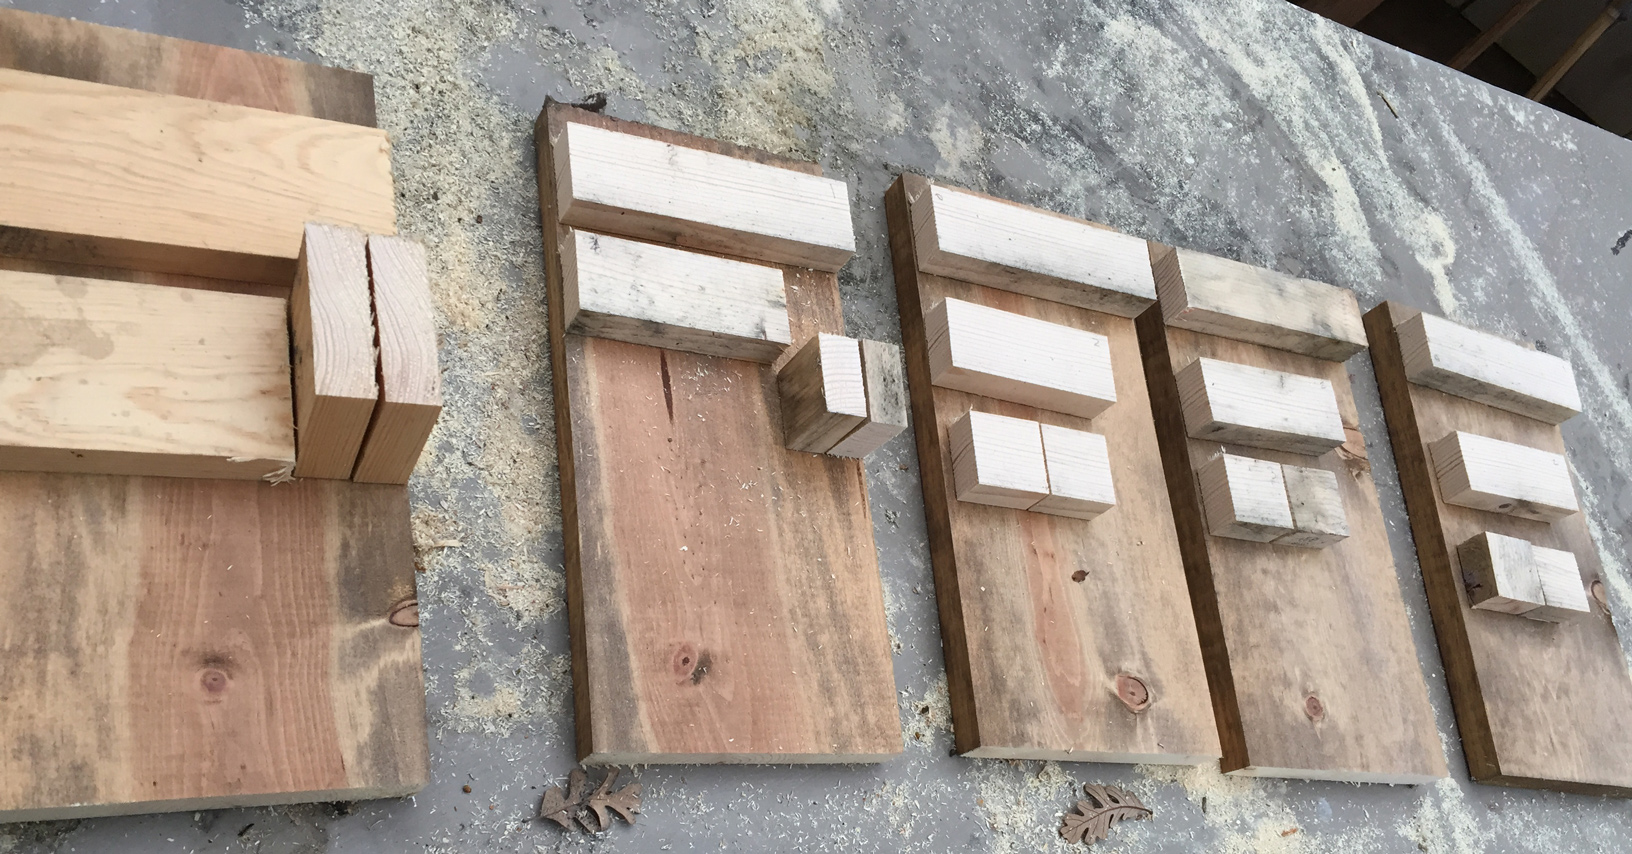
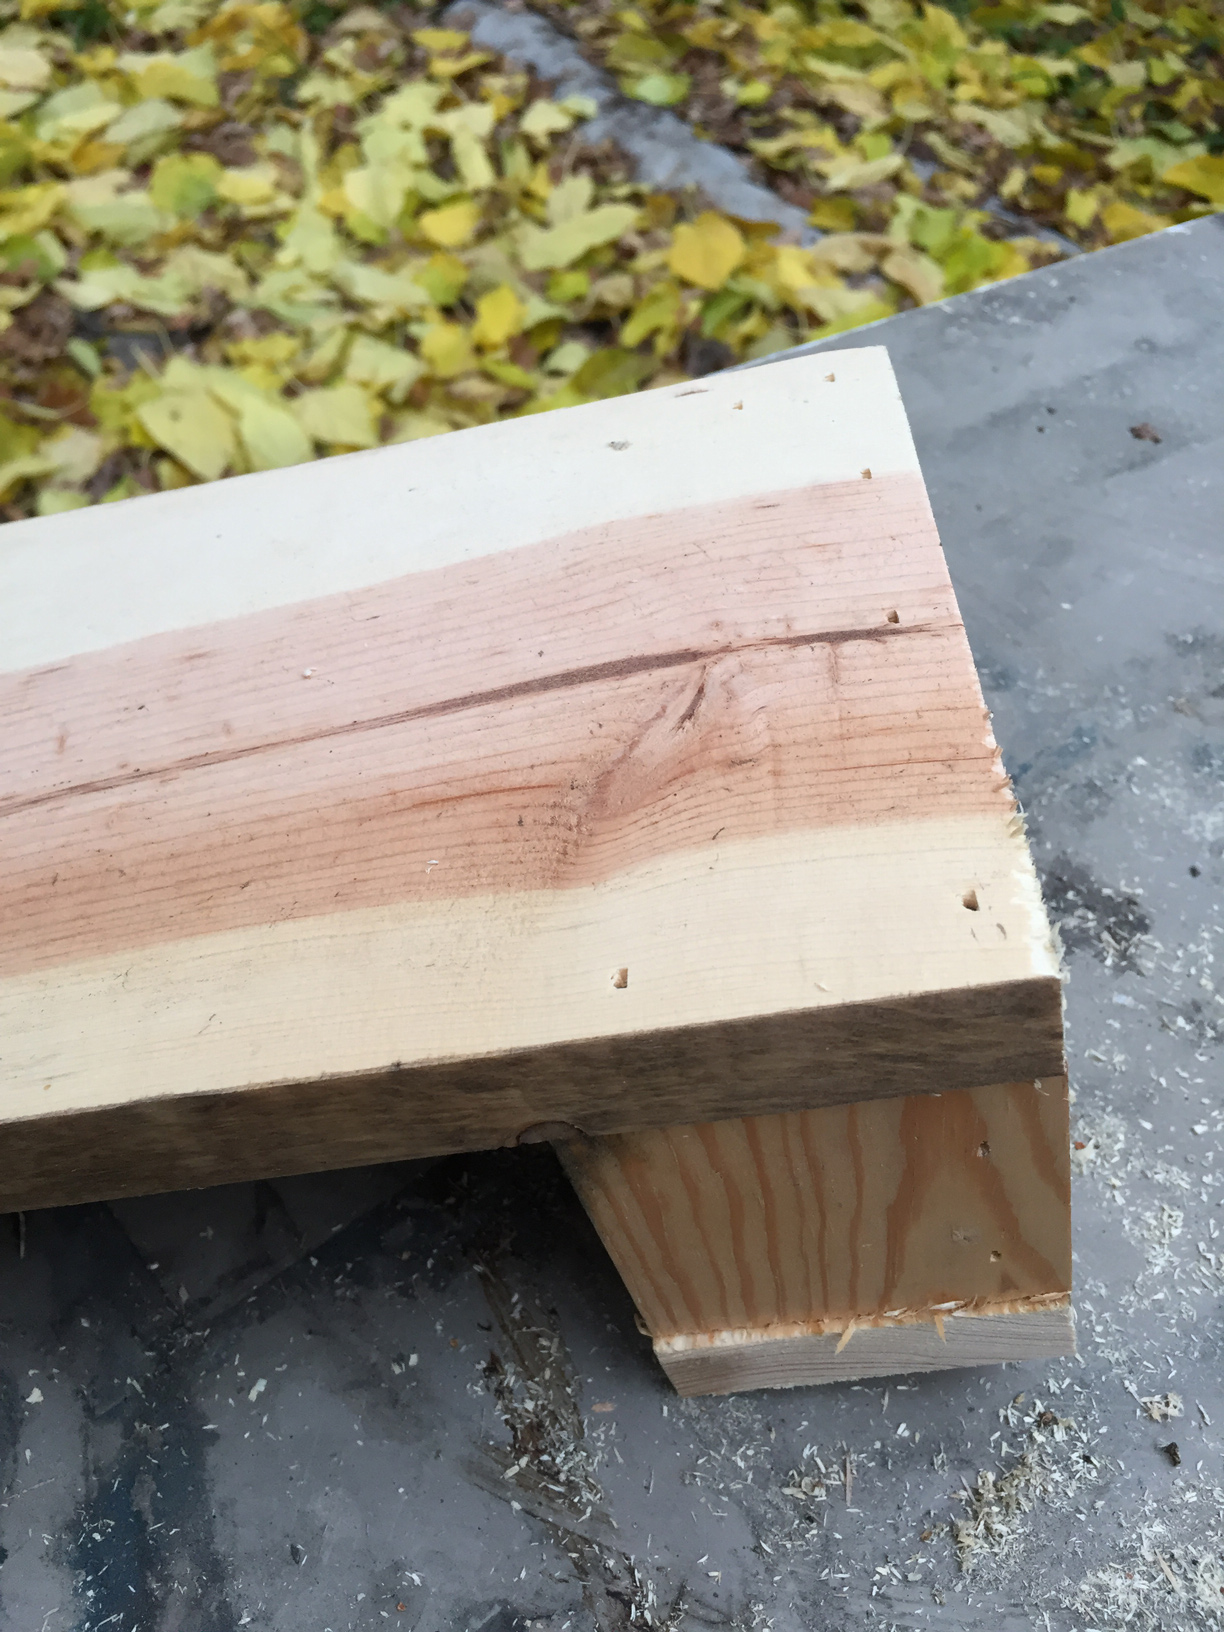
Next start assembling. Start by assembling the 1x2x3 7/8 and the two 1x2x1 5/8". The longer piece gets sandwiched between the shorter pieces, make sure the depth of the pieces are all the same and flush. Brad nail the pieces in a few spots.
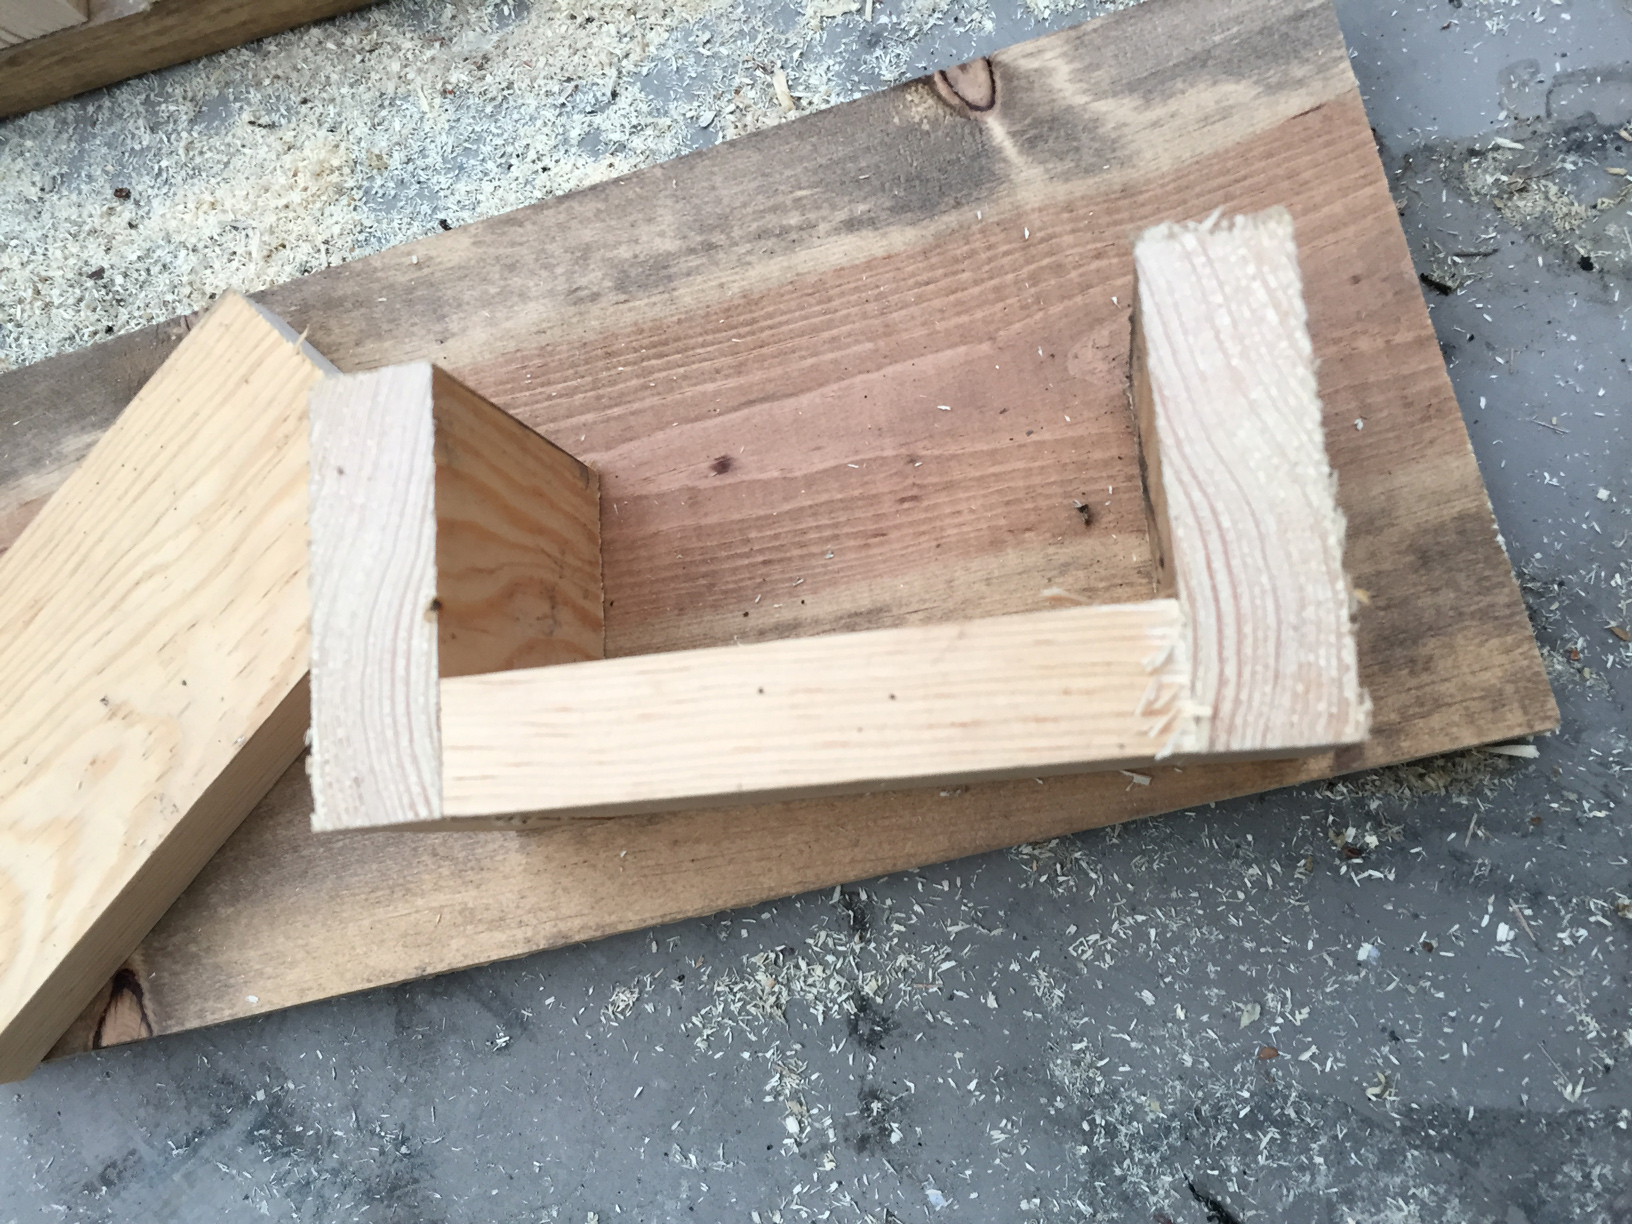
The next step will be to brad nail the 1x2x 5 1/2" piece on the front of the step above. In the photo below I flipped the shelf and nailed the front piece on. This piece creates the shelf that is mounted to the sign.
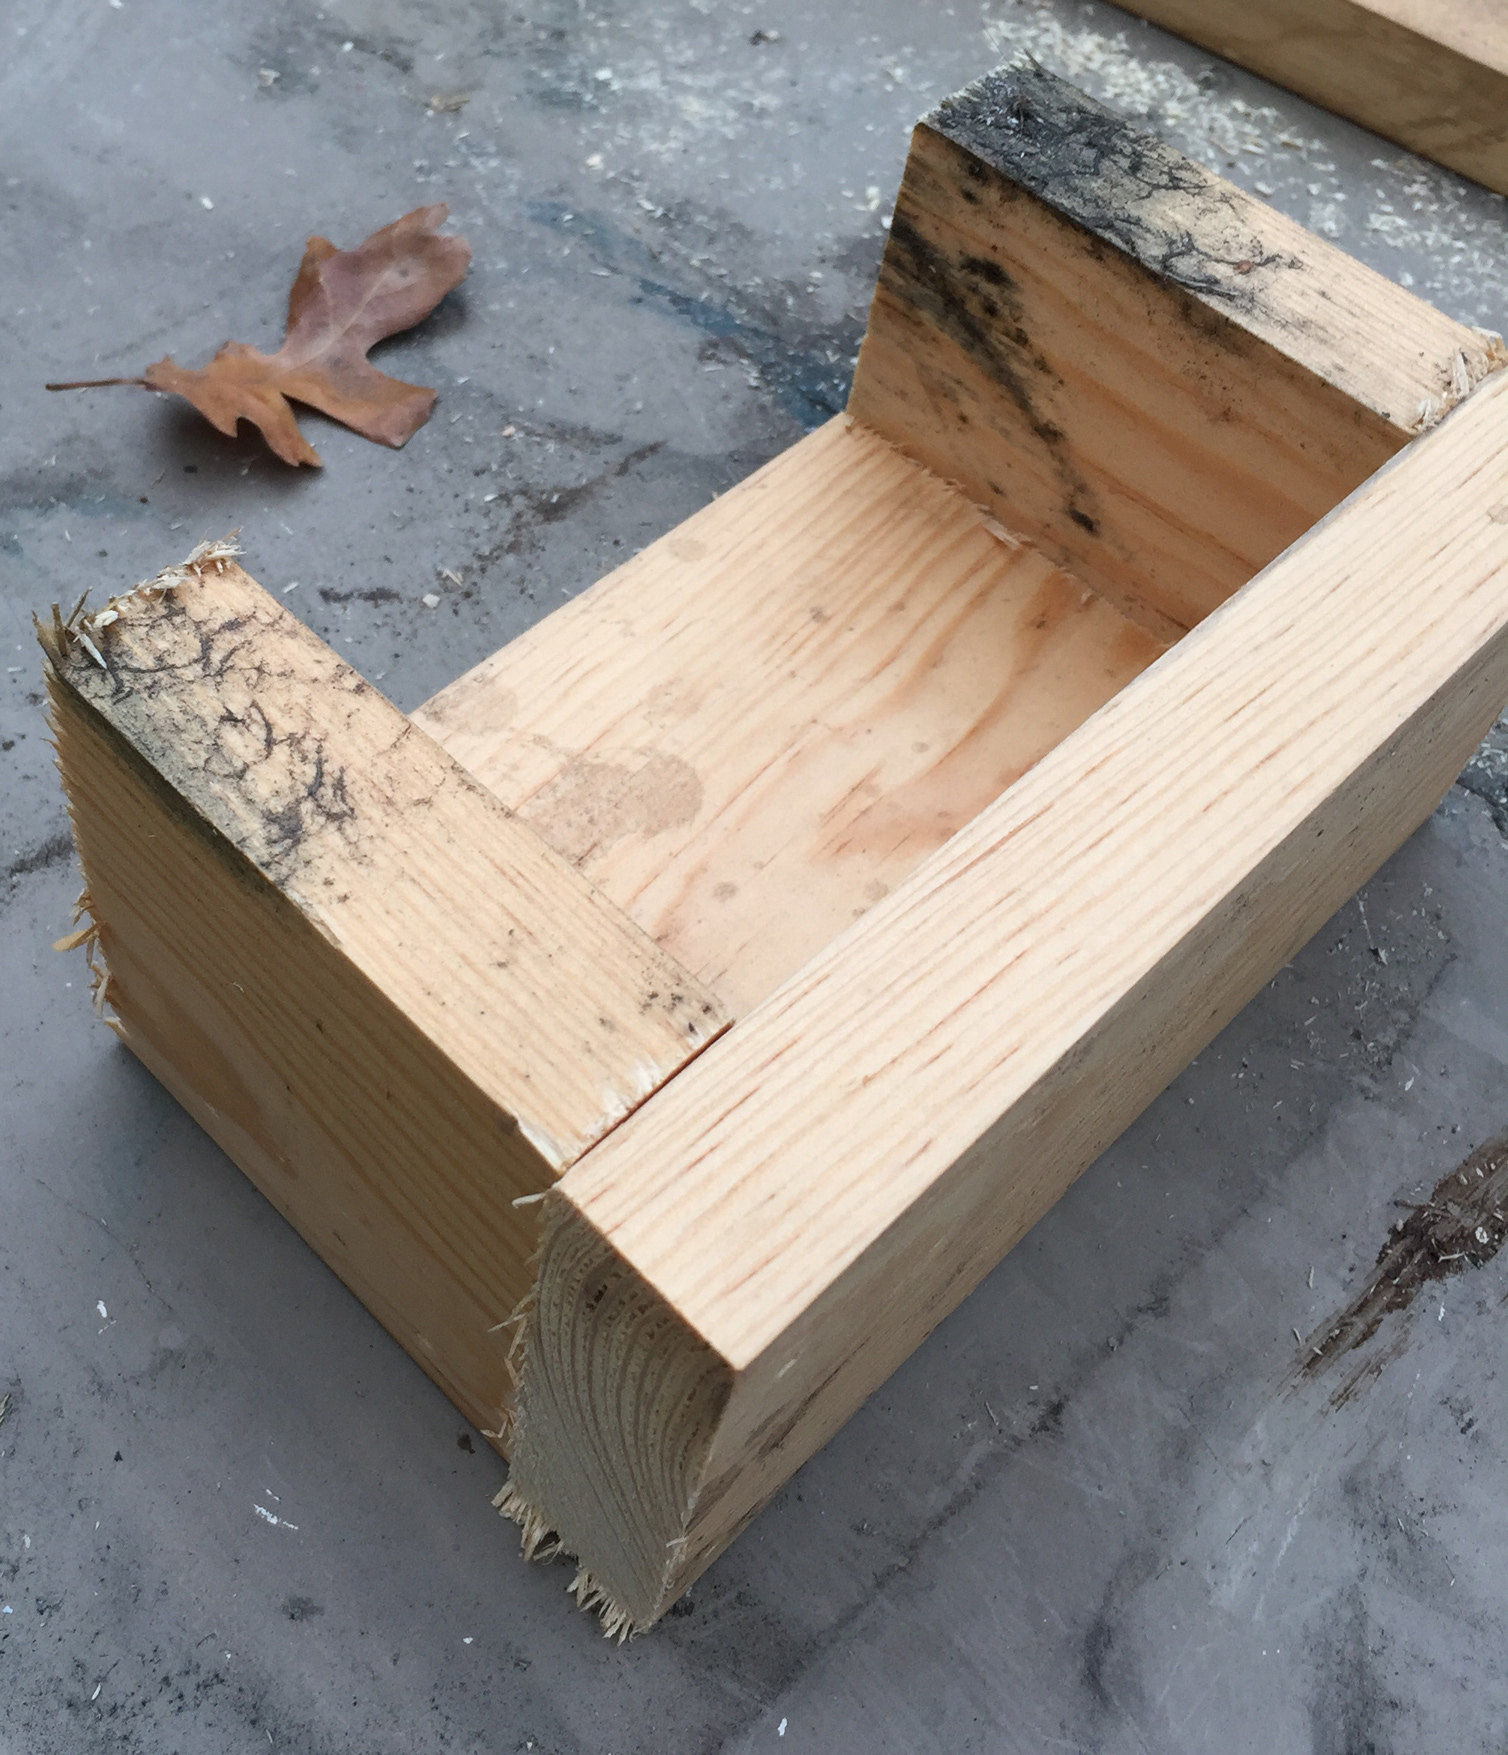
After these piece have been nailed, you can nail it to the 1x6x12" piece.
I nailed it from the back.
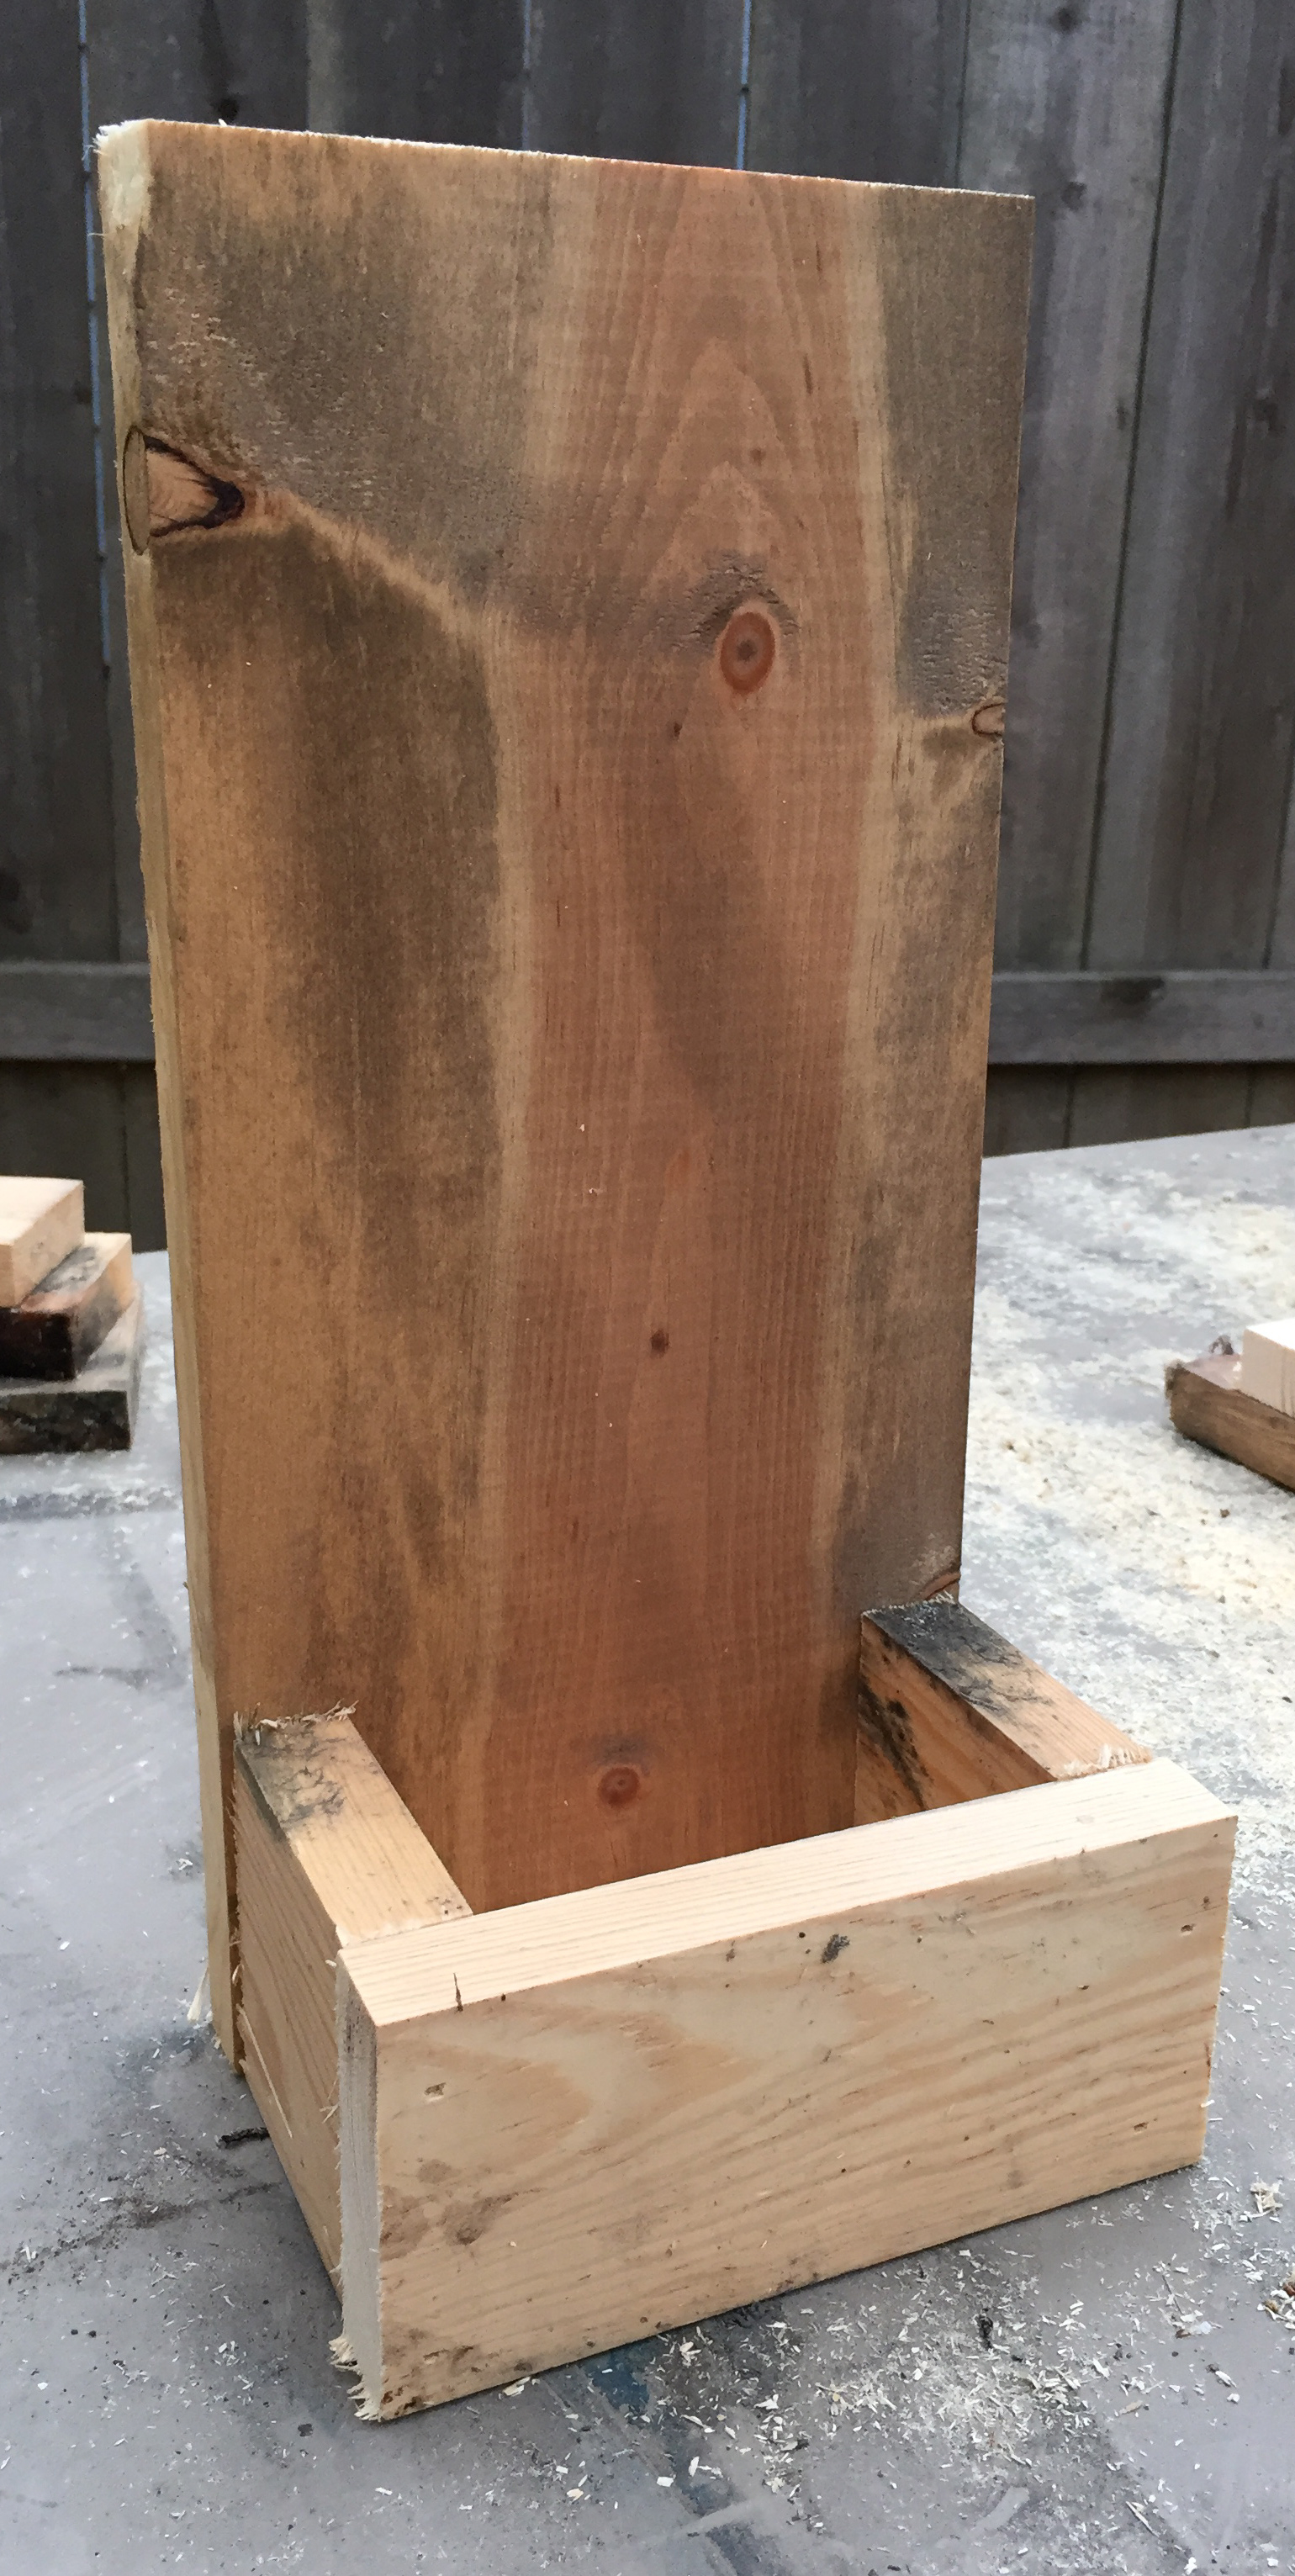
Now that it's assembled you can start sanding. We used a palm sander and medium grit. We did some extra sanding on the corners to make it feel a little more worn and old.
Next add the stain, we added 2 coats.
After it is stained you can add the monogram.
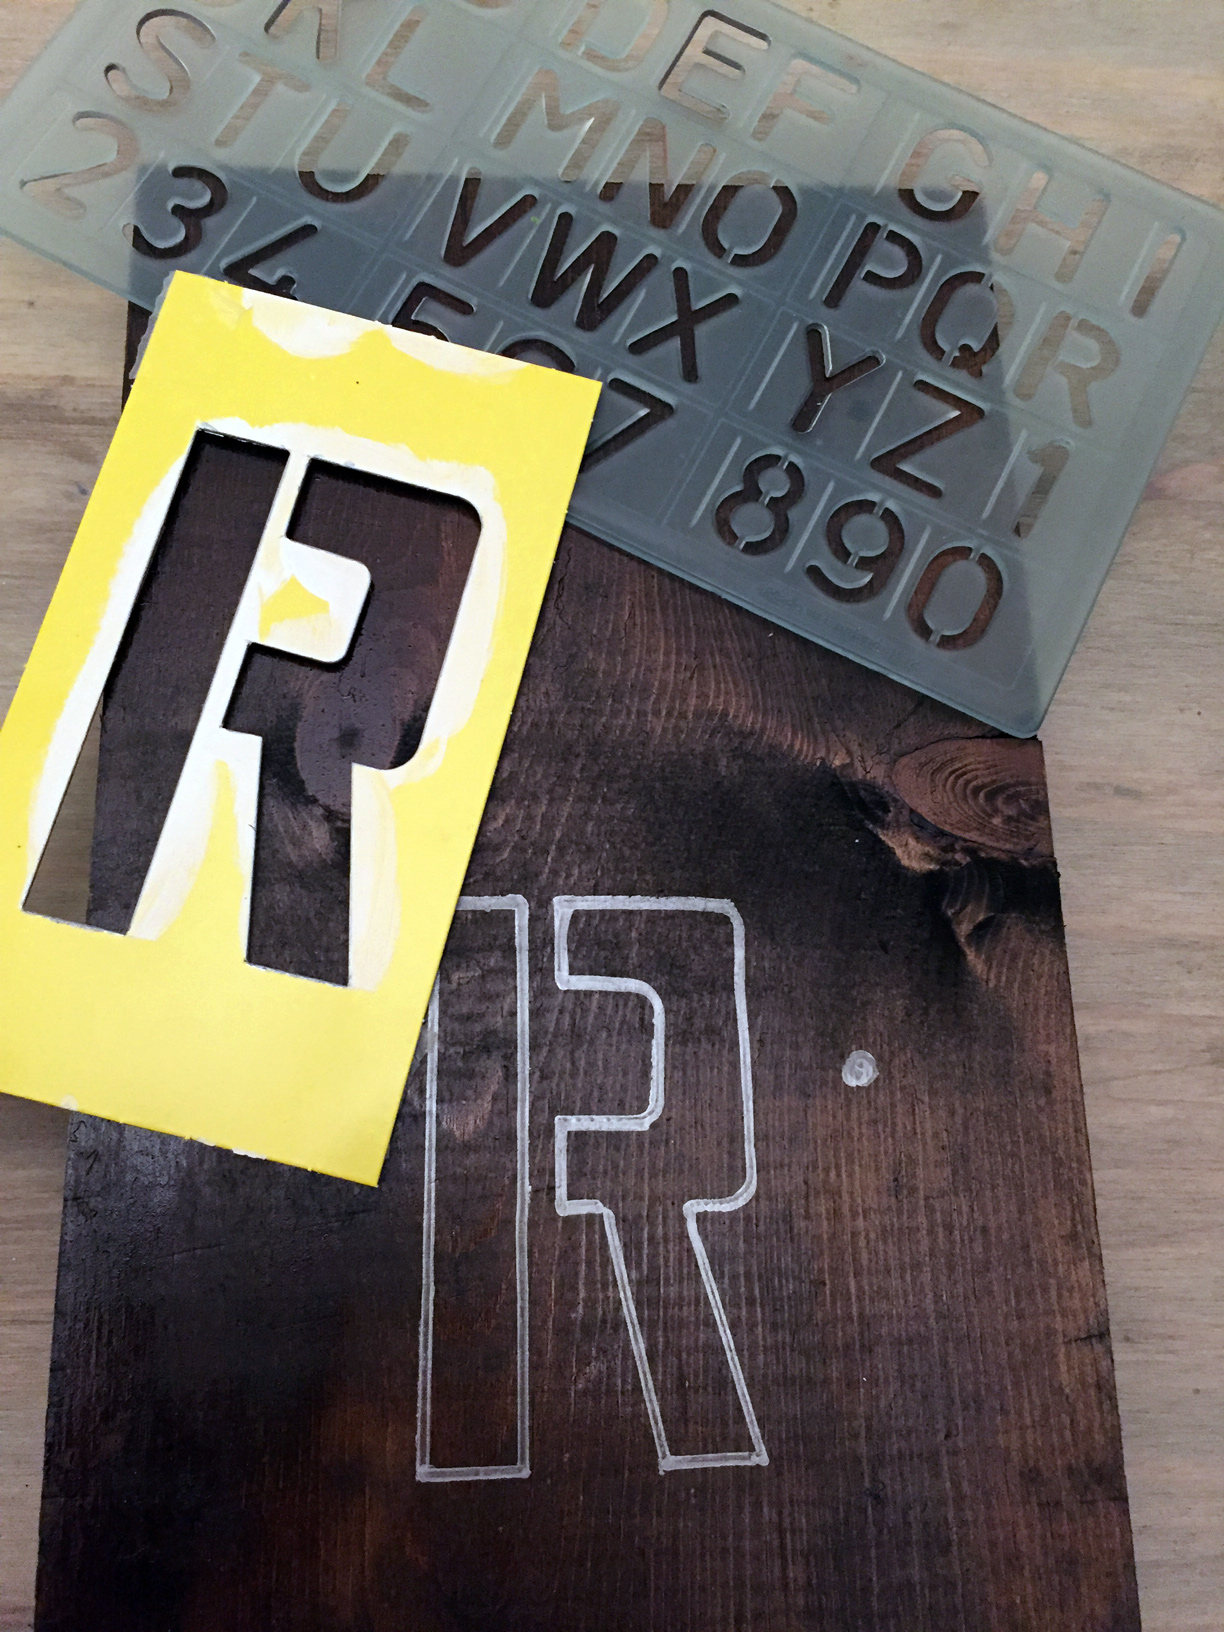
We used a silver sharpie, you could use pencil and then paint over it as well.
The last step is to add the hardware, and do a little more sanding on the edges. (Also we predrilled a hole to hang it, so the wood doesn't split when screwing into it)
Here is our finished Bottle Opener Sign

We made a slight alteration and instead of the bottle opener hardware we added 2 small silver cup hooks. This converts your sign easily into a Key Holder Sign.
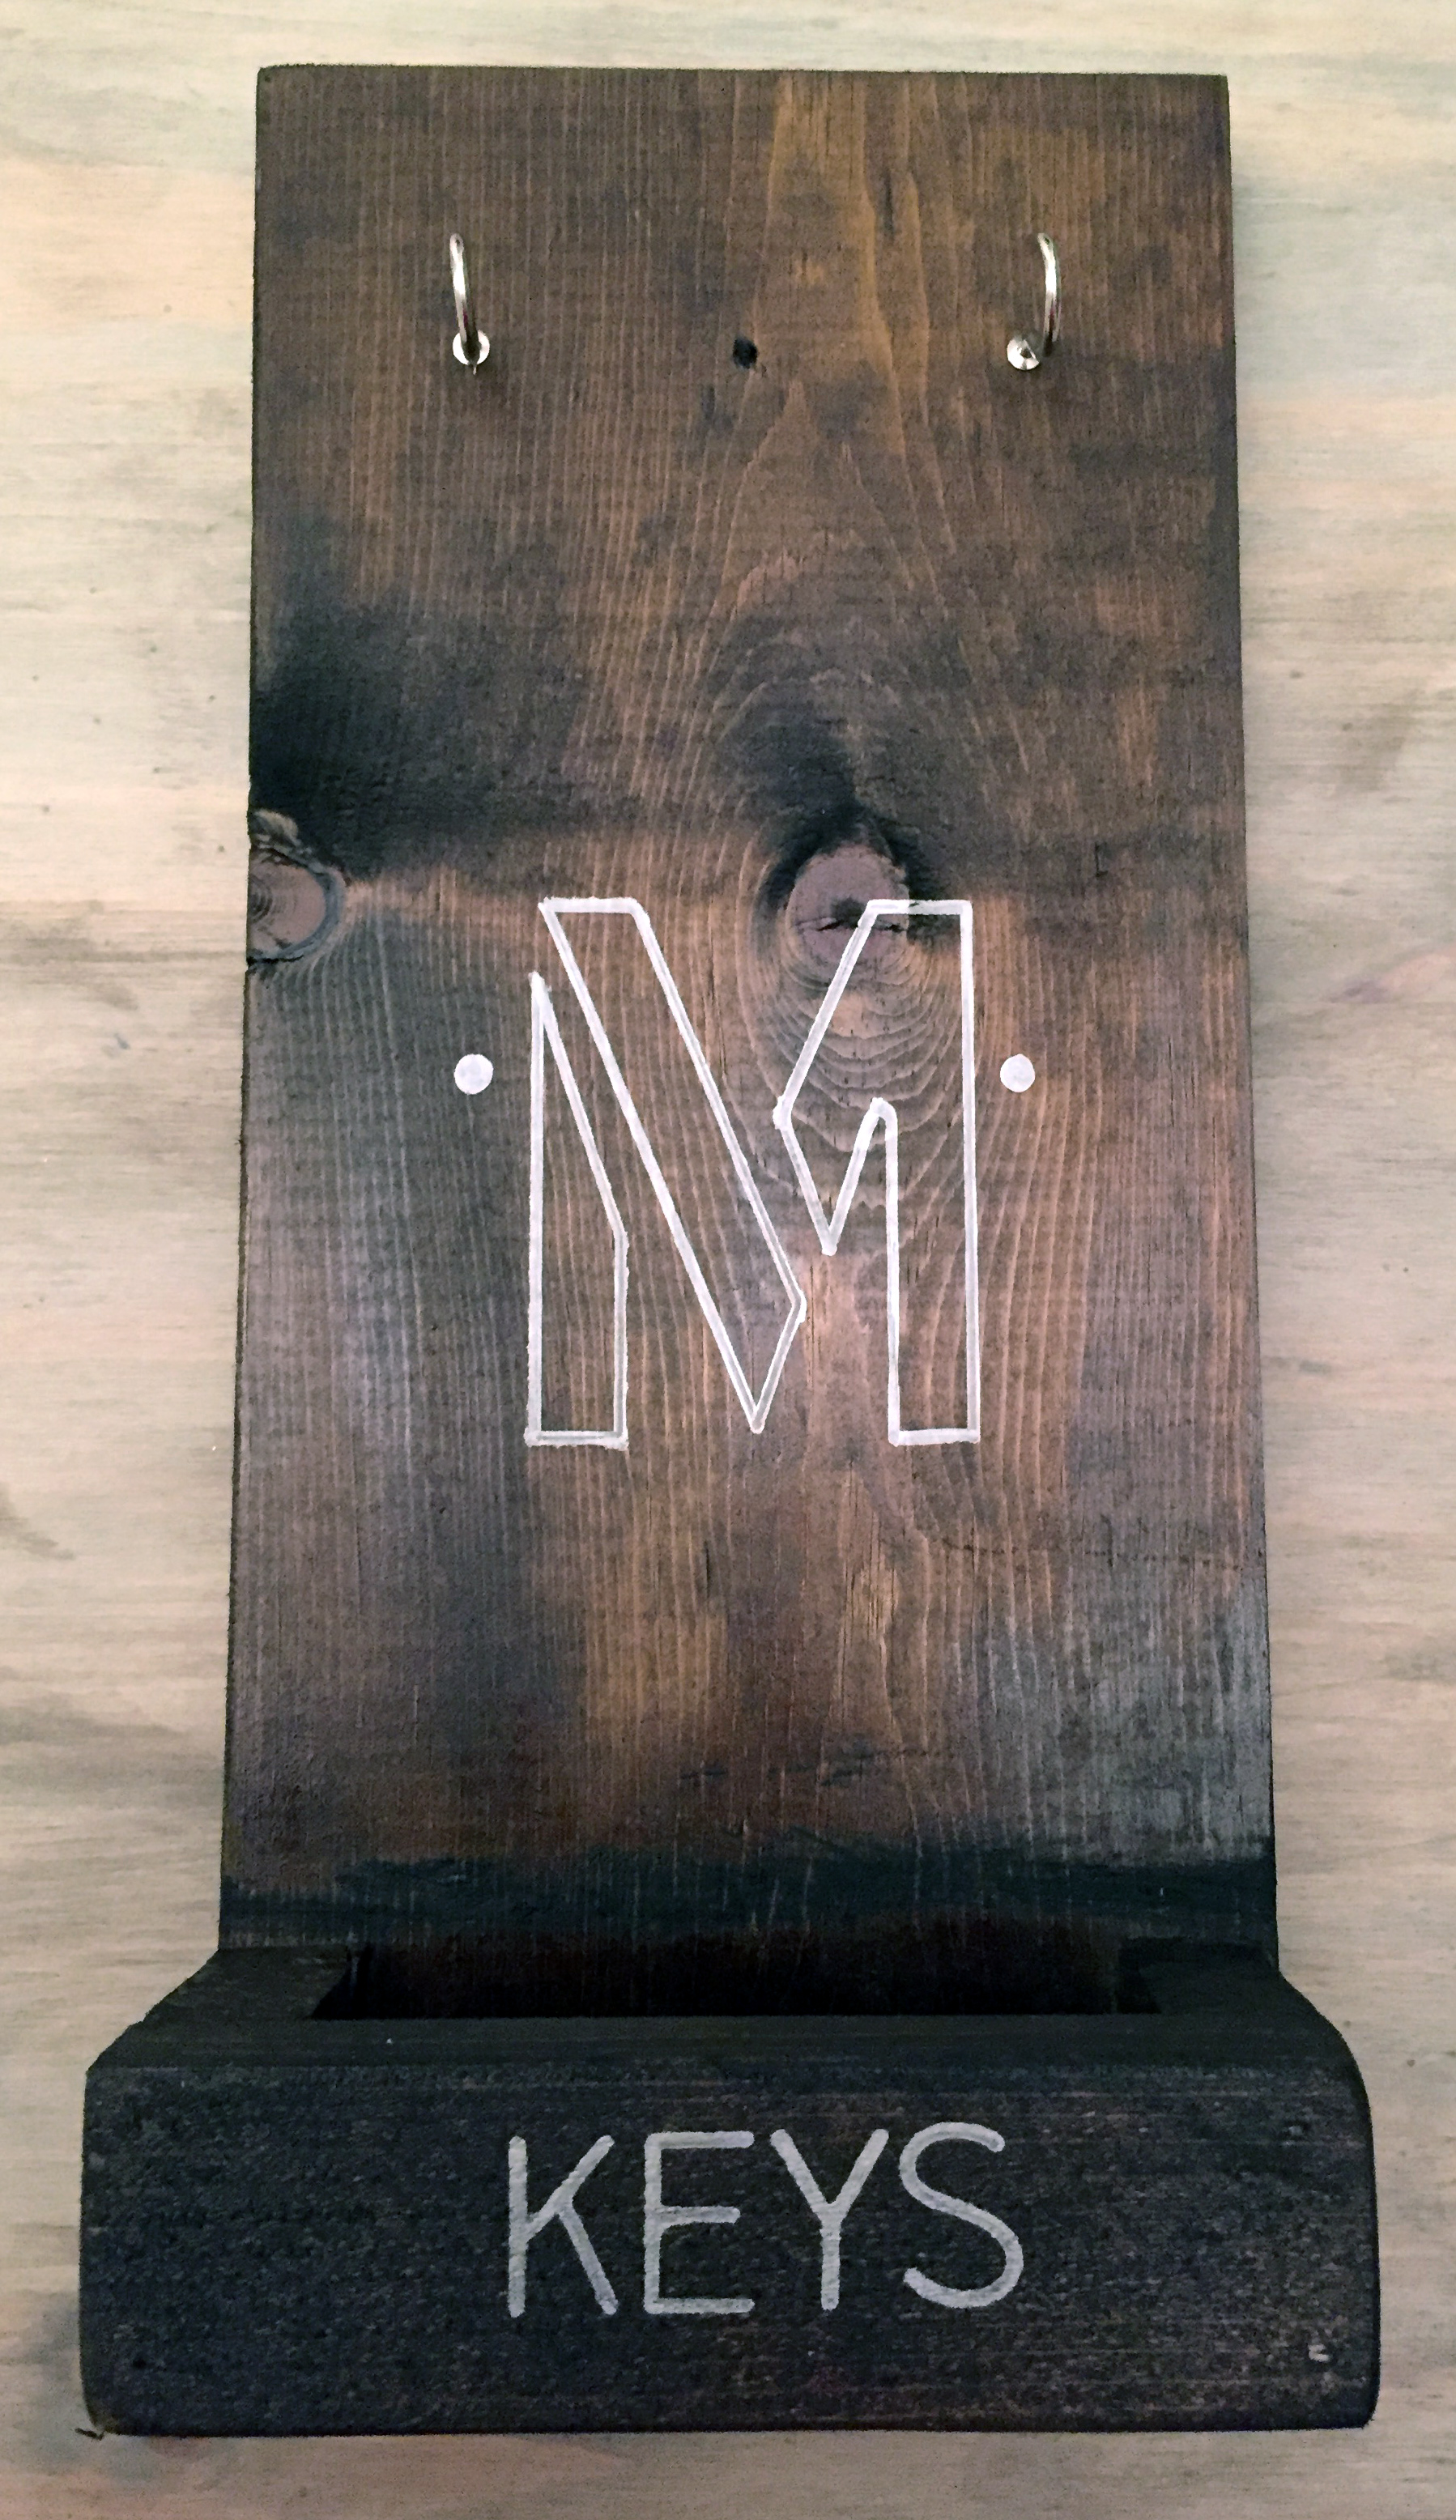
That's it guys. Its pretty simple.
