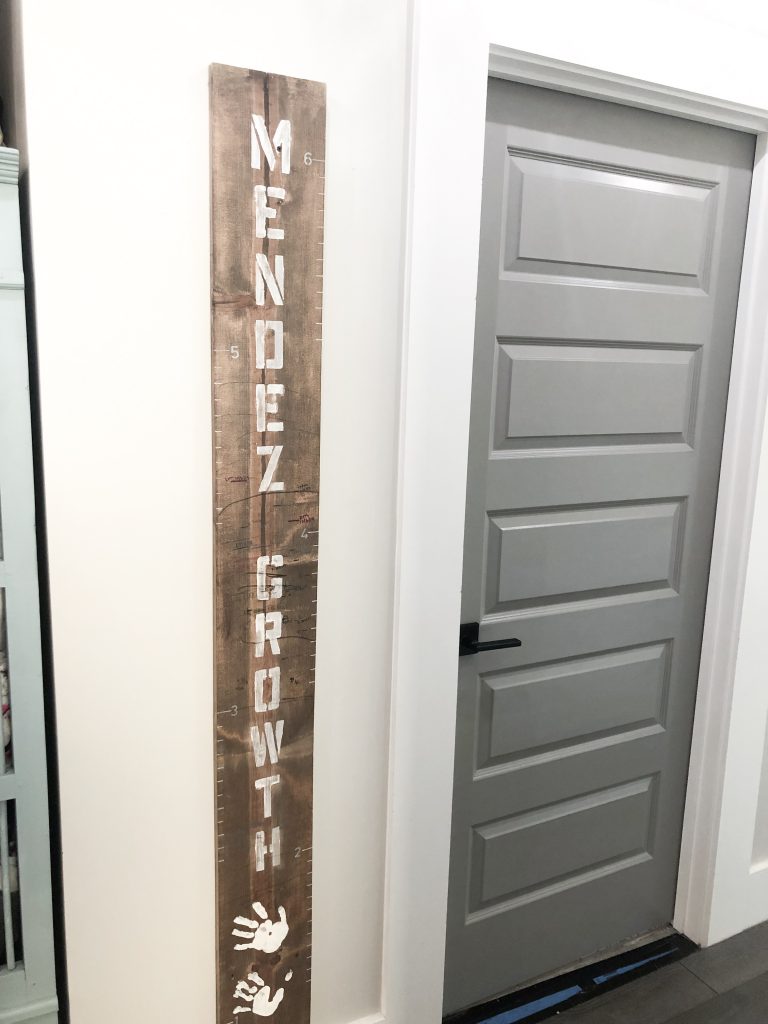
DIY Growth Chart
How to Make a Simple Growth Chart from a Plank
Today we are going to show you how to make a simple Growth Chart from a 1x8 x 6' plank.
Supplies:
1x8x6' pine plank (Home Depot $10)
Stain (we used Minwax Special Walnut)
3" Letter Stencil
1" number Stencil
Ruler
Triangle or T-Square (is helpful)
Permanent Marker (we used white)
White Paint or Primer
Small piece of sand paper and utility knife blade
Steps:
Stain your board. We used 2 coats of stain. Then let it sit for 1/2 to full day.
We then nailed our board in place, but you could do all the stenciling on the board prior to nailing it to the wall. We nailed the board about 4" from the floor. Make sure you start your stenciling with this consideration. You will want to start your stenciling knowing how far up from the ground you want the board to start.
We then used the ruler and made small horizontal marks every inch, alternating sides every foot. Use the permanent marker for this part.
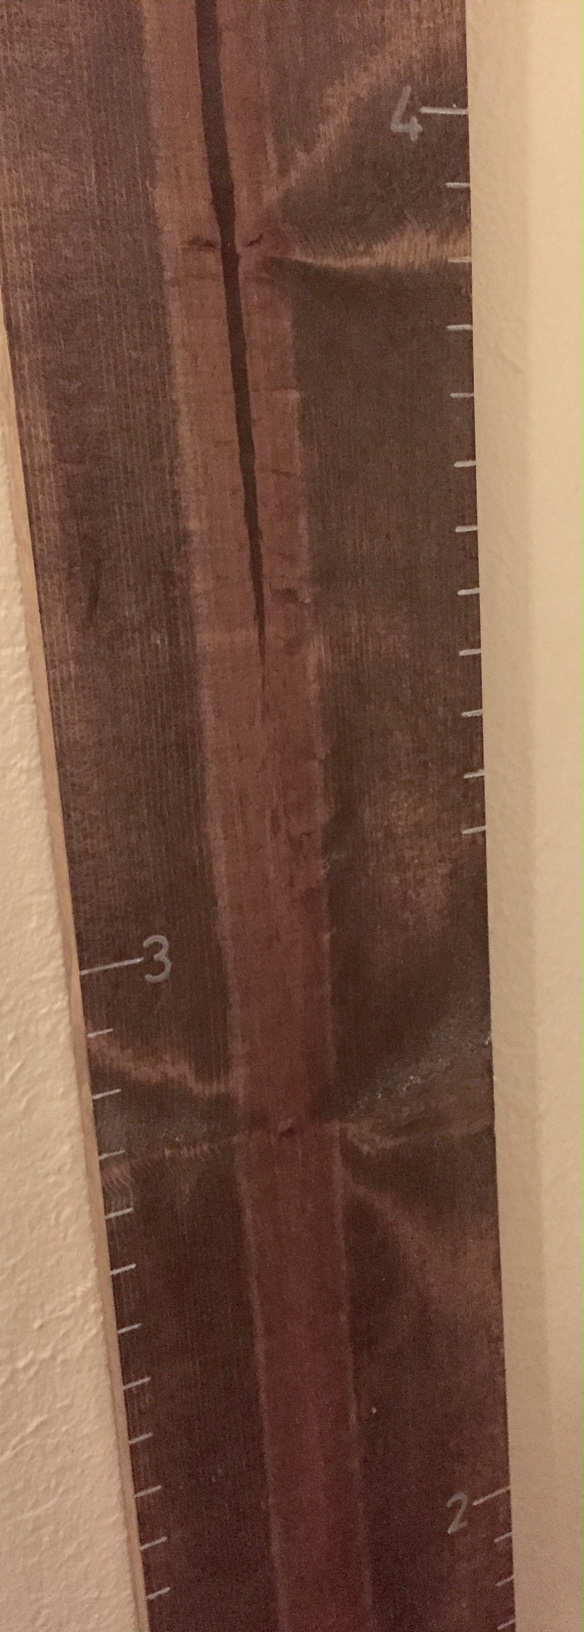
After you have the initial small tick marks, use your triangle or T-Square and go back over the lines to make them a little longer and thicker. We used a t square which has a ruler on it so we made all the inch marks the same length and all the foot marks the same length.
We then took the 1" number stencil and added the number for each foot next to those tick marks, as seen above.
Now get the 3" stencils out and start taping them together in a vertical line. Once you have them evenly spaced and taped together you can tape it in a few spots to the plank.
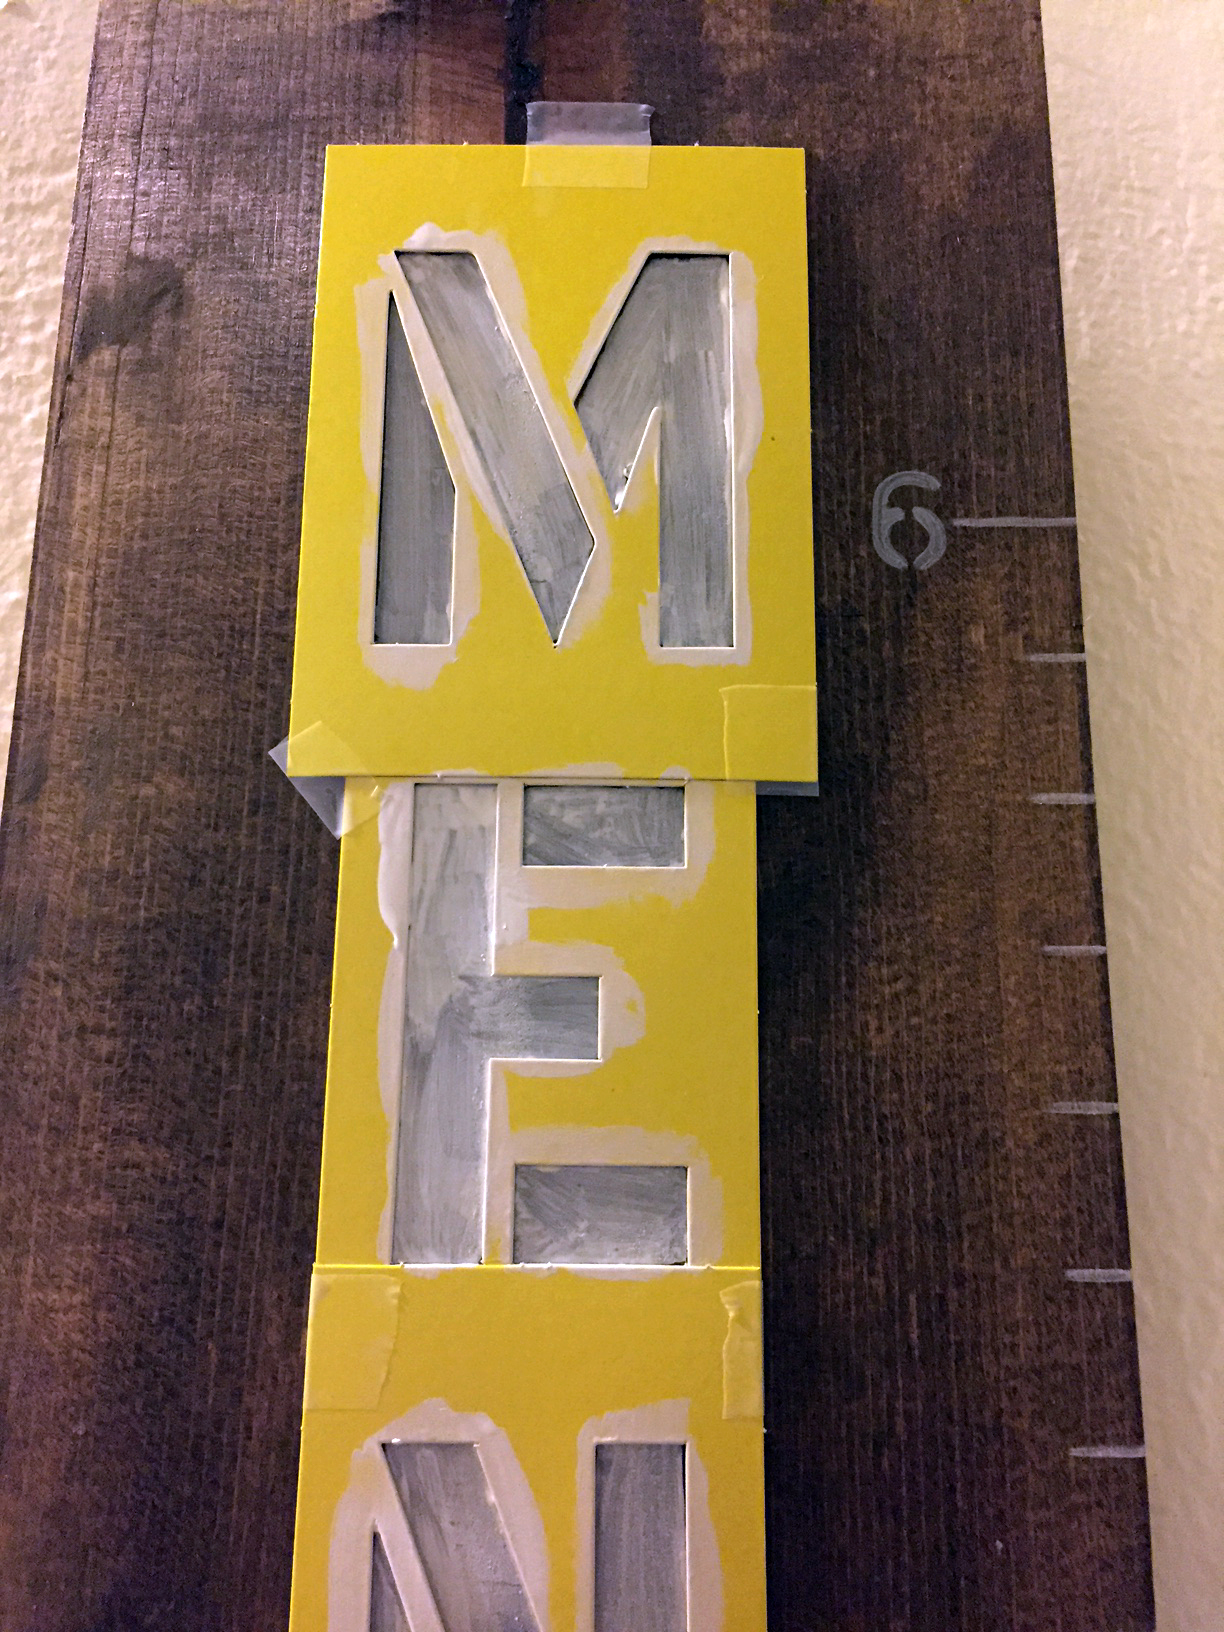
Once it is secure in a few spots you can start painting with the white paint and an artist paintbrush. Be sure not to put to much paint. The stencils we used are cardboard and in some spots we used to much paint and the cardboard ended up sticking to the board. You can avoid this by tracing the letters with a pencil and then going back and painting in the letters (more time consuming).
One other problem we came across was leaving the stencils on to long while the paint dries. We left them on for about an hour while the paint dried. The problem with this was part of the stencil stuck to the board as mentioned already. Also the paint bled in a few places. It would have been easier to cleanup while the paint was still a little wet.

This is where the utility knife blade comes in handy. We lightly scratched the areas where the cardboard stuck or the paint bled through the stencil. We also took a small piece of fine sand paper and sanded over each letter. We wanted the letters to look worn and old, so we ended up sanding off a majority of the white paint. Be carful not to sand to much because the stain can sand off as well and it could mess up the project.
The last touch was to add the children's hand prints. My grandma let me put my hand in the plaster of a wall at her house during construction and I remember comparing my hand every year growing up. We thought it would be a great idea for the kids to have a place to do this as well.
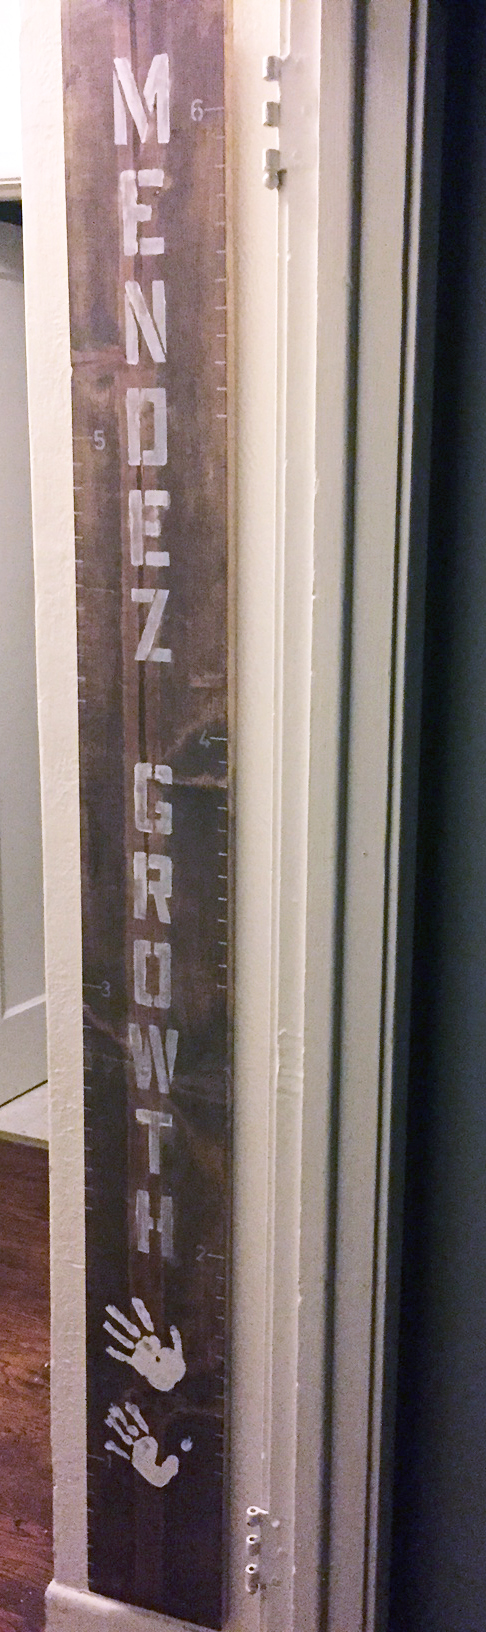
The great thing about this growth chart is that it is portable. You can take it with you anytime you move. Great project for renters or for those of you in starter homes.
We would love to see your creation. Post pictures of your DIY Growth Chart on our Facebook page.