DIY Silhouette Art
My daughter came home with this silhouette from preschool. I just loved it, but wasn't sure how to frame it. It was larger than an 8.5x11 piece of paper, so finding a frame to fit its odd size was hard. I decided to make my own frame. I love the planking in my front entry so I decided to mimic this look as the canvas for this silhouette.
If you need to create your own silhouette here are a few easy tutorials. (create a silhouette from a photo) (create a silhouette with a lamp)
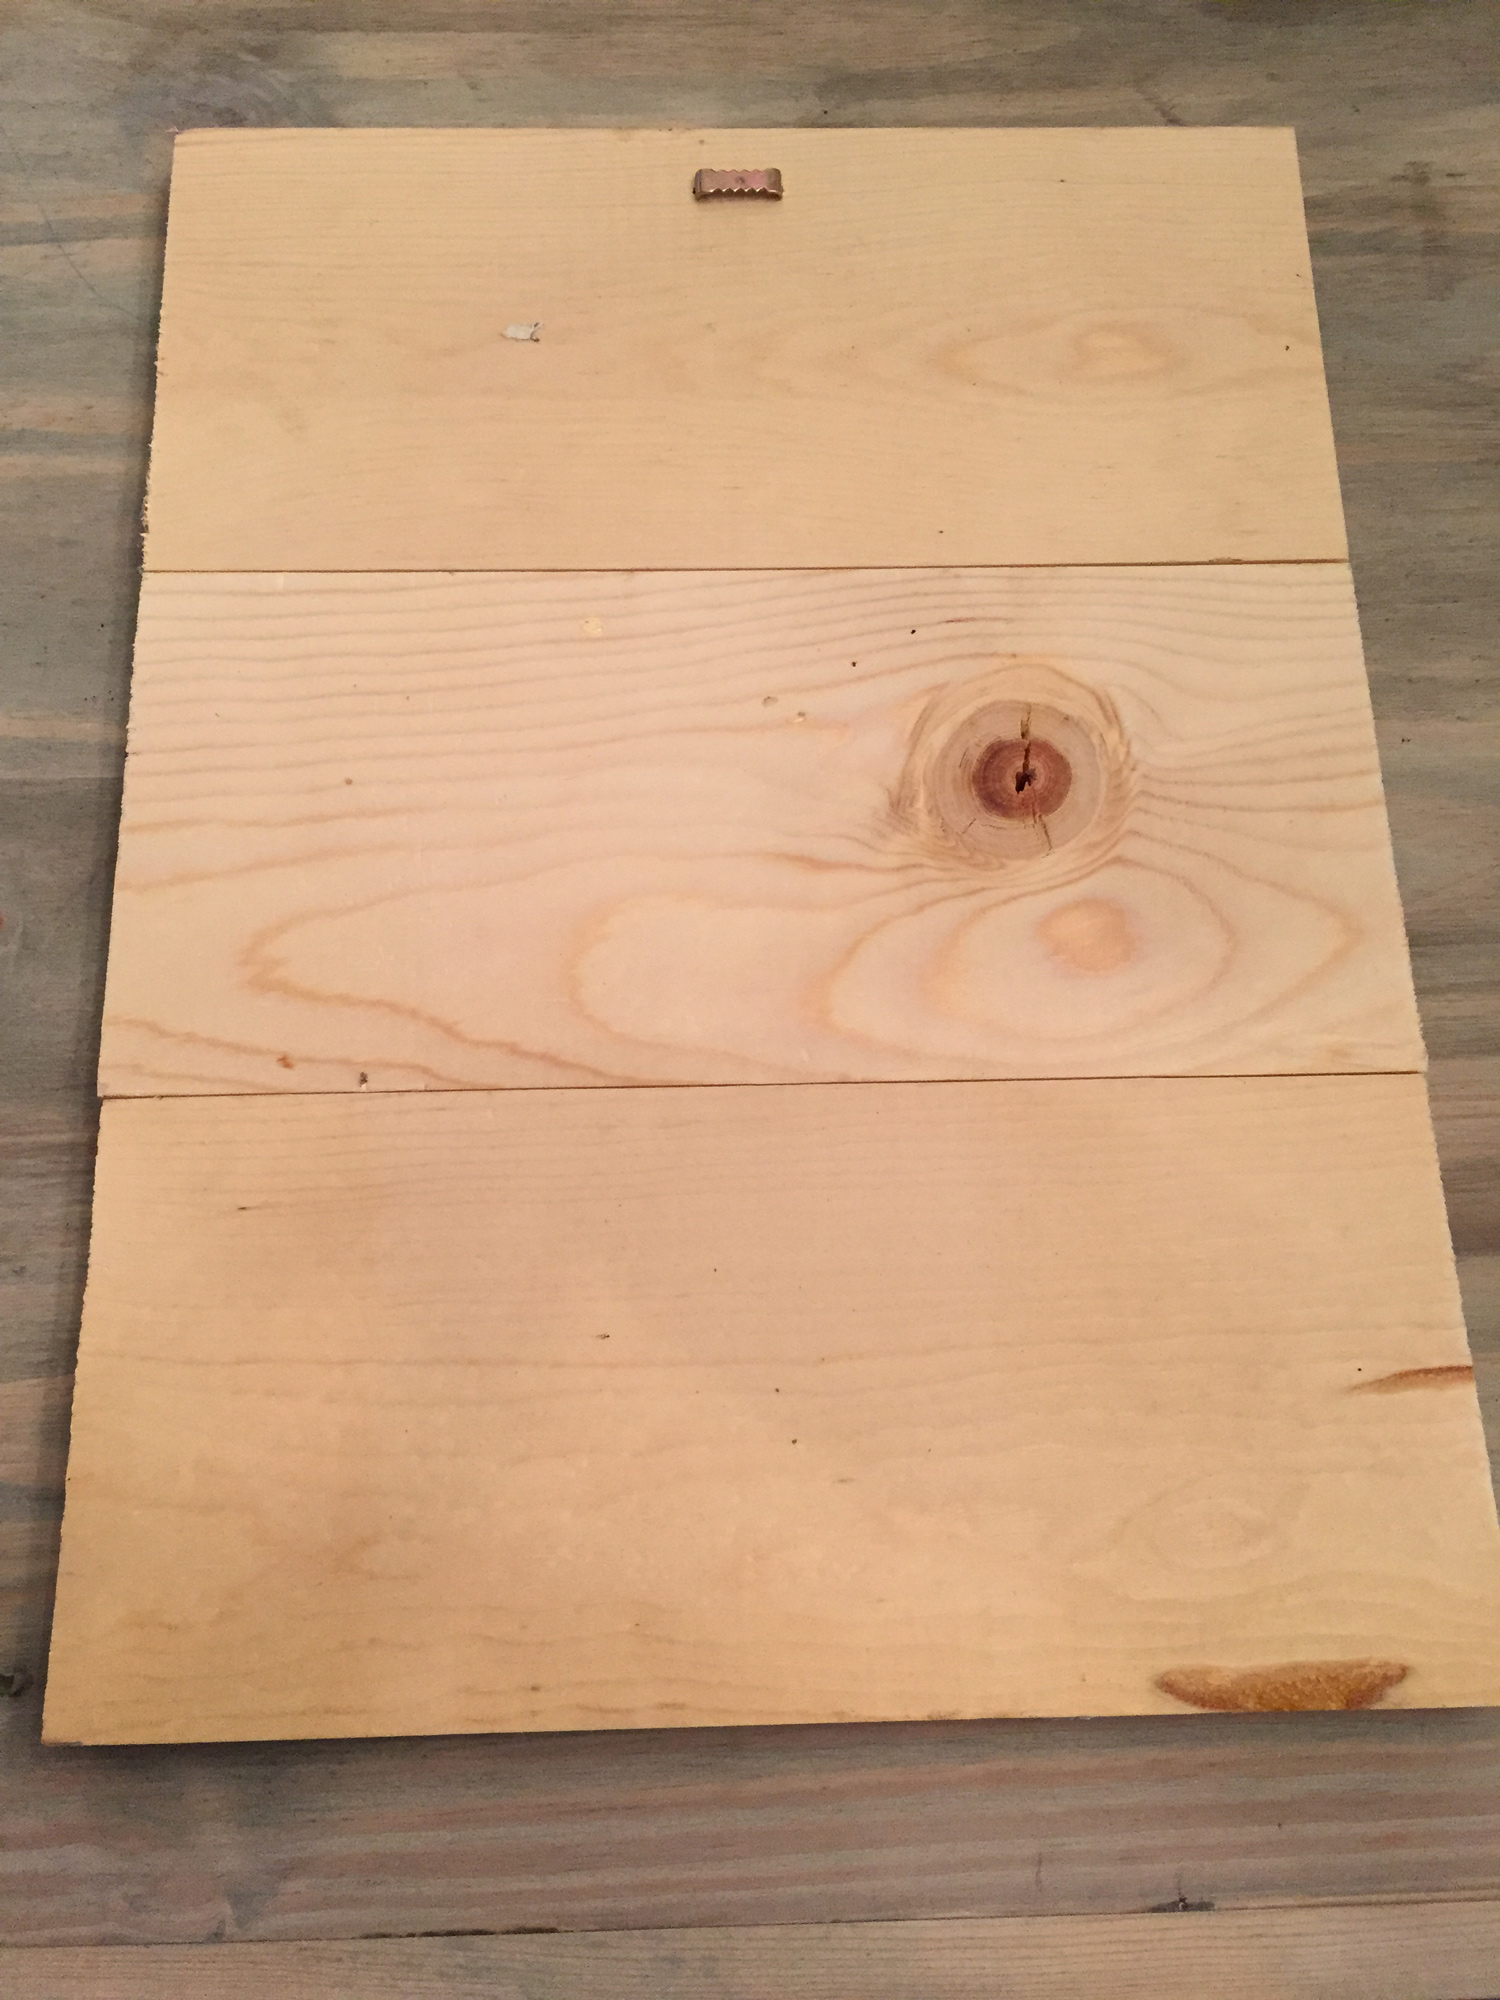
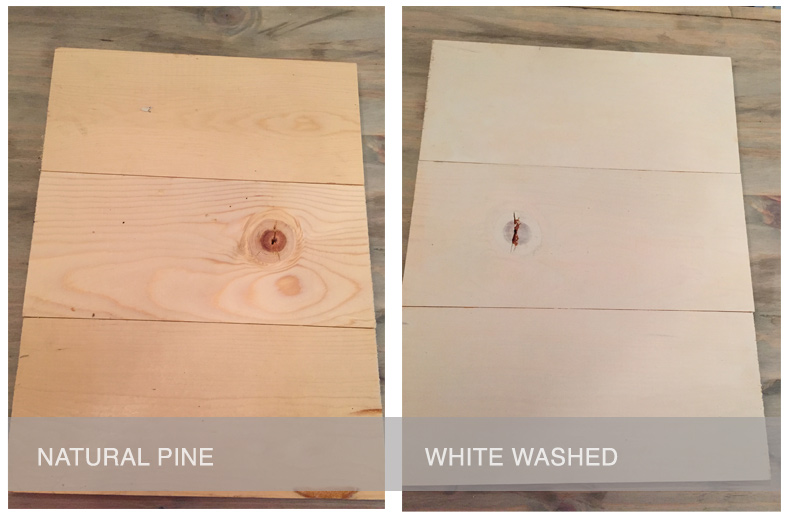
For the planking canvas I used 1x6 pine (scraps I had left over from my DIY Entry Wall). I glued the sides of the pine together. After drying I white washed the pine with a diluted white paint & water mixture.
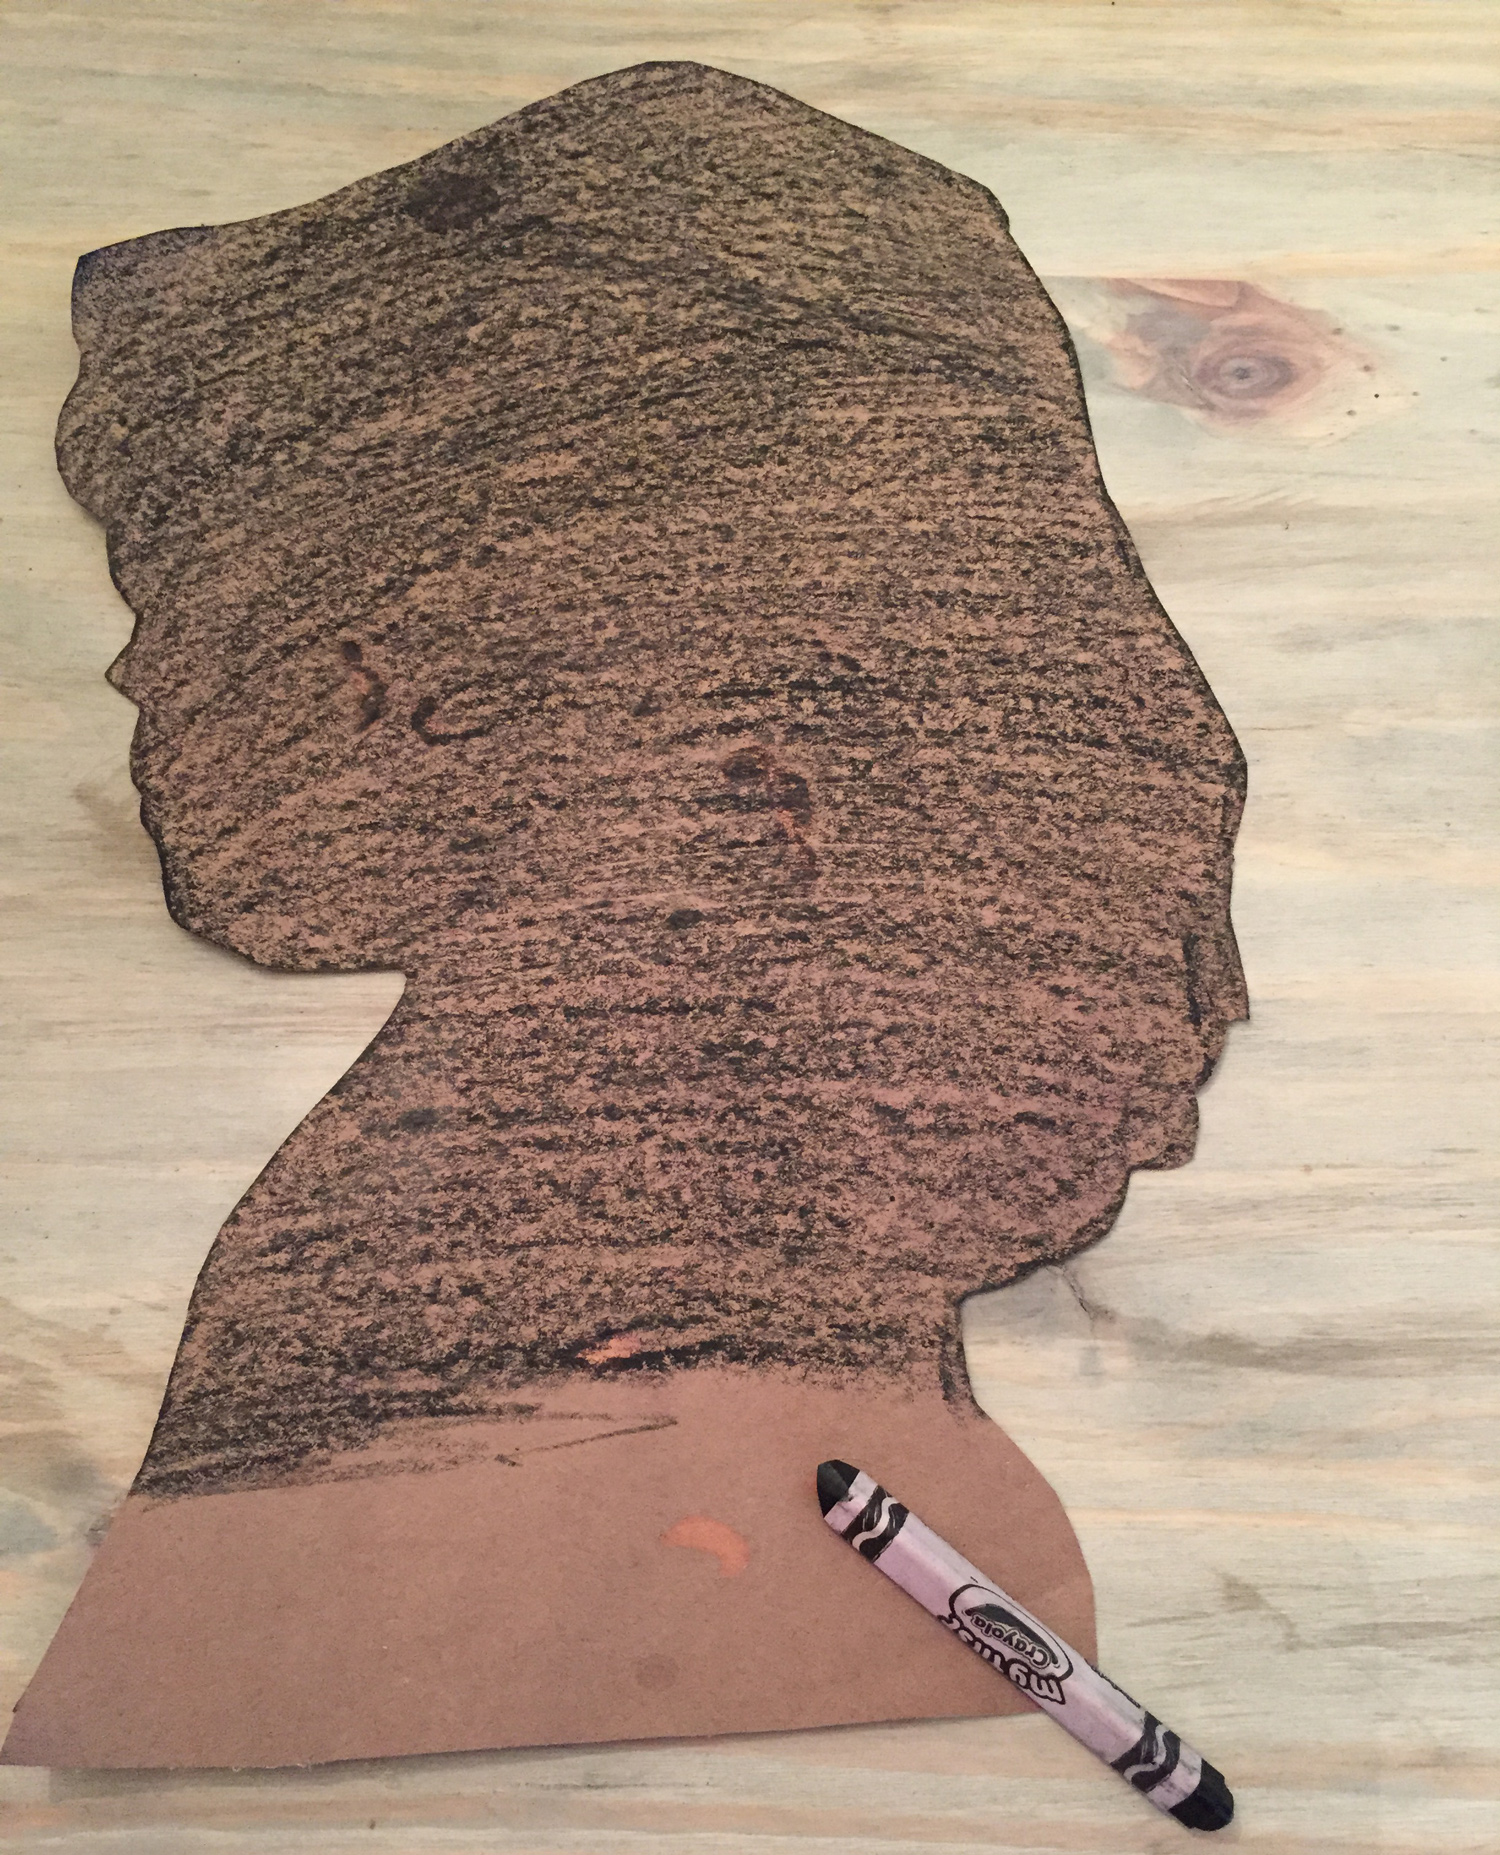
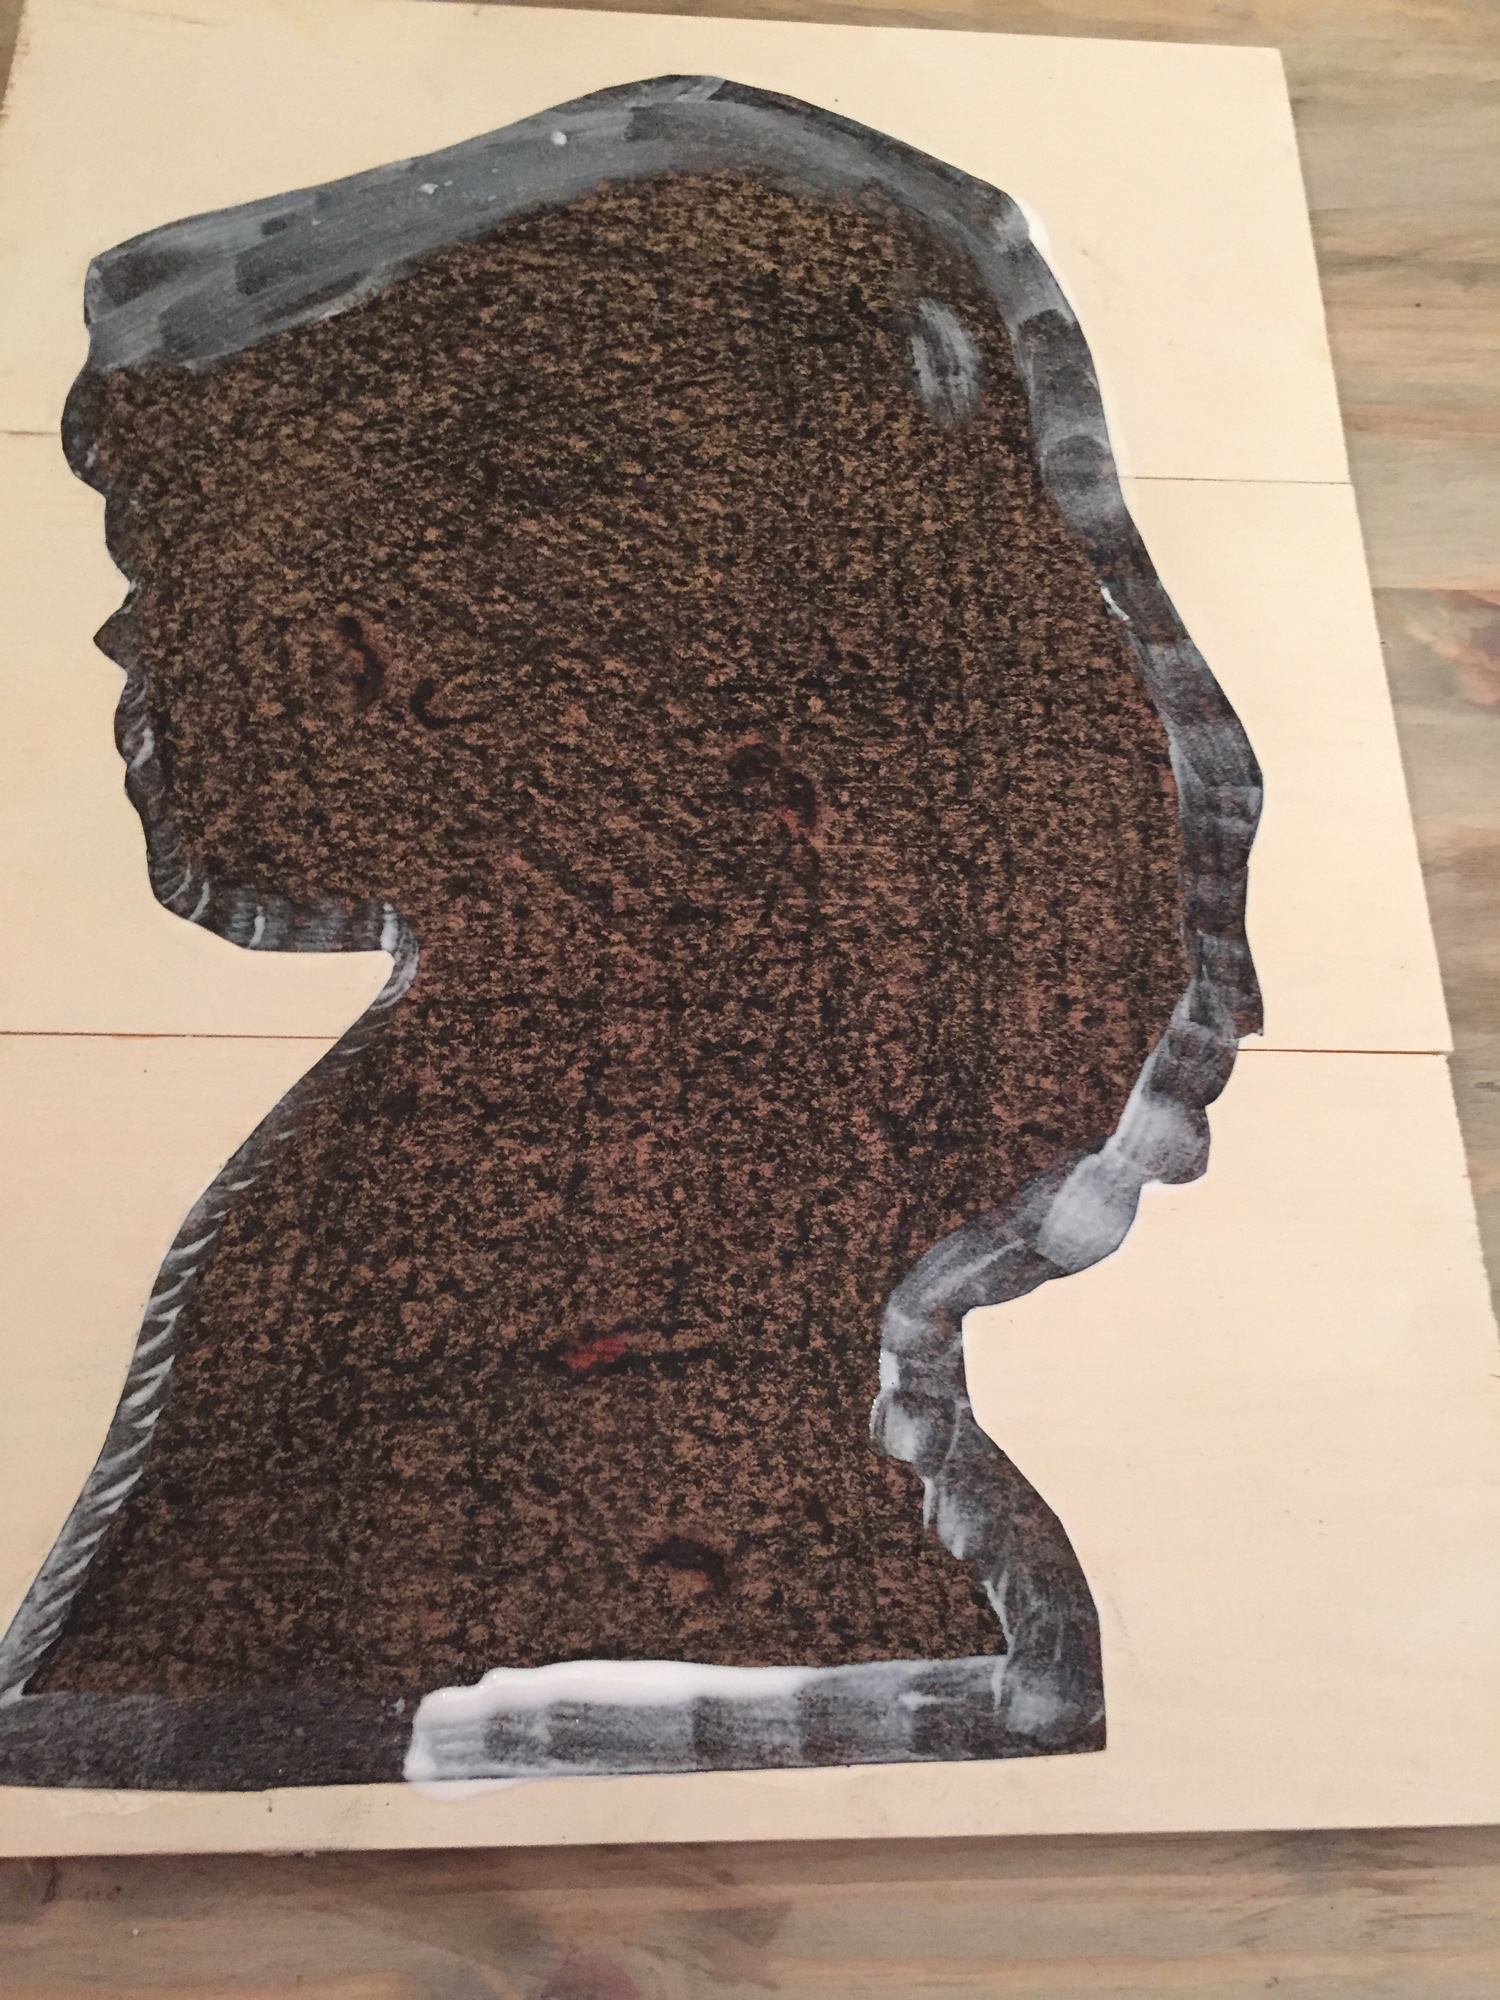
Next, I colored over the silhouette with a black crayon. The silhouette I had faded a little and I liked the texture the crayon added to the construction paper. (you can skip this part if you have a dark black paper already)
After coloring I began to glue the back of the silhouette. I used modge podge.

If you have never used this before, you will fall in love. After painting the back with a paintbrush and the glue I flipped it over and placed it on my planks. Be careful on this step, the glue dries clear but it is a little shiny so you will see spots on the plank if the glue accidentally touches it.
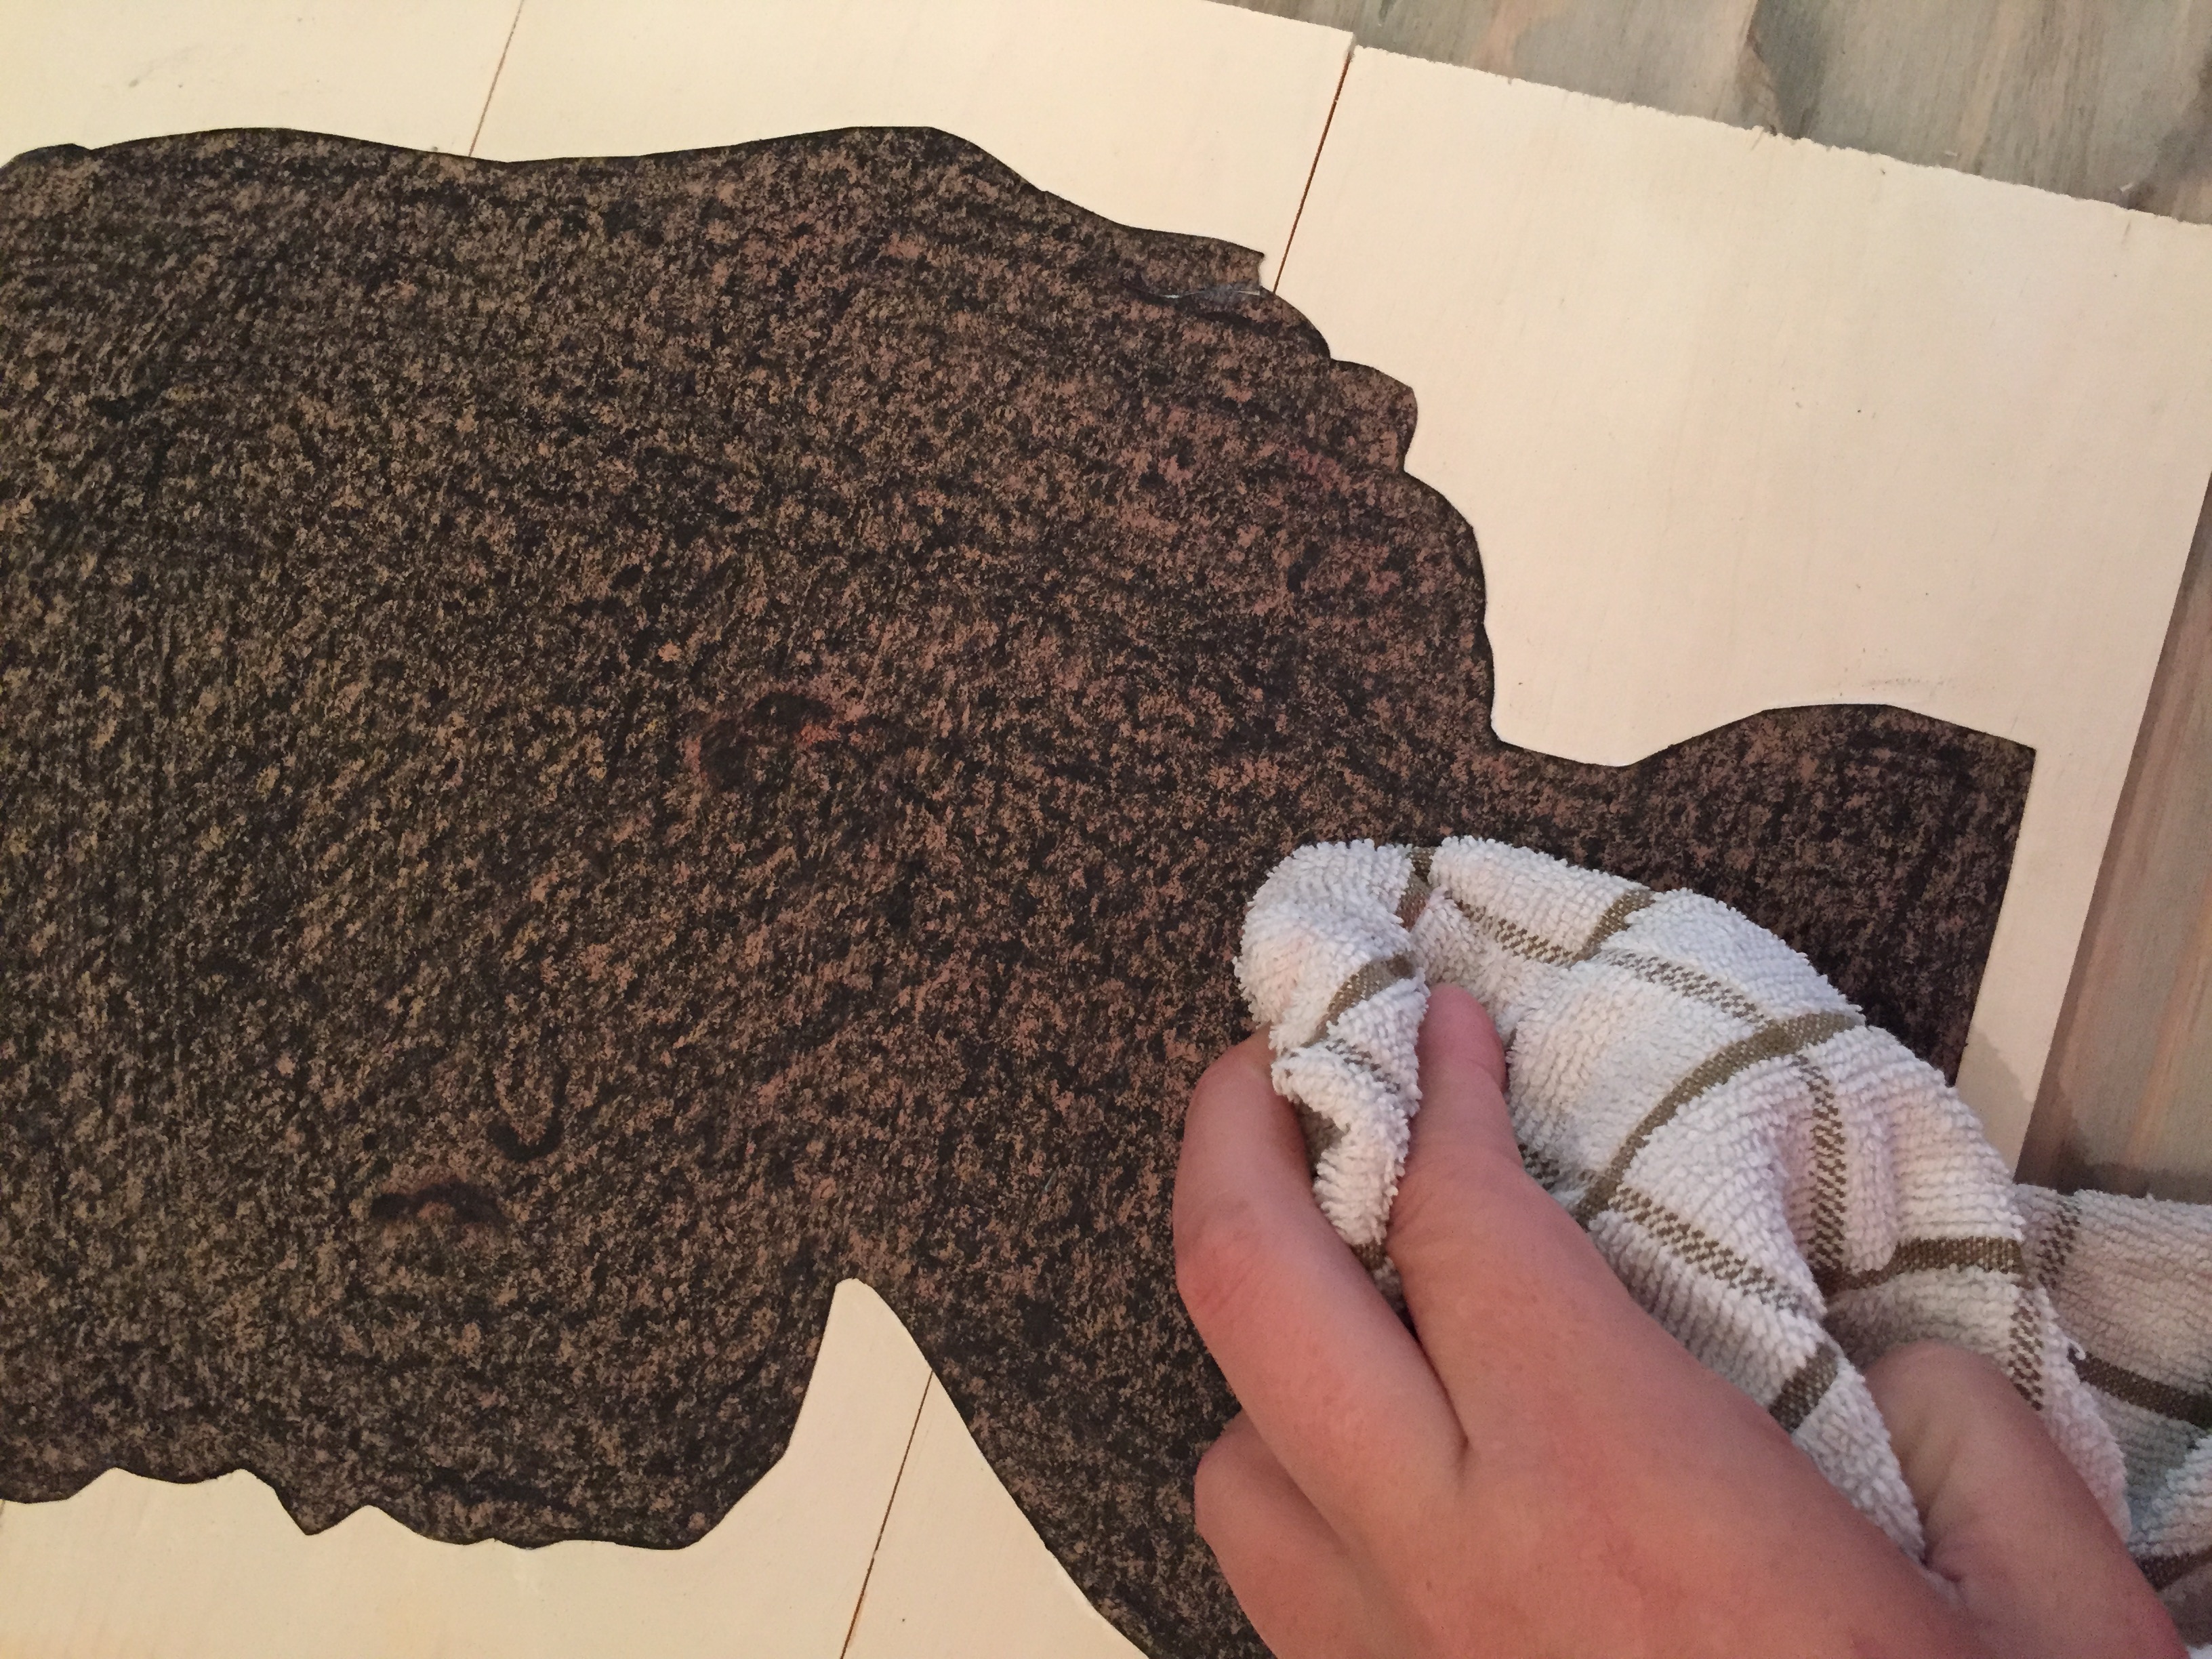
Once the silhouette is in place I took a towel and pressed down on the paper to smooth out the bubbles underneath.
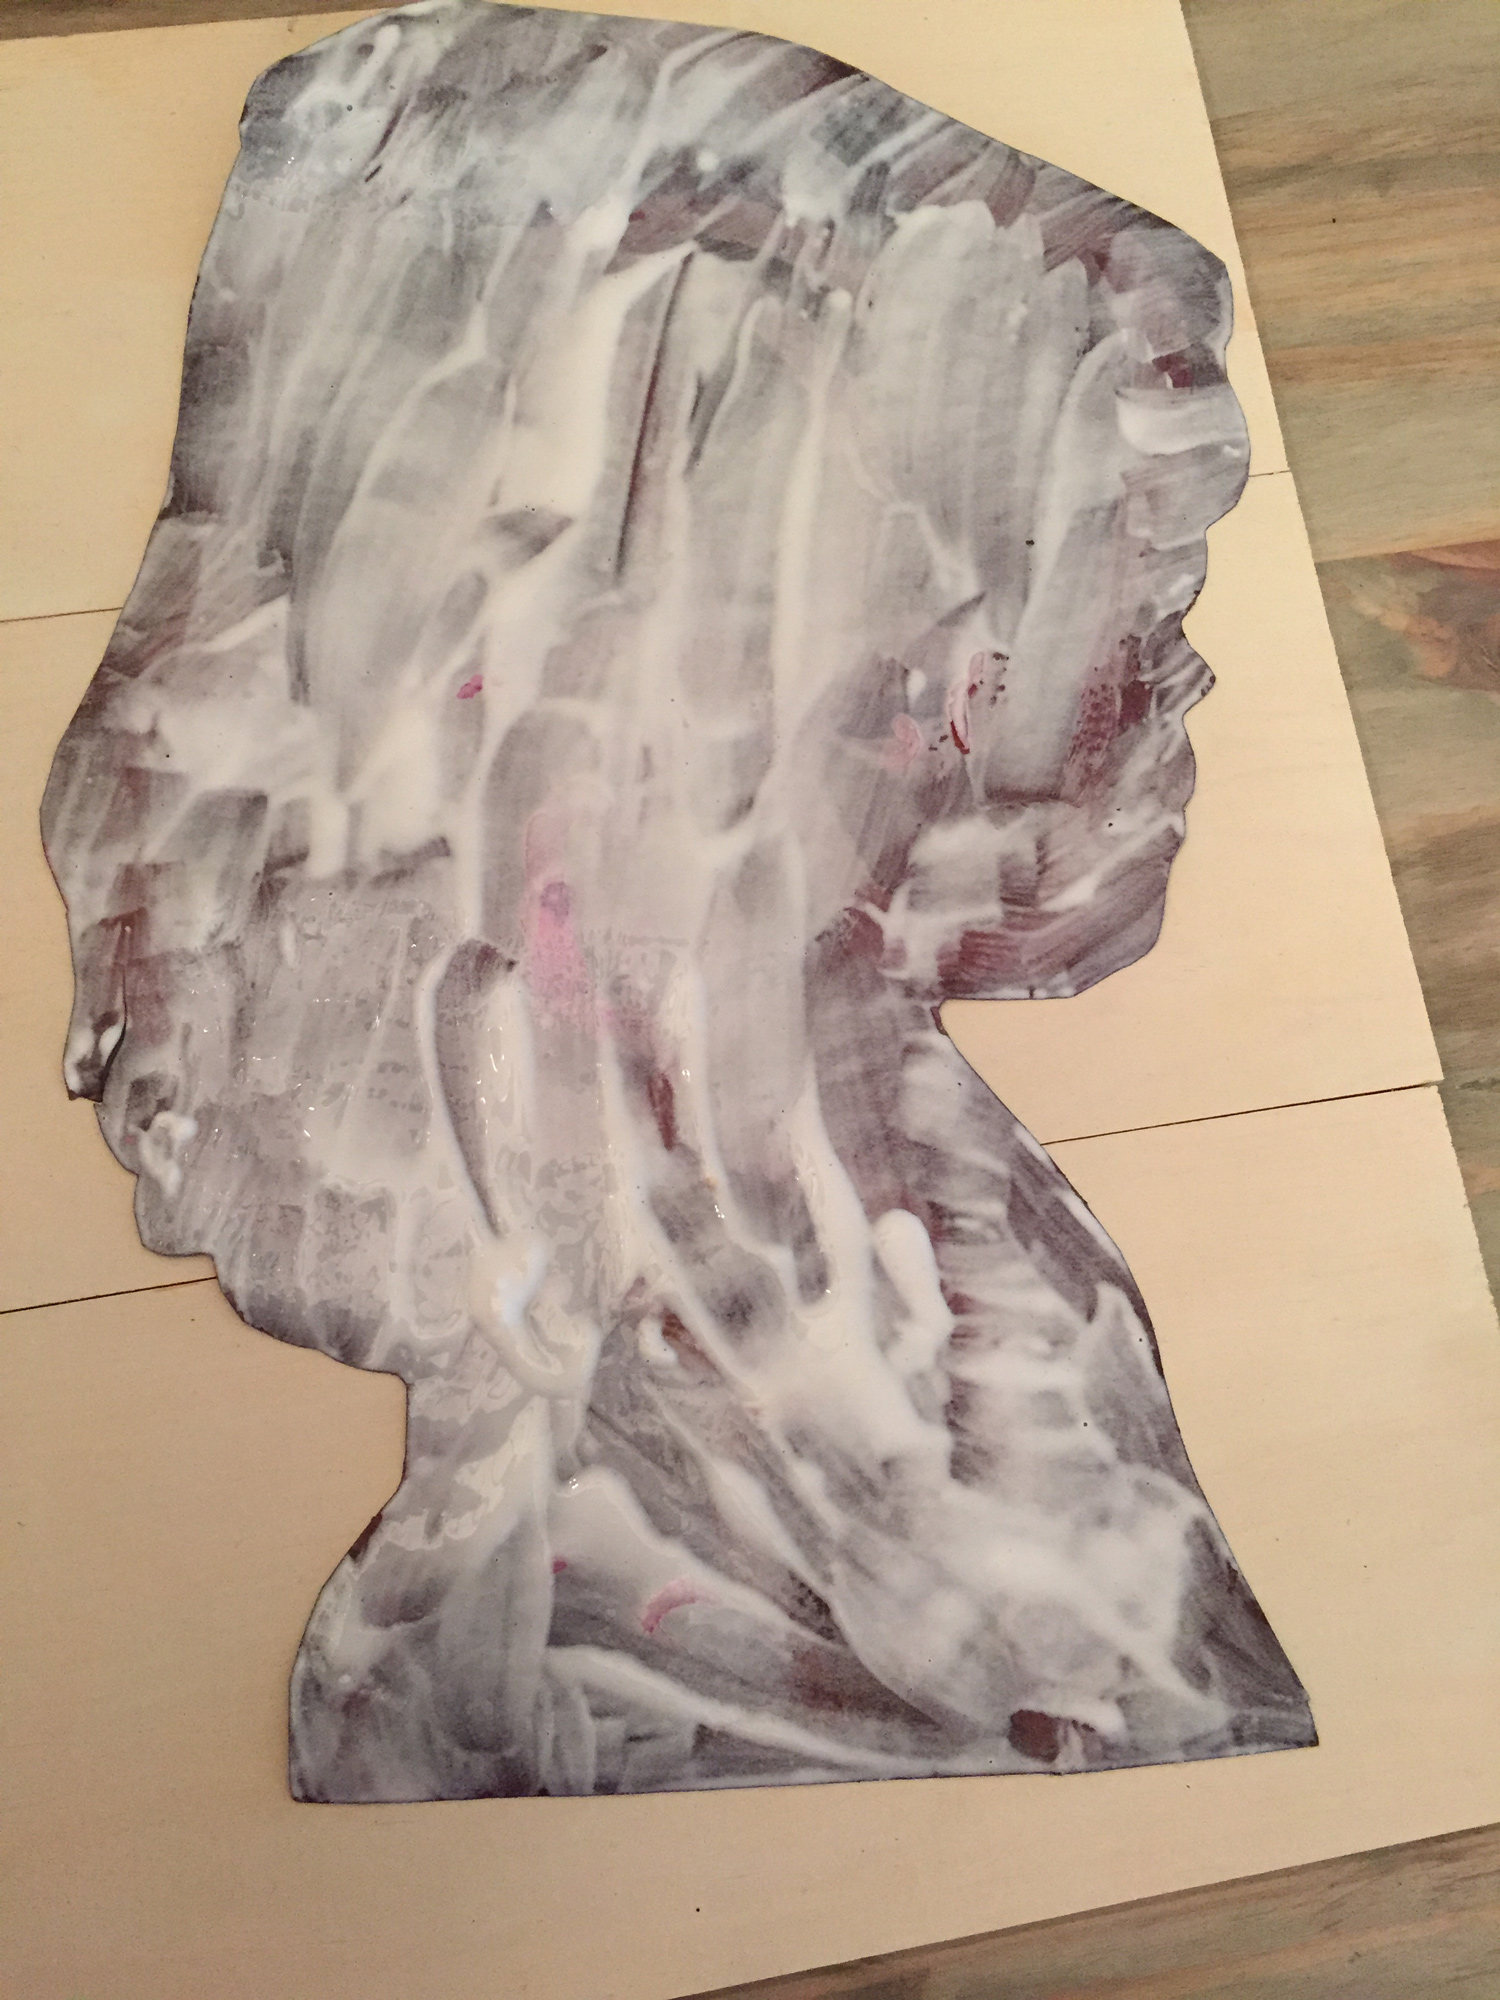
 Now this is why I love Modge Podge!! After the silhouette was glued down I went over the top of the paper with the modge podge. I lightly covered the entire page. Be careful again not to get to much on the edge between the paper and the plank because it will show a shiny streak of clear glue when it drys. The reason for this step is that the modge podge seals the paper, so it will not fade. I have used this before for labels on dressings that I keep in the fridge. It holds up to the cold climate of the fridge and keeps my labels looking like the store bought dressings.
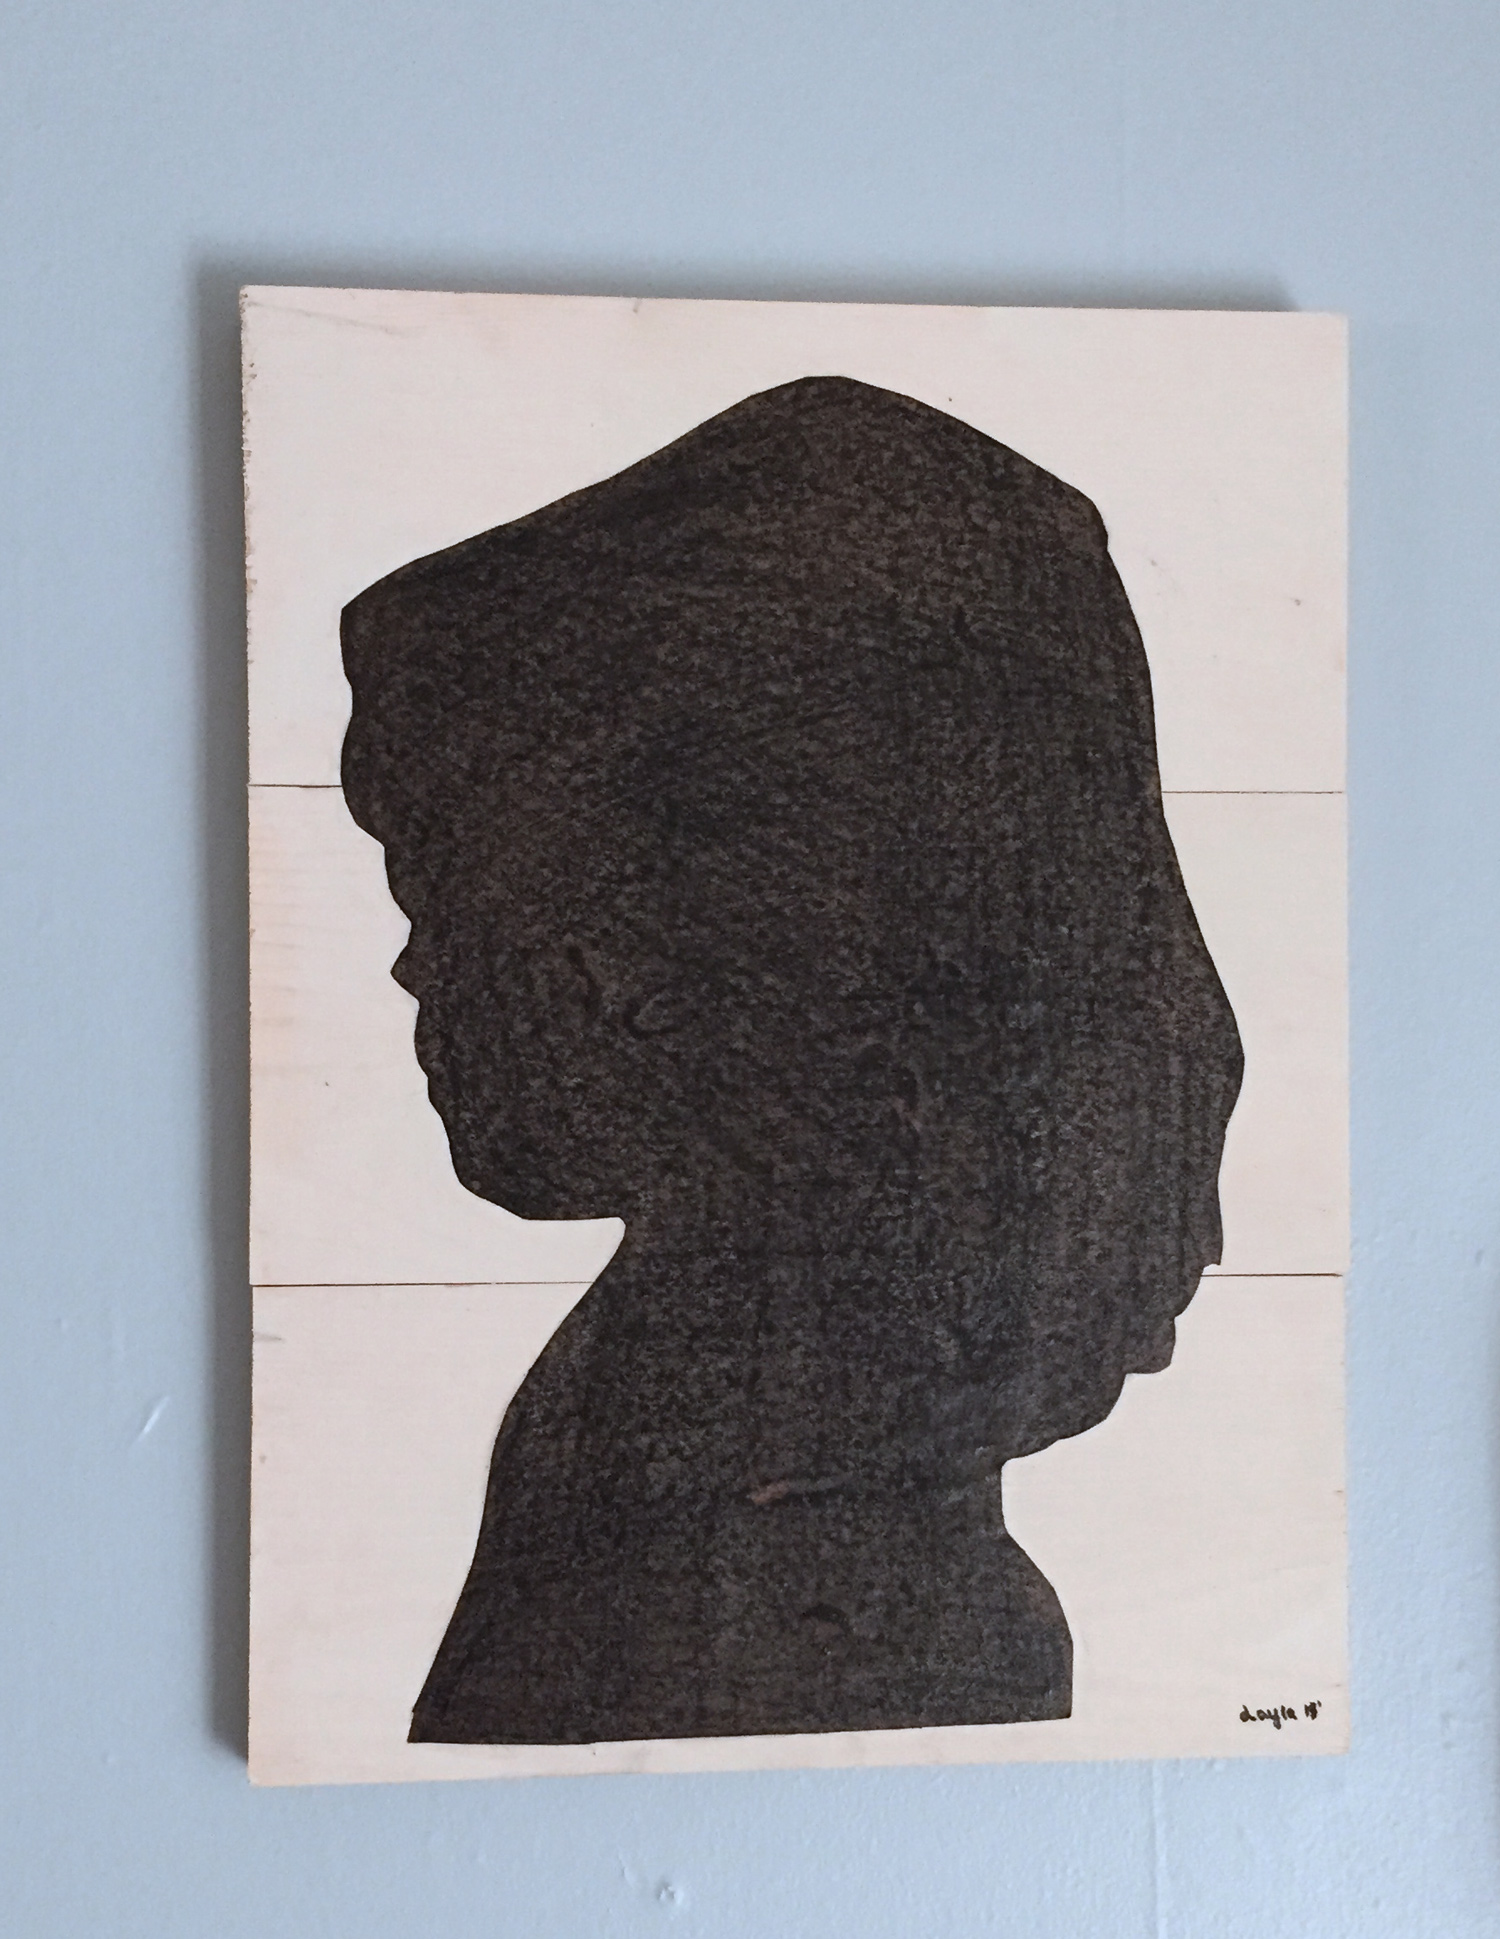
Once it was all dry I nailed a picture hanger clip on the back and mounted my master piece on the wall. I love that I was able to capture my daughter (4 years old) at such a precious age and will be able to enjoy this for years to come.