Coffee or Wine?
We love both coffee and wine, so why not combined the two as a Coffee and Wine Station.
Today we are going to focus on how to build the wine shelf that has coffee mug hooks below.
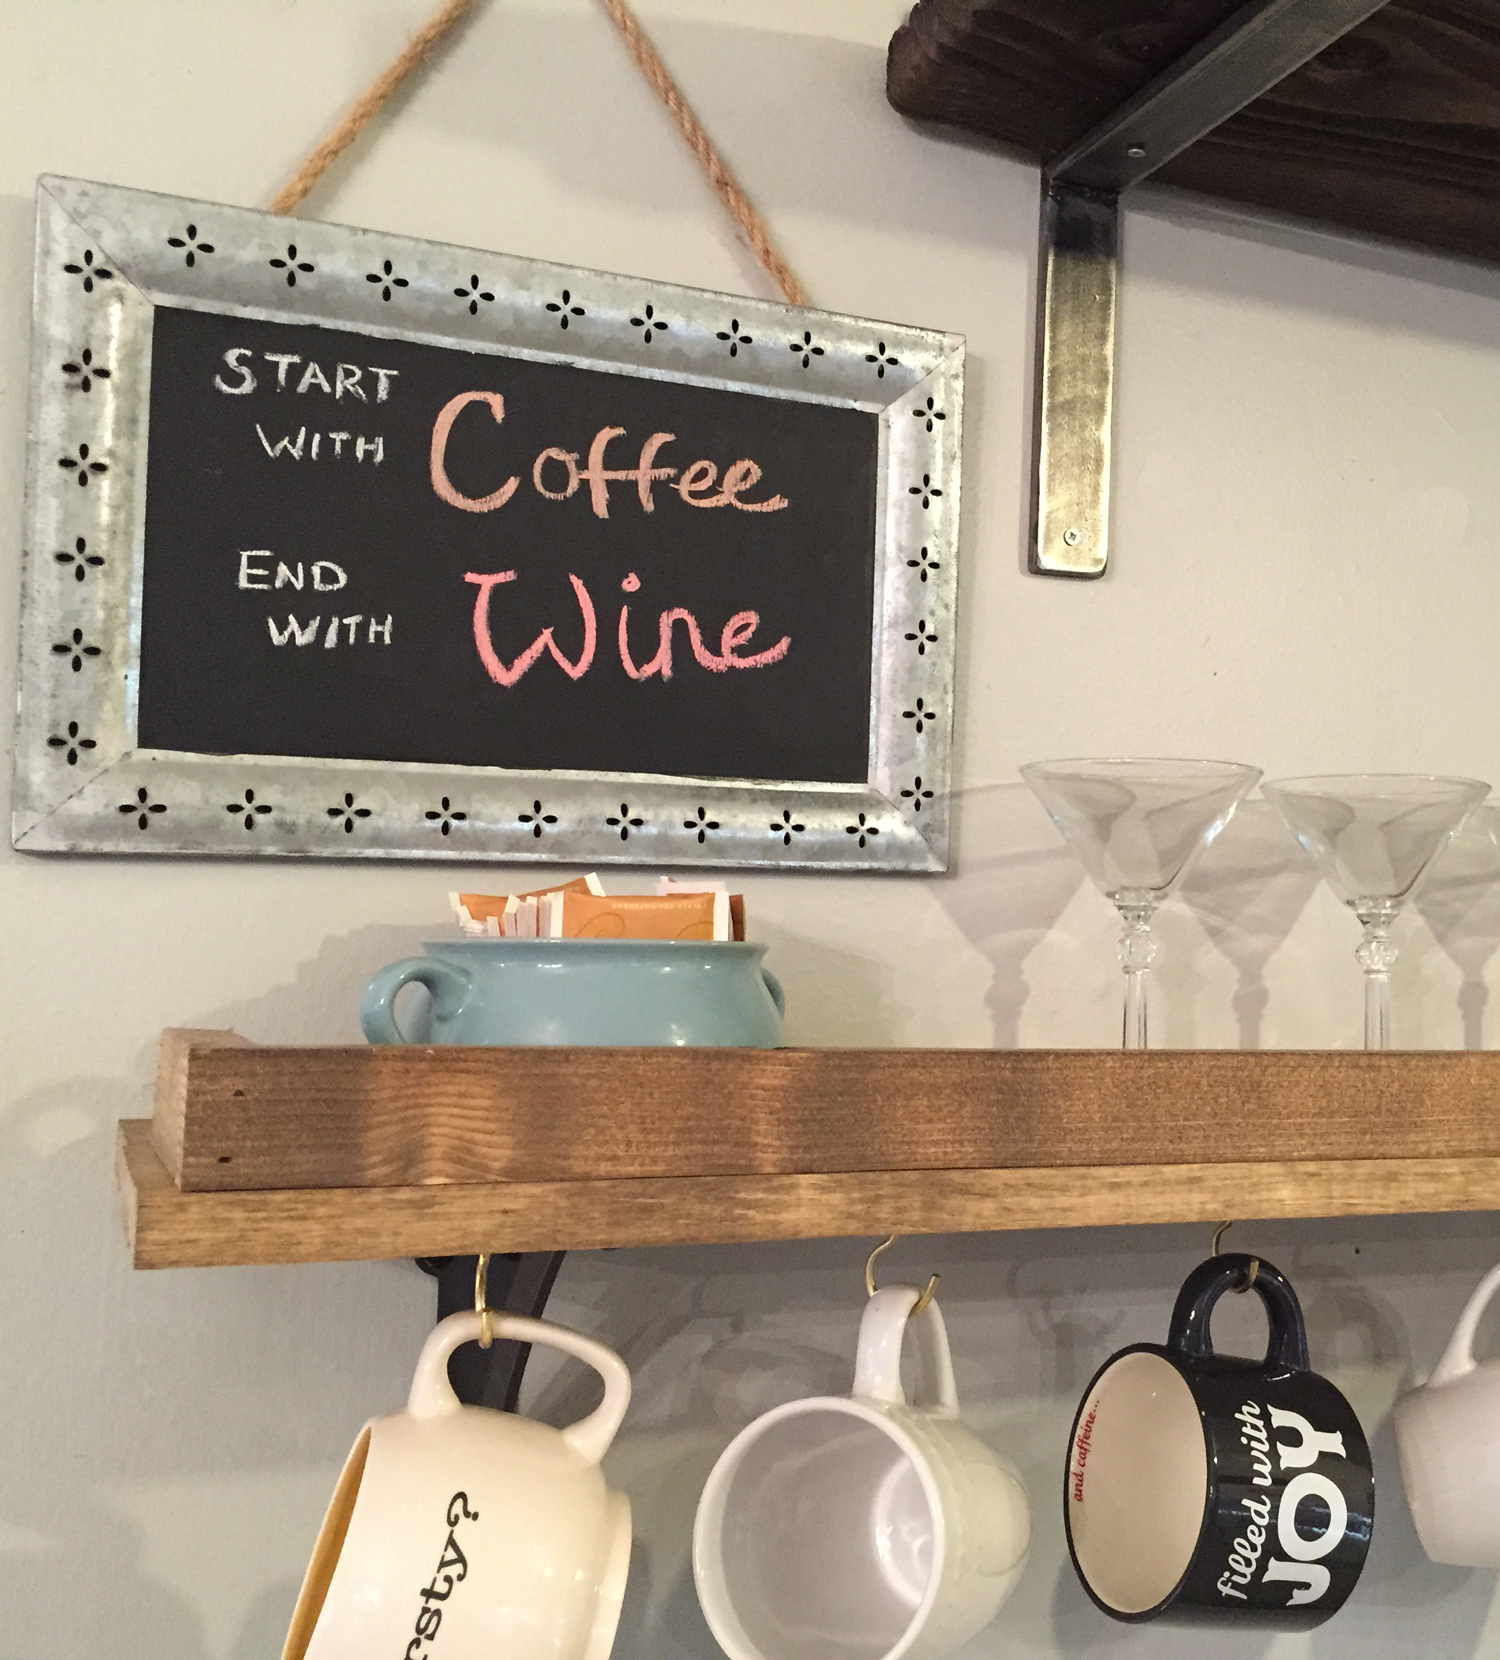
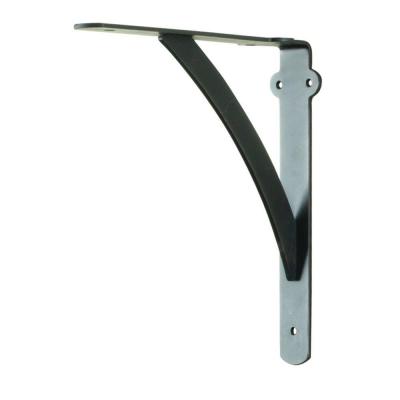
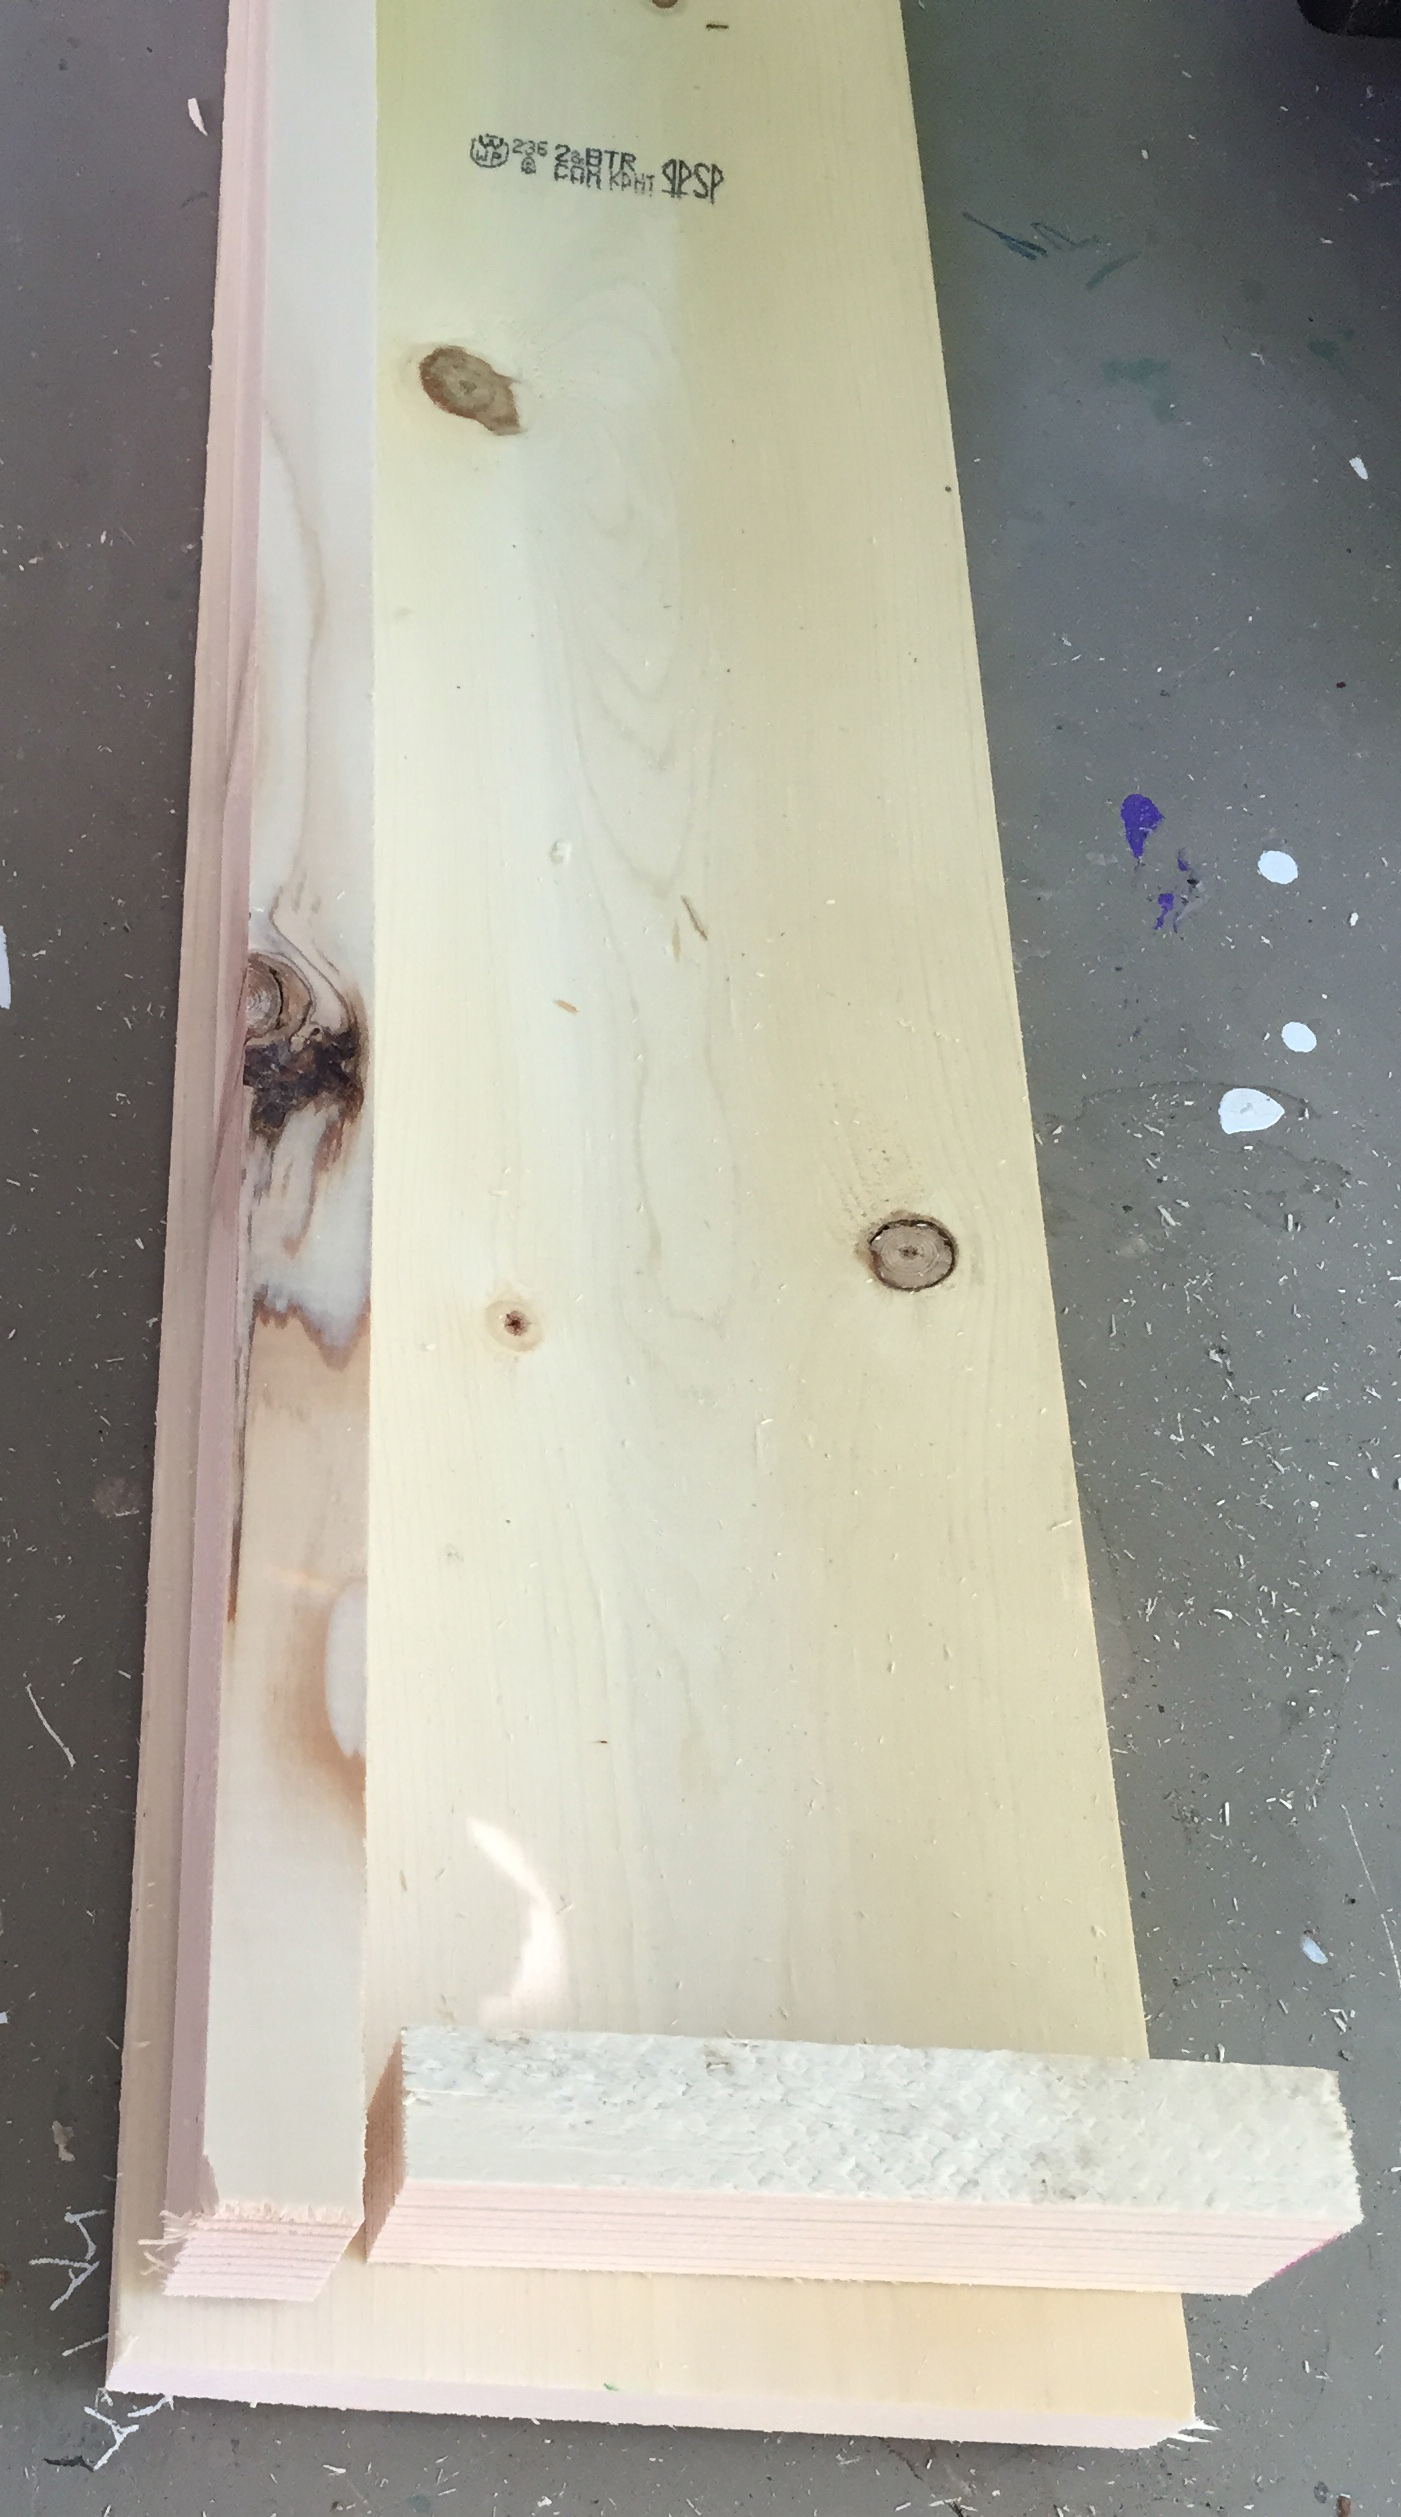
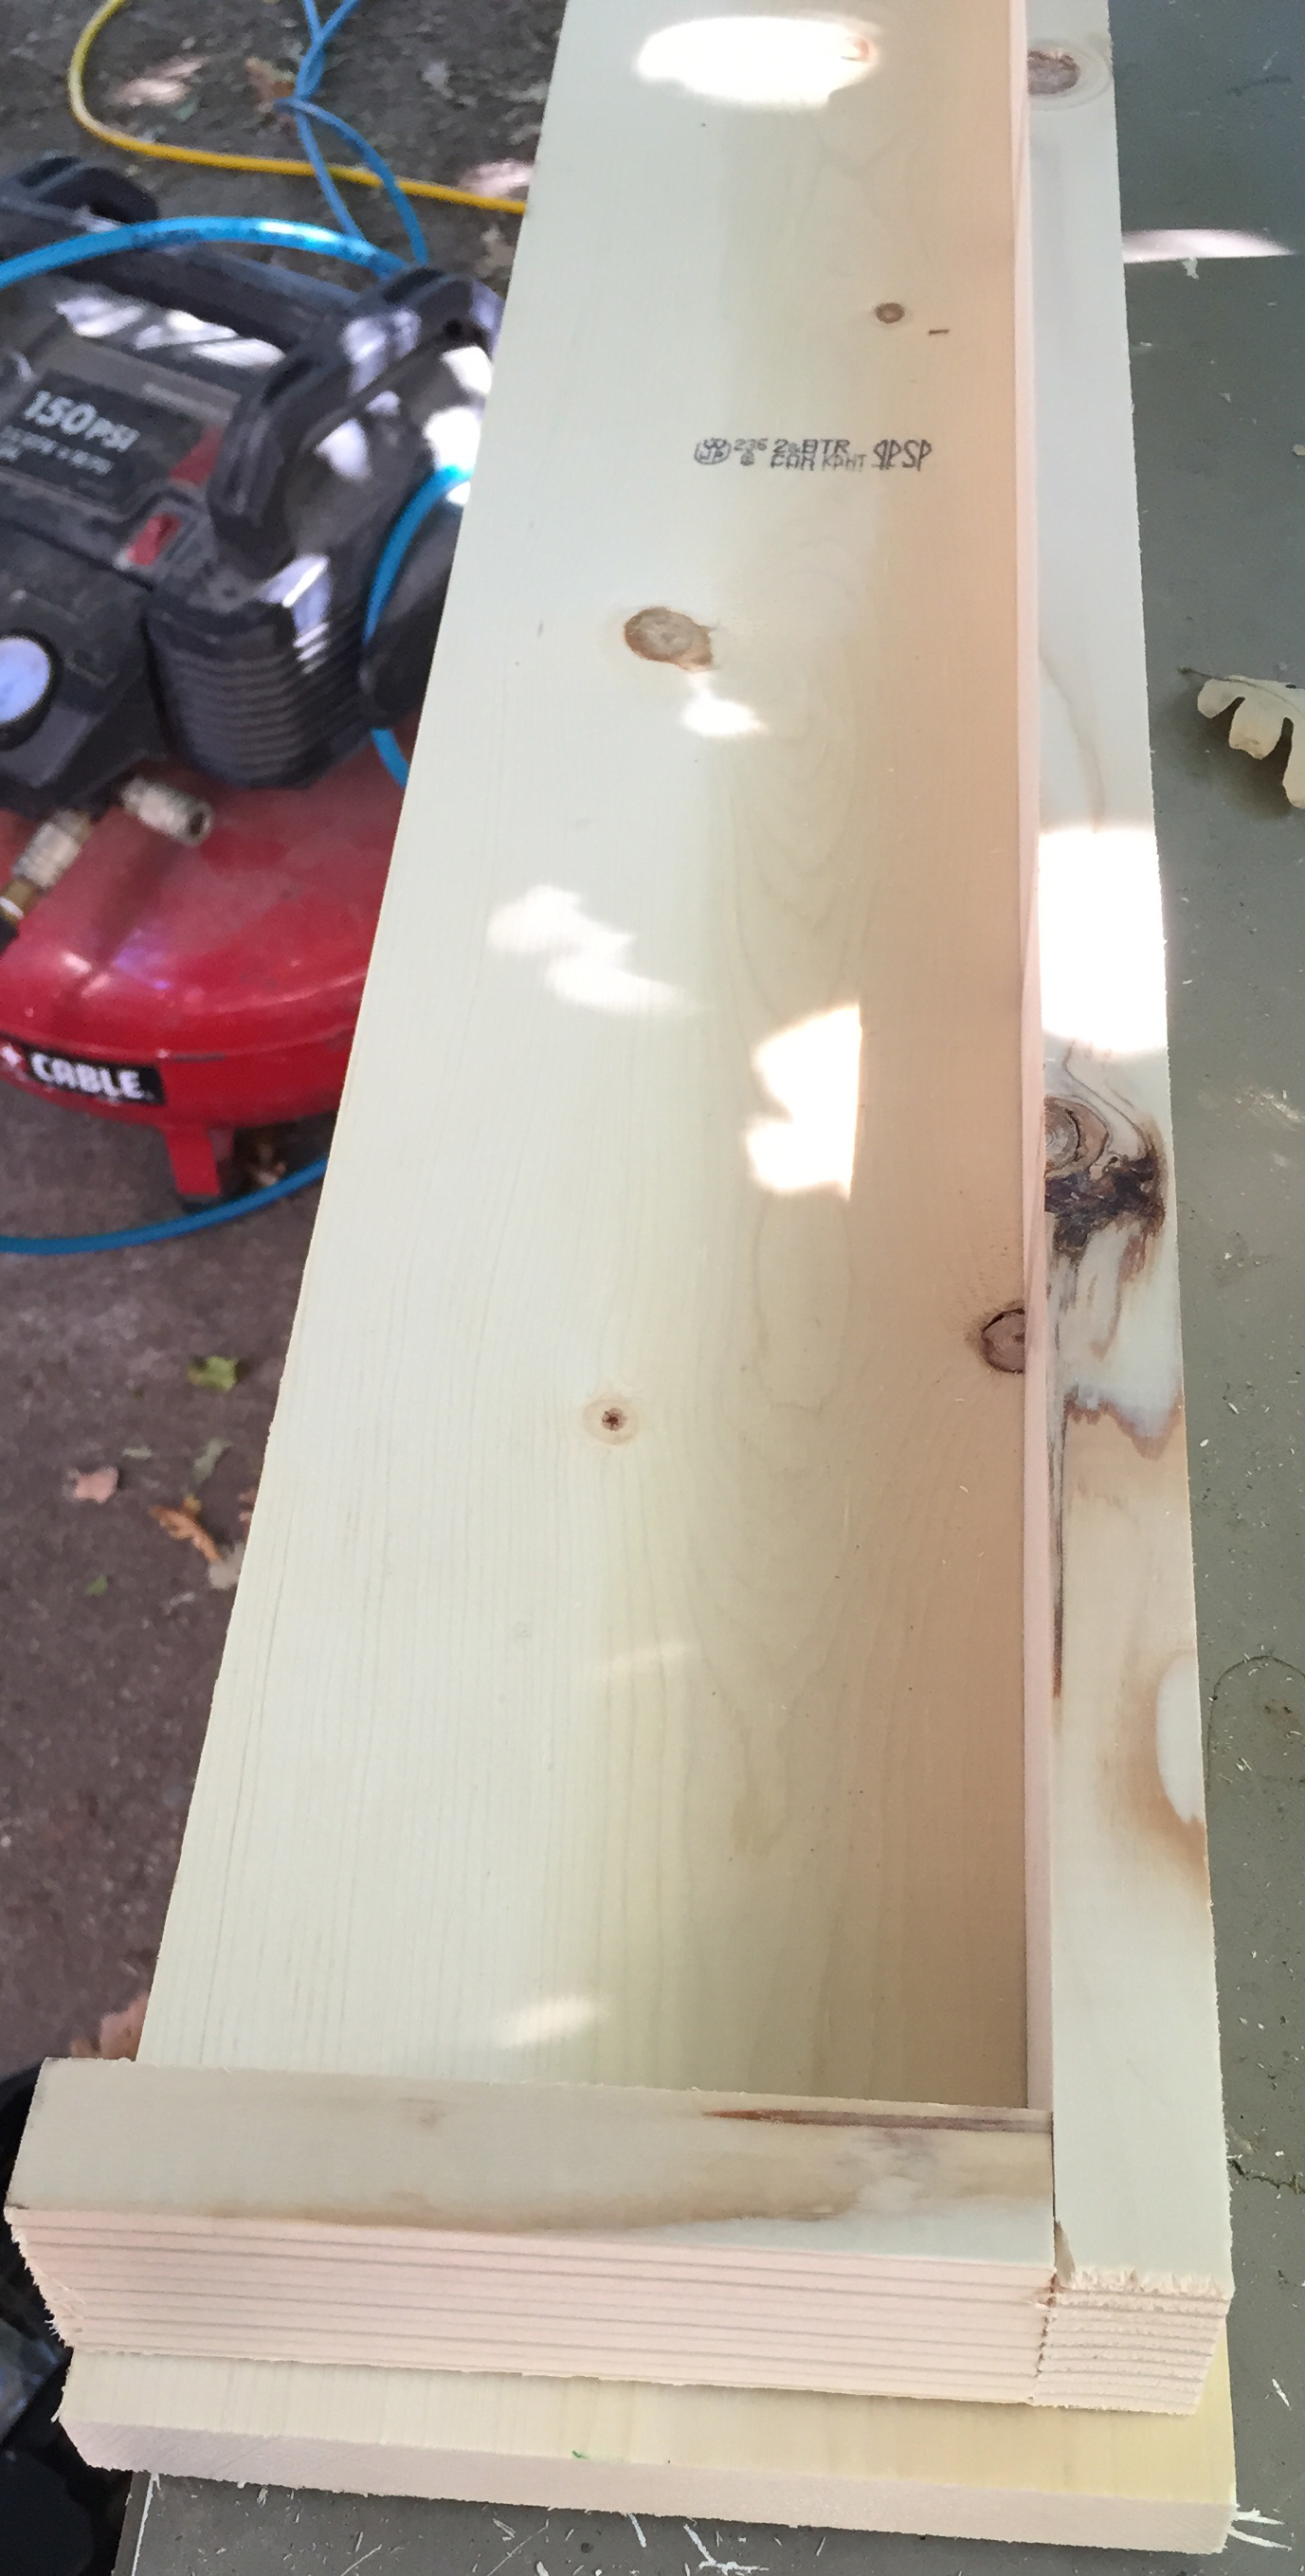
This shelf is pretty basic. Start by thinking about how deep you want your shelf to be. In our space the shelf couldn't be too deep because it is near a major traffic flow pathway. So we stuck with a 1x10, made from pine. Our shelf length is 3 feet, but you can really do it as long or short as you need. Also consider the type of mounting bracket you want to use for this shelf, because it's depth might dictate how shallow you can go. The bracket we used for this shelf is from home depot. Since we are layering mugs in front we were not too concerned with matching the style to the shelf we have above.
After you cut your plank to the length you want, its time to build the tray piece that will sit on top of the plank. We used 1x2 in pine. Cut one long piece to the same length as your plank shelf minus 1 inch. The tray sits back on the shelf about 1/2" on all sides. So for us since our plank was 36" we cut the 1x2 piece to 35". Next cut (2) pieces to the depth of your plank minus 1-1/8 in. This accounts for the depth of the 1x2 in front and the 1/2" set back. So for us the 1x10 plank is actually 9.5", so we cut the 1x2 side pieces to 8-3/8".
After the pieces are cut nail the tray pieces together.

Then line the tray up on the shelf, allowing a 1/2" set back on the front of shelf and the sides. The back should line up flush. The tricky part is nailing the tray to the shelf. We ended up flipping the shelf and tray over so we could nail it from the under side.
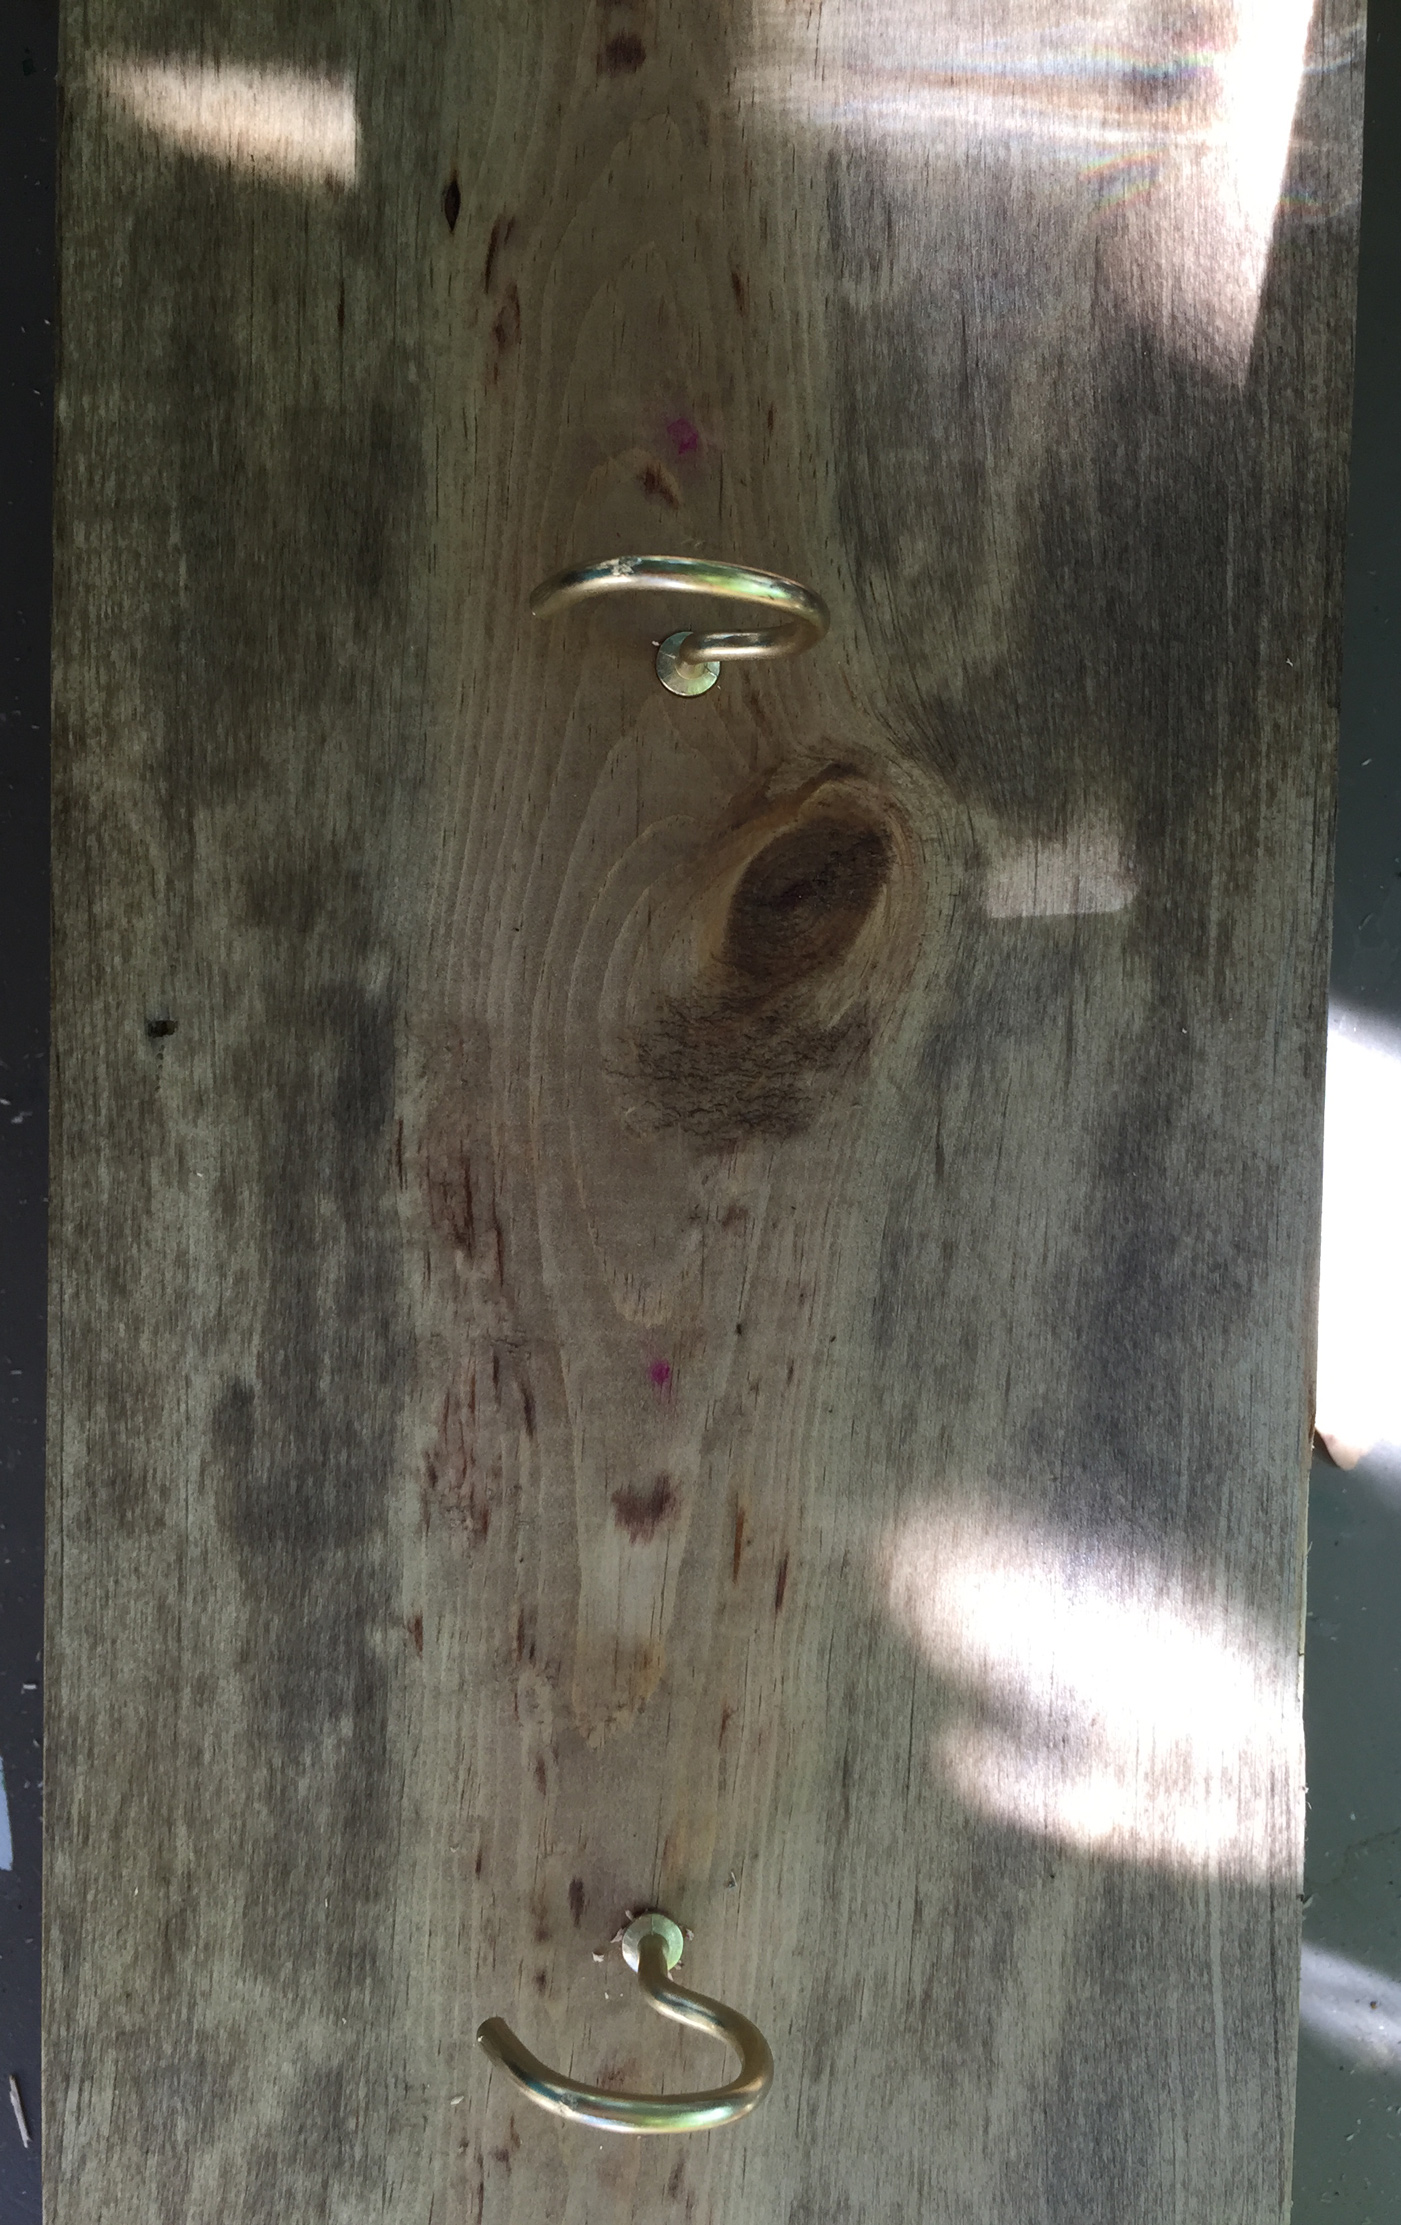
Next comes the filling of nail holes and staining. We used Minwax Special Walnut. We applied 2 coats.

After the stain dried we measured out where to screw the hooks to hold the coffee cups. We have a few deep cups that we wanted to hang and some shallow ones so the measurement aren't even. We started 4" from the side, screwed one hook, then went in 5.5" from there, and then again 5.5" from the 2nd hook. We did this on both side, meeting in the middle. This left a little more space for one of the larger mugs in the center with out complicating the measurement system.
The last step is to mount your brackets onto the plank, and then the shelf onto the wall. I would recommend trying to find a stud or use drywall anchors for your screws. There might be a few heavy things sitting on this shelf or heavy mugs hanging and you do not want this to pull out of the wall.

Stay tuned for our wine rack write up. Follow us on Facebook to receive updates on future Blog Posts.
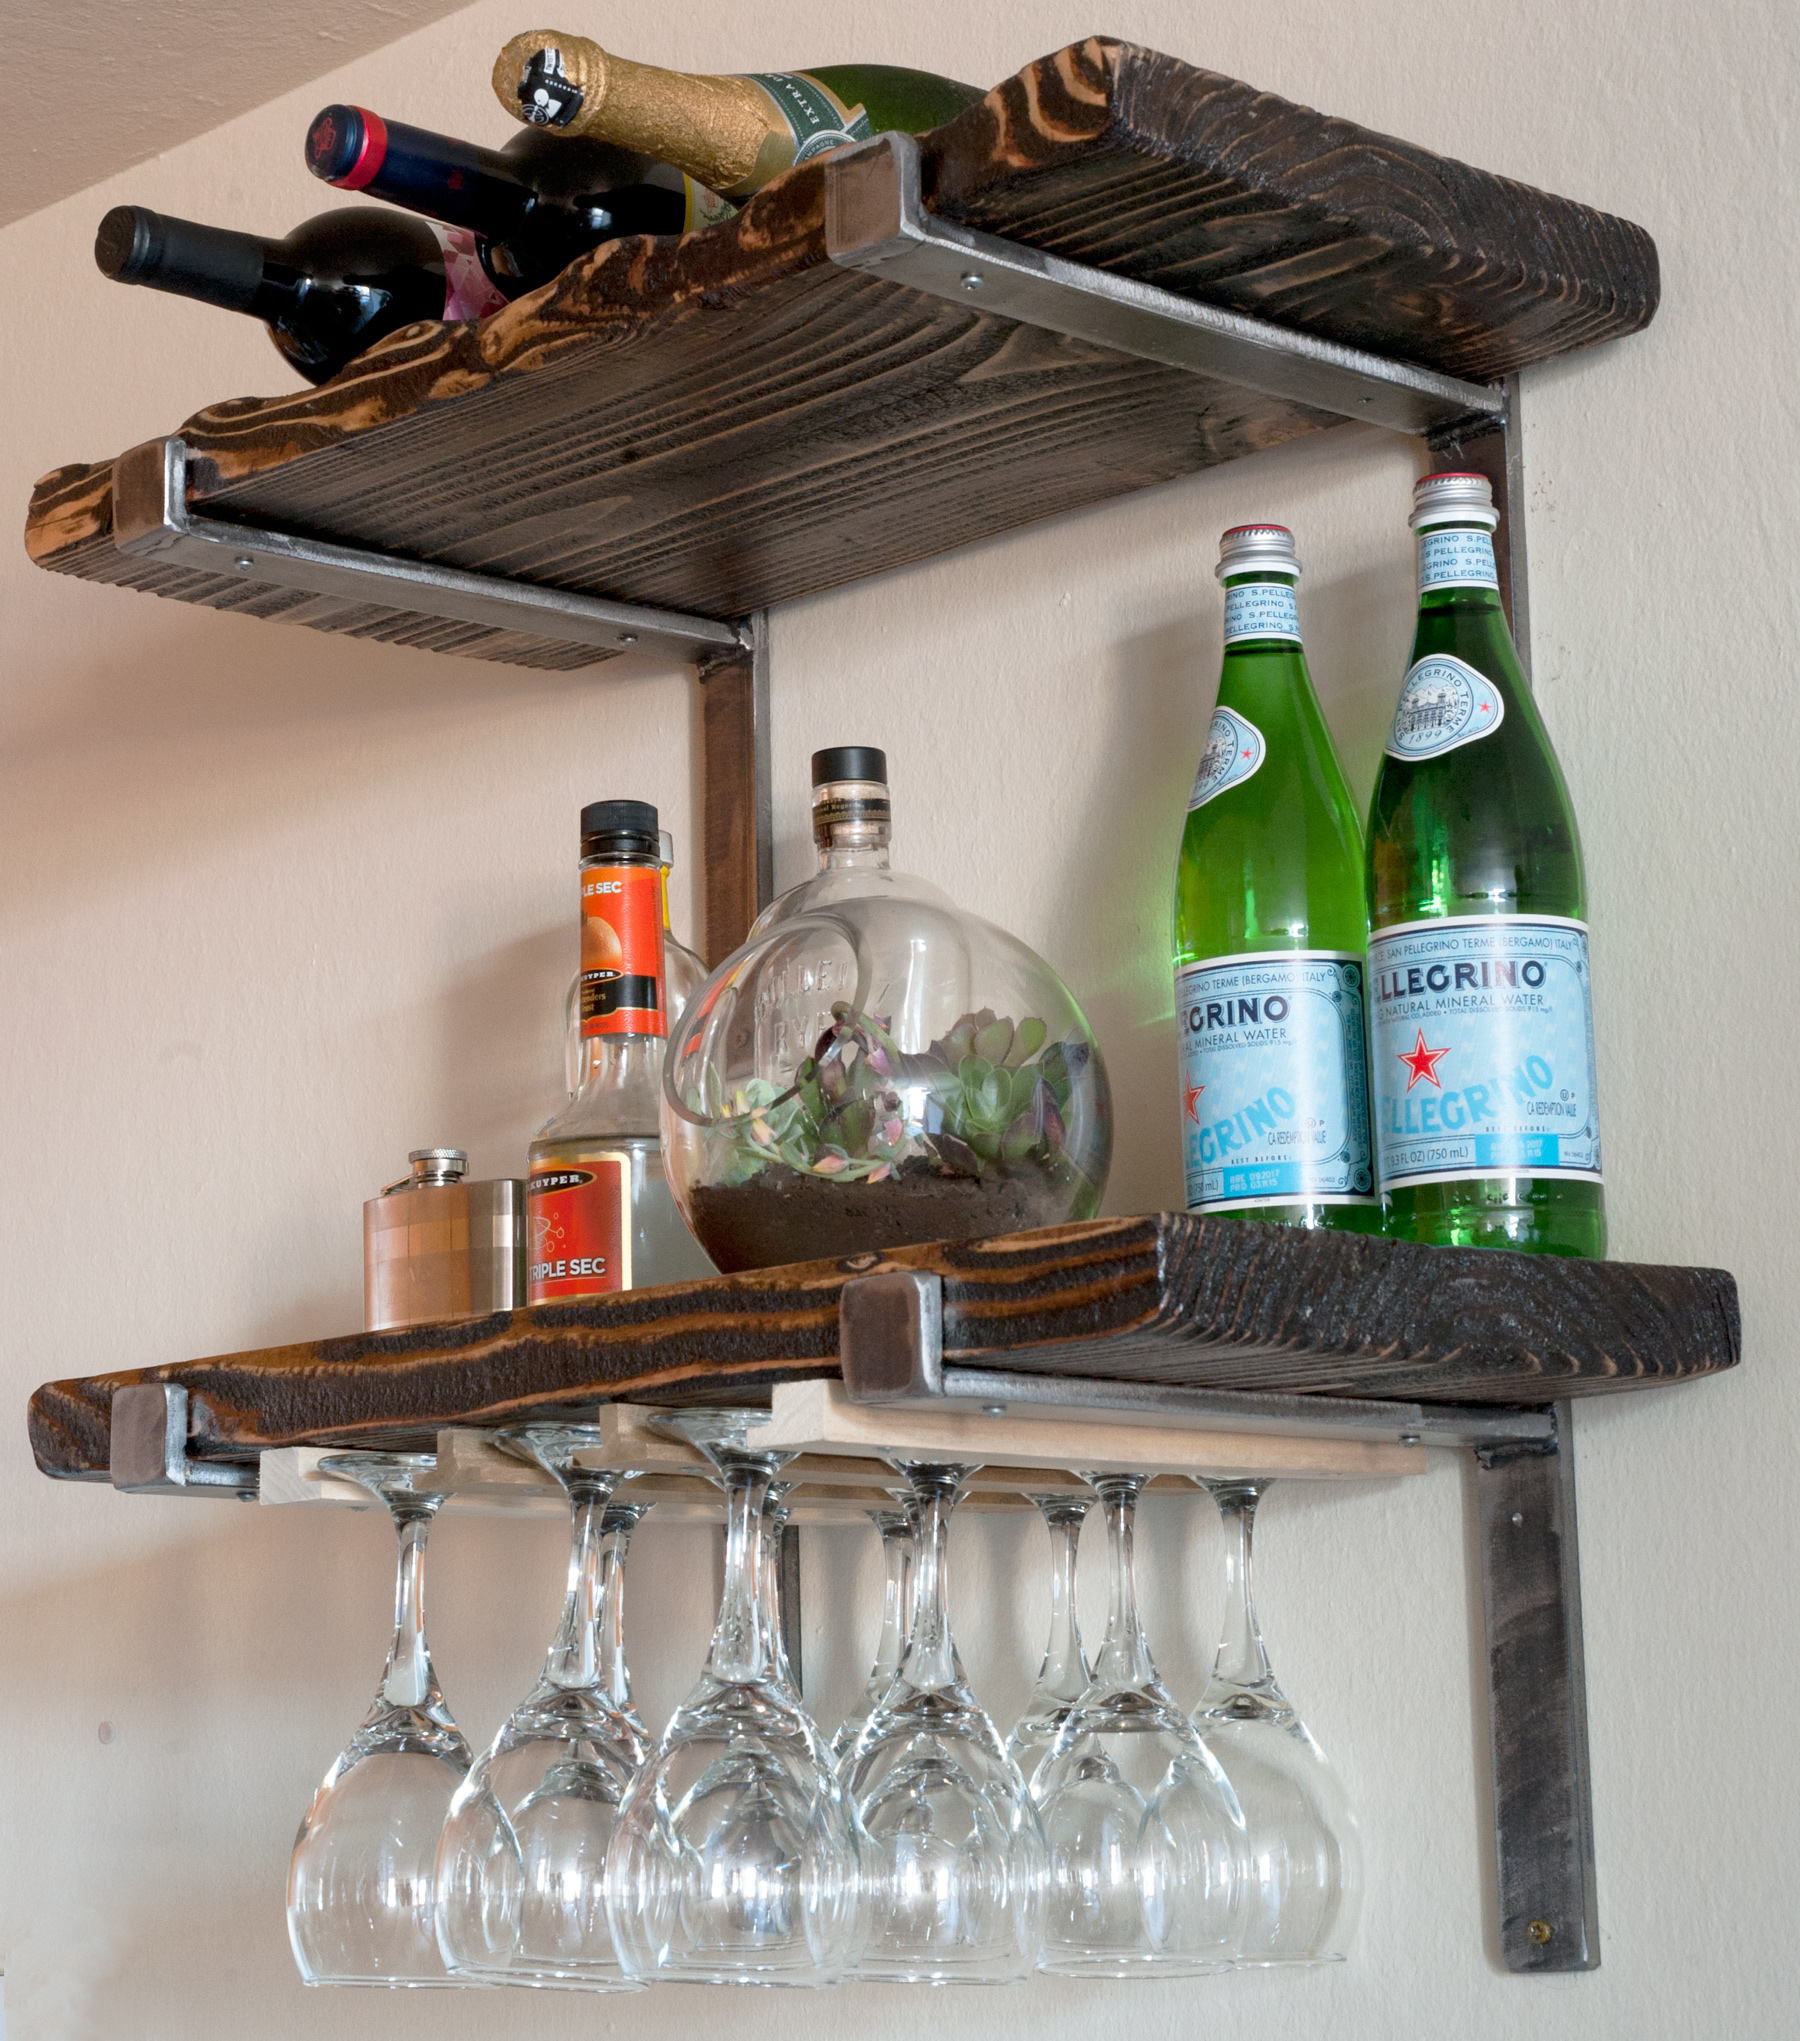
The top industrial shelf & brackets are from Atlasironfurniture.com
More by Atlas Iron